Creating Your First Workbook
Welcome to Sheety App! This tutorial will guide you through creating your first workbook from scratch. By the end of this guide, you’ll have created a workbook with a sheet ready to store your data.
What You’ll Learn
Section titled “What You’ll Learn”- How to access the Sheety App
- Creating a new workbook
- Adding your first sheet to the workbook
- Understanding the sheet structure
Prerequisites
Section titled “Prerequisites”- Access to Sheety App at your instance URL
- A user account (free or paid)
Step 1: Accessing Sheety App
Section titled “Step 1: Accessing Sheety App”Open your browser and navigate to your Sheety App instance. You’ll see the home page with a clean sidebar navigation on the left.
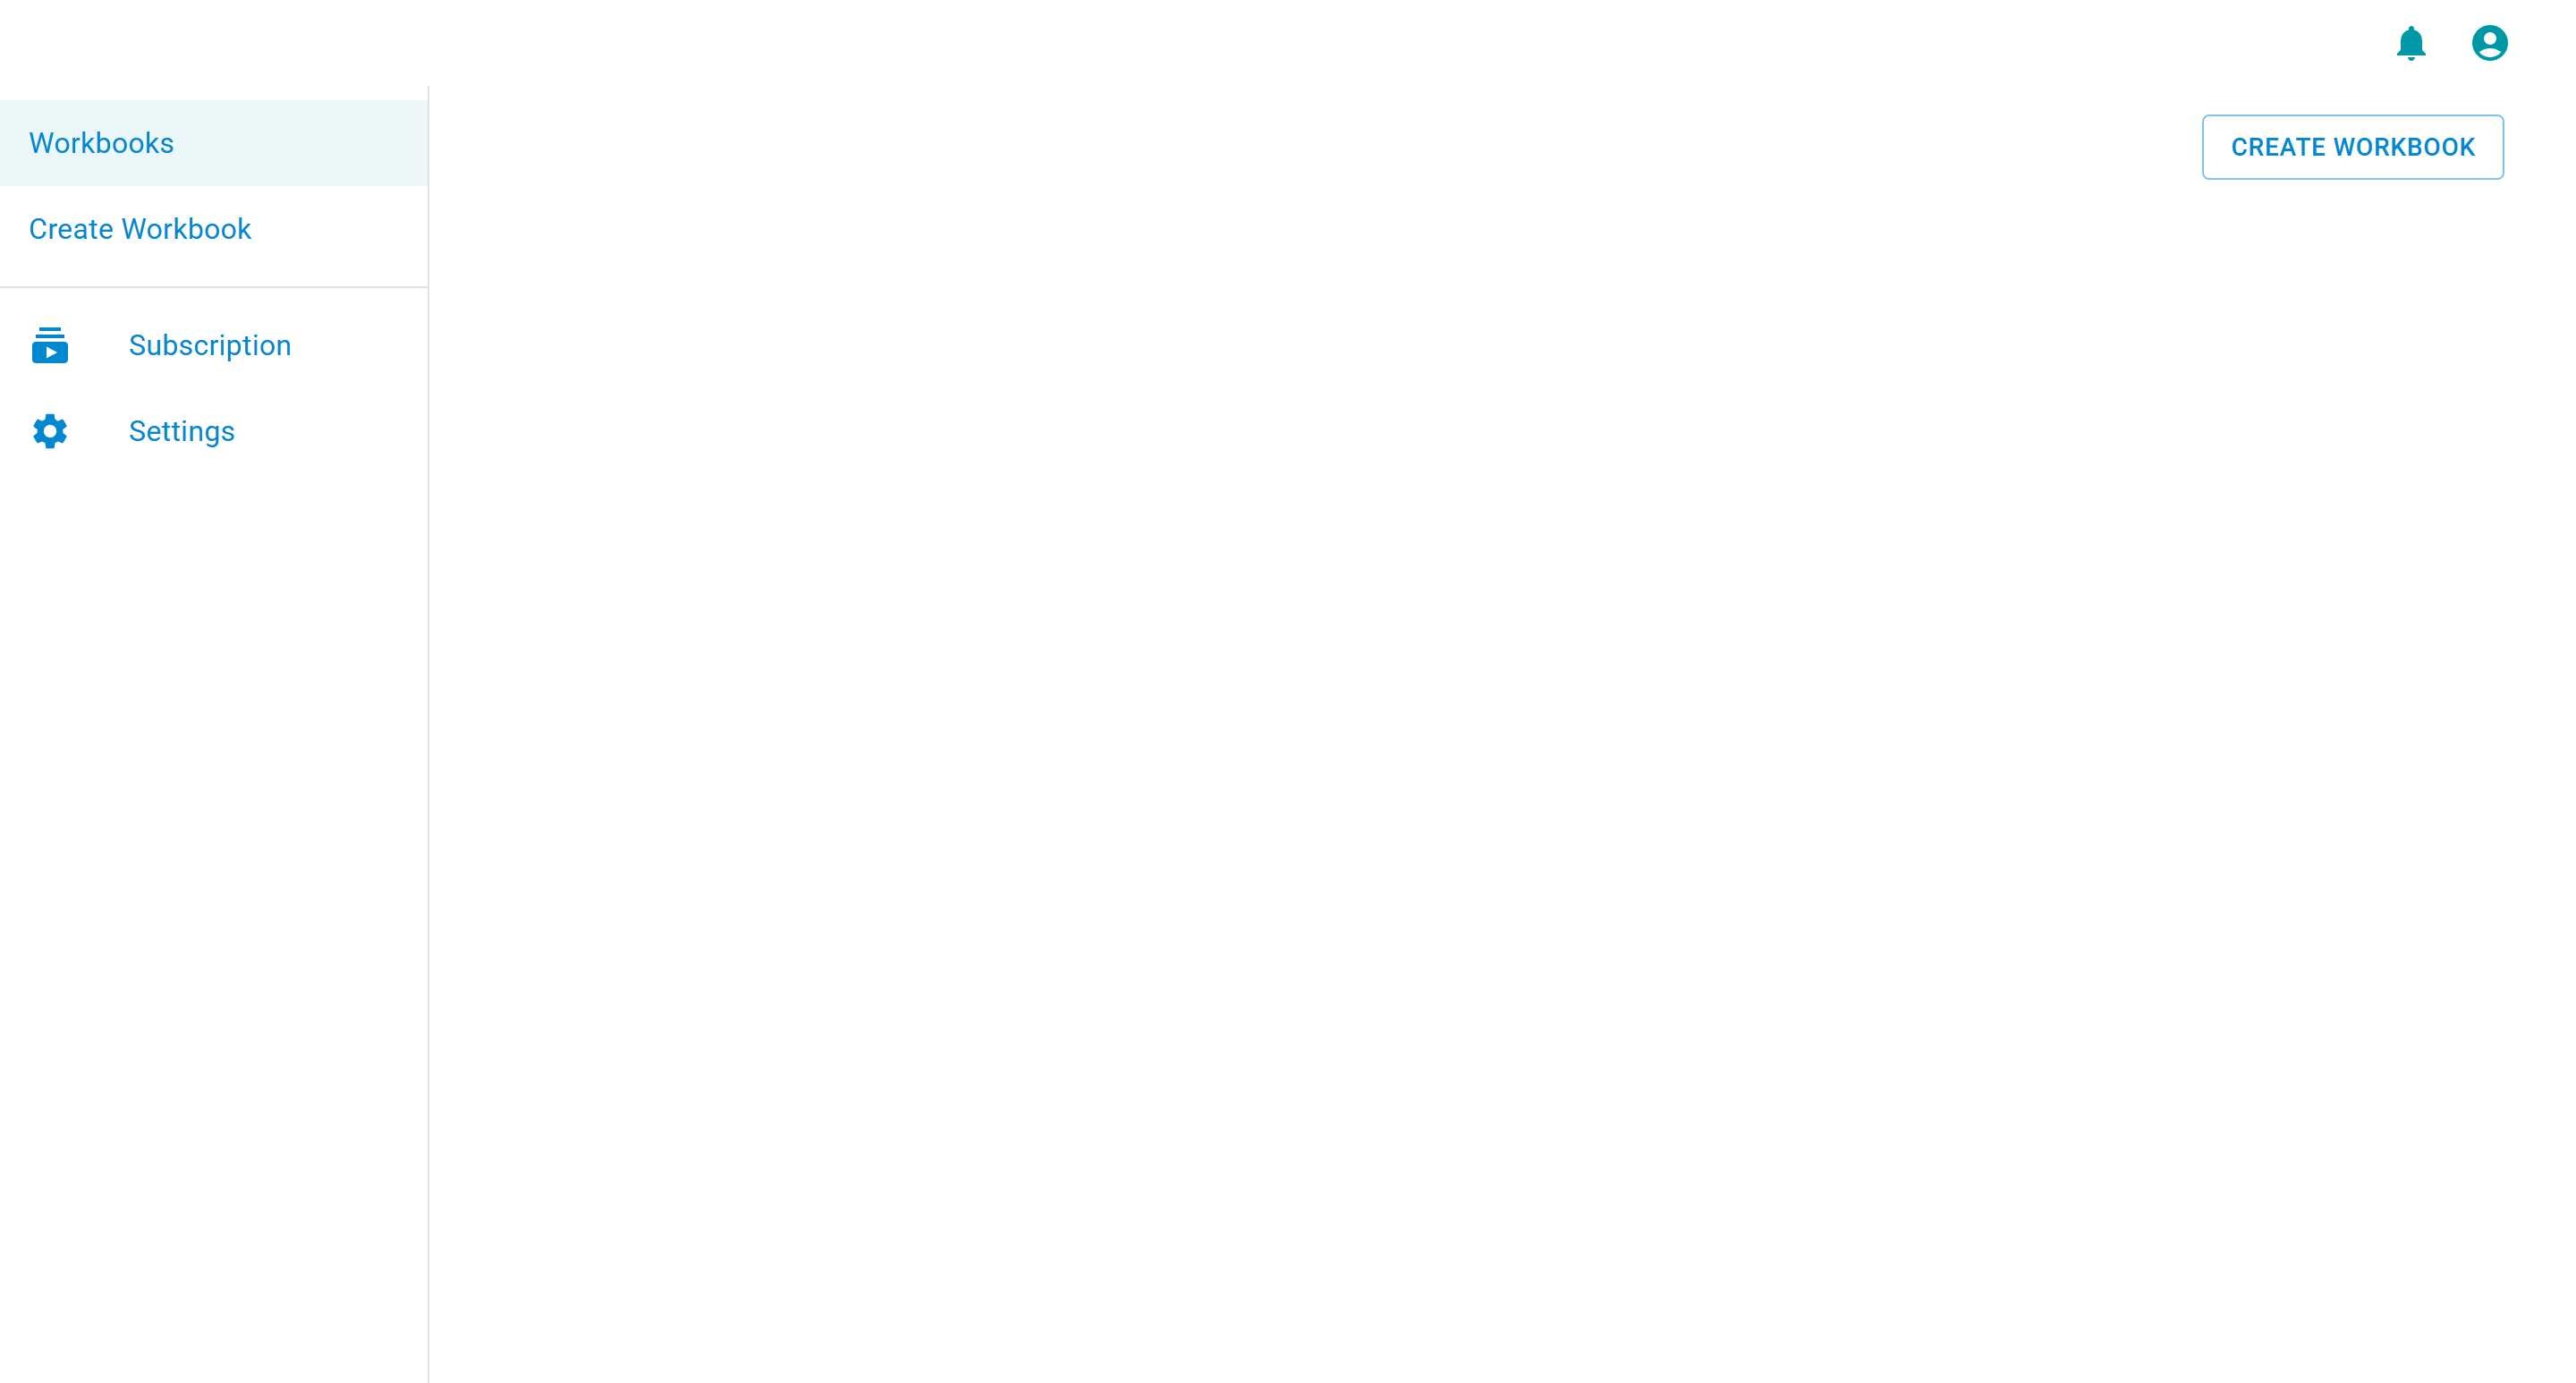
The main navigation includes:
- Workbooks - View all your workbooks
- Create Workbook - Quick access to create a new workbook
- Subscription - Manage your subscription
- Settings - Configure your account settings
Step 2: Create a New Workbook
Section titled “Step 2: Create a New Workbook”To create your first workbook:
-
Click on “Create Workbook” from the sidebar menu or click the “CREATE WORKBOOK” button on the home page.
-
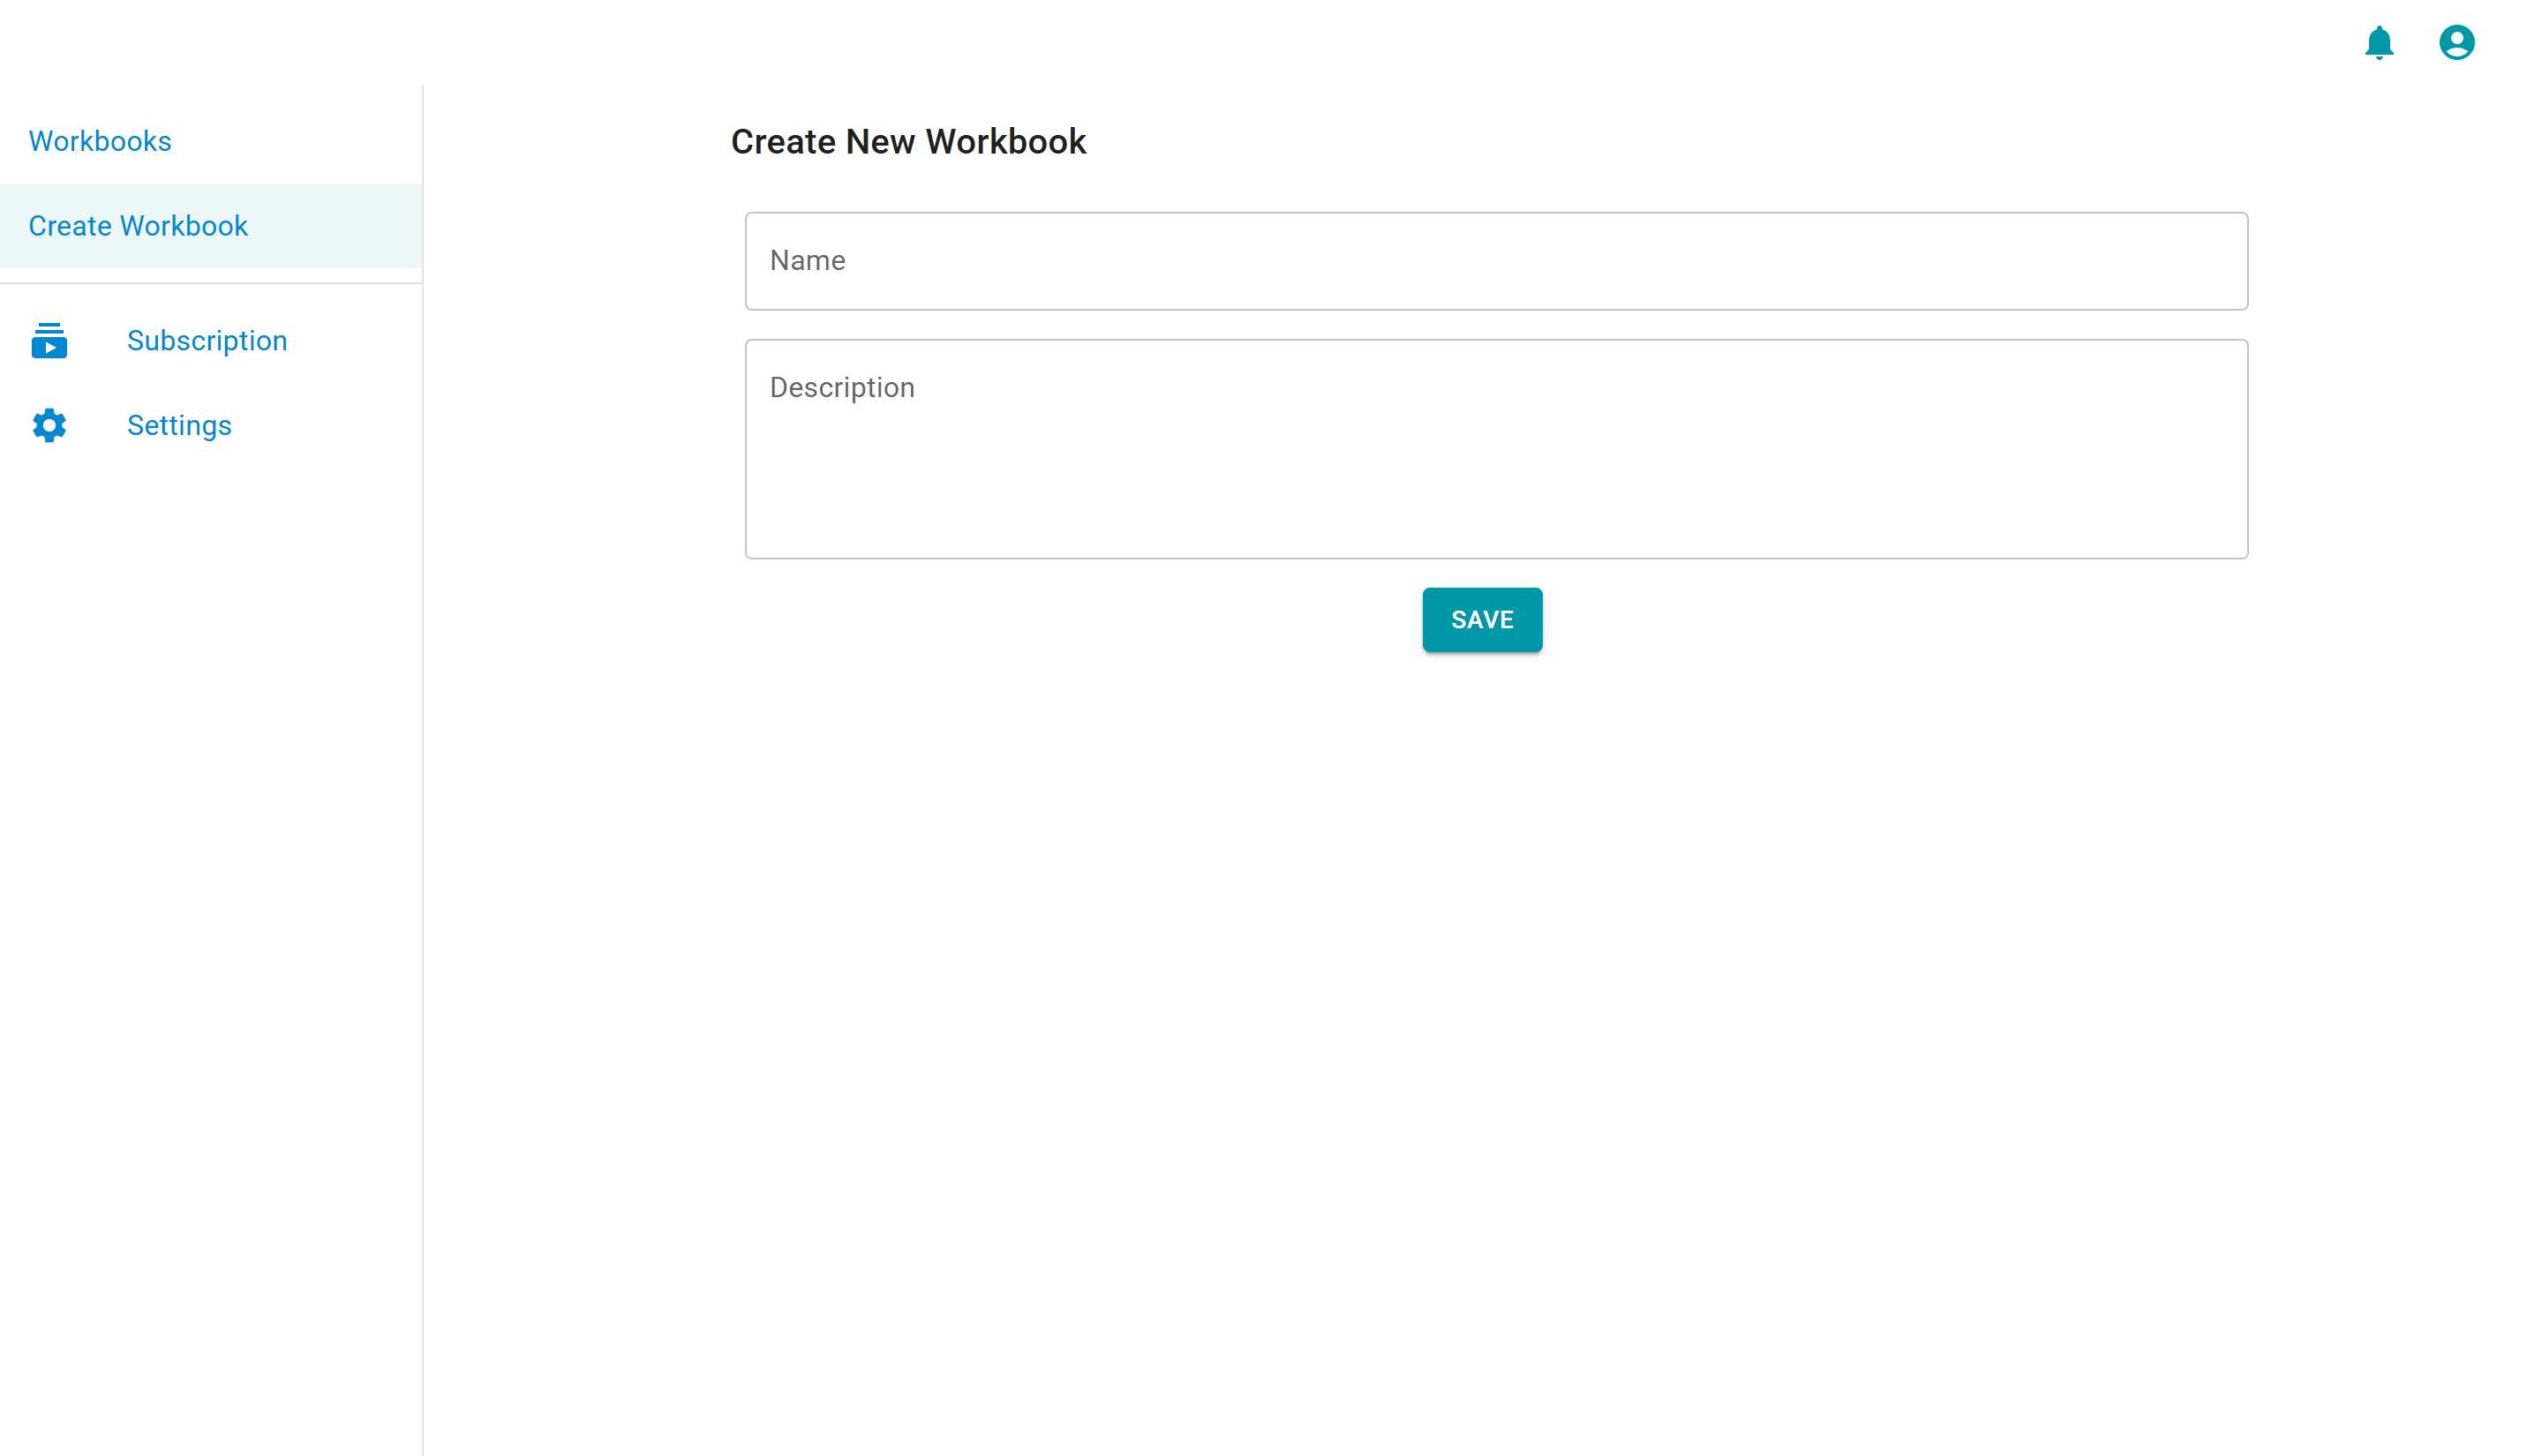
You’ll be presented with a simple form with two fields:
- Name: Give your workbook a meaningful name
- Description: Add a brief description of what this workbook will be used for
- For this tutorial, let’s create an employee management workbook:
- Name:
My First Workbook - Description:
A tutorial workbook to demonstrate Sheety App features
- Name:
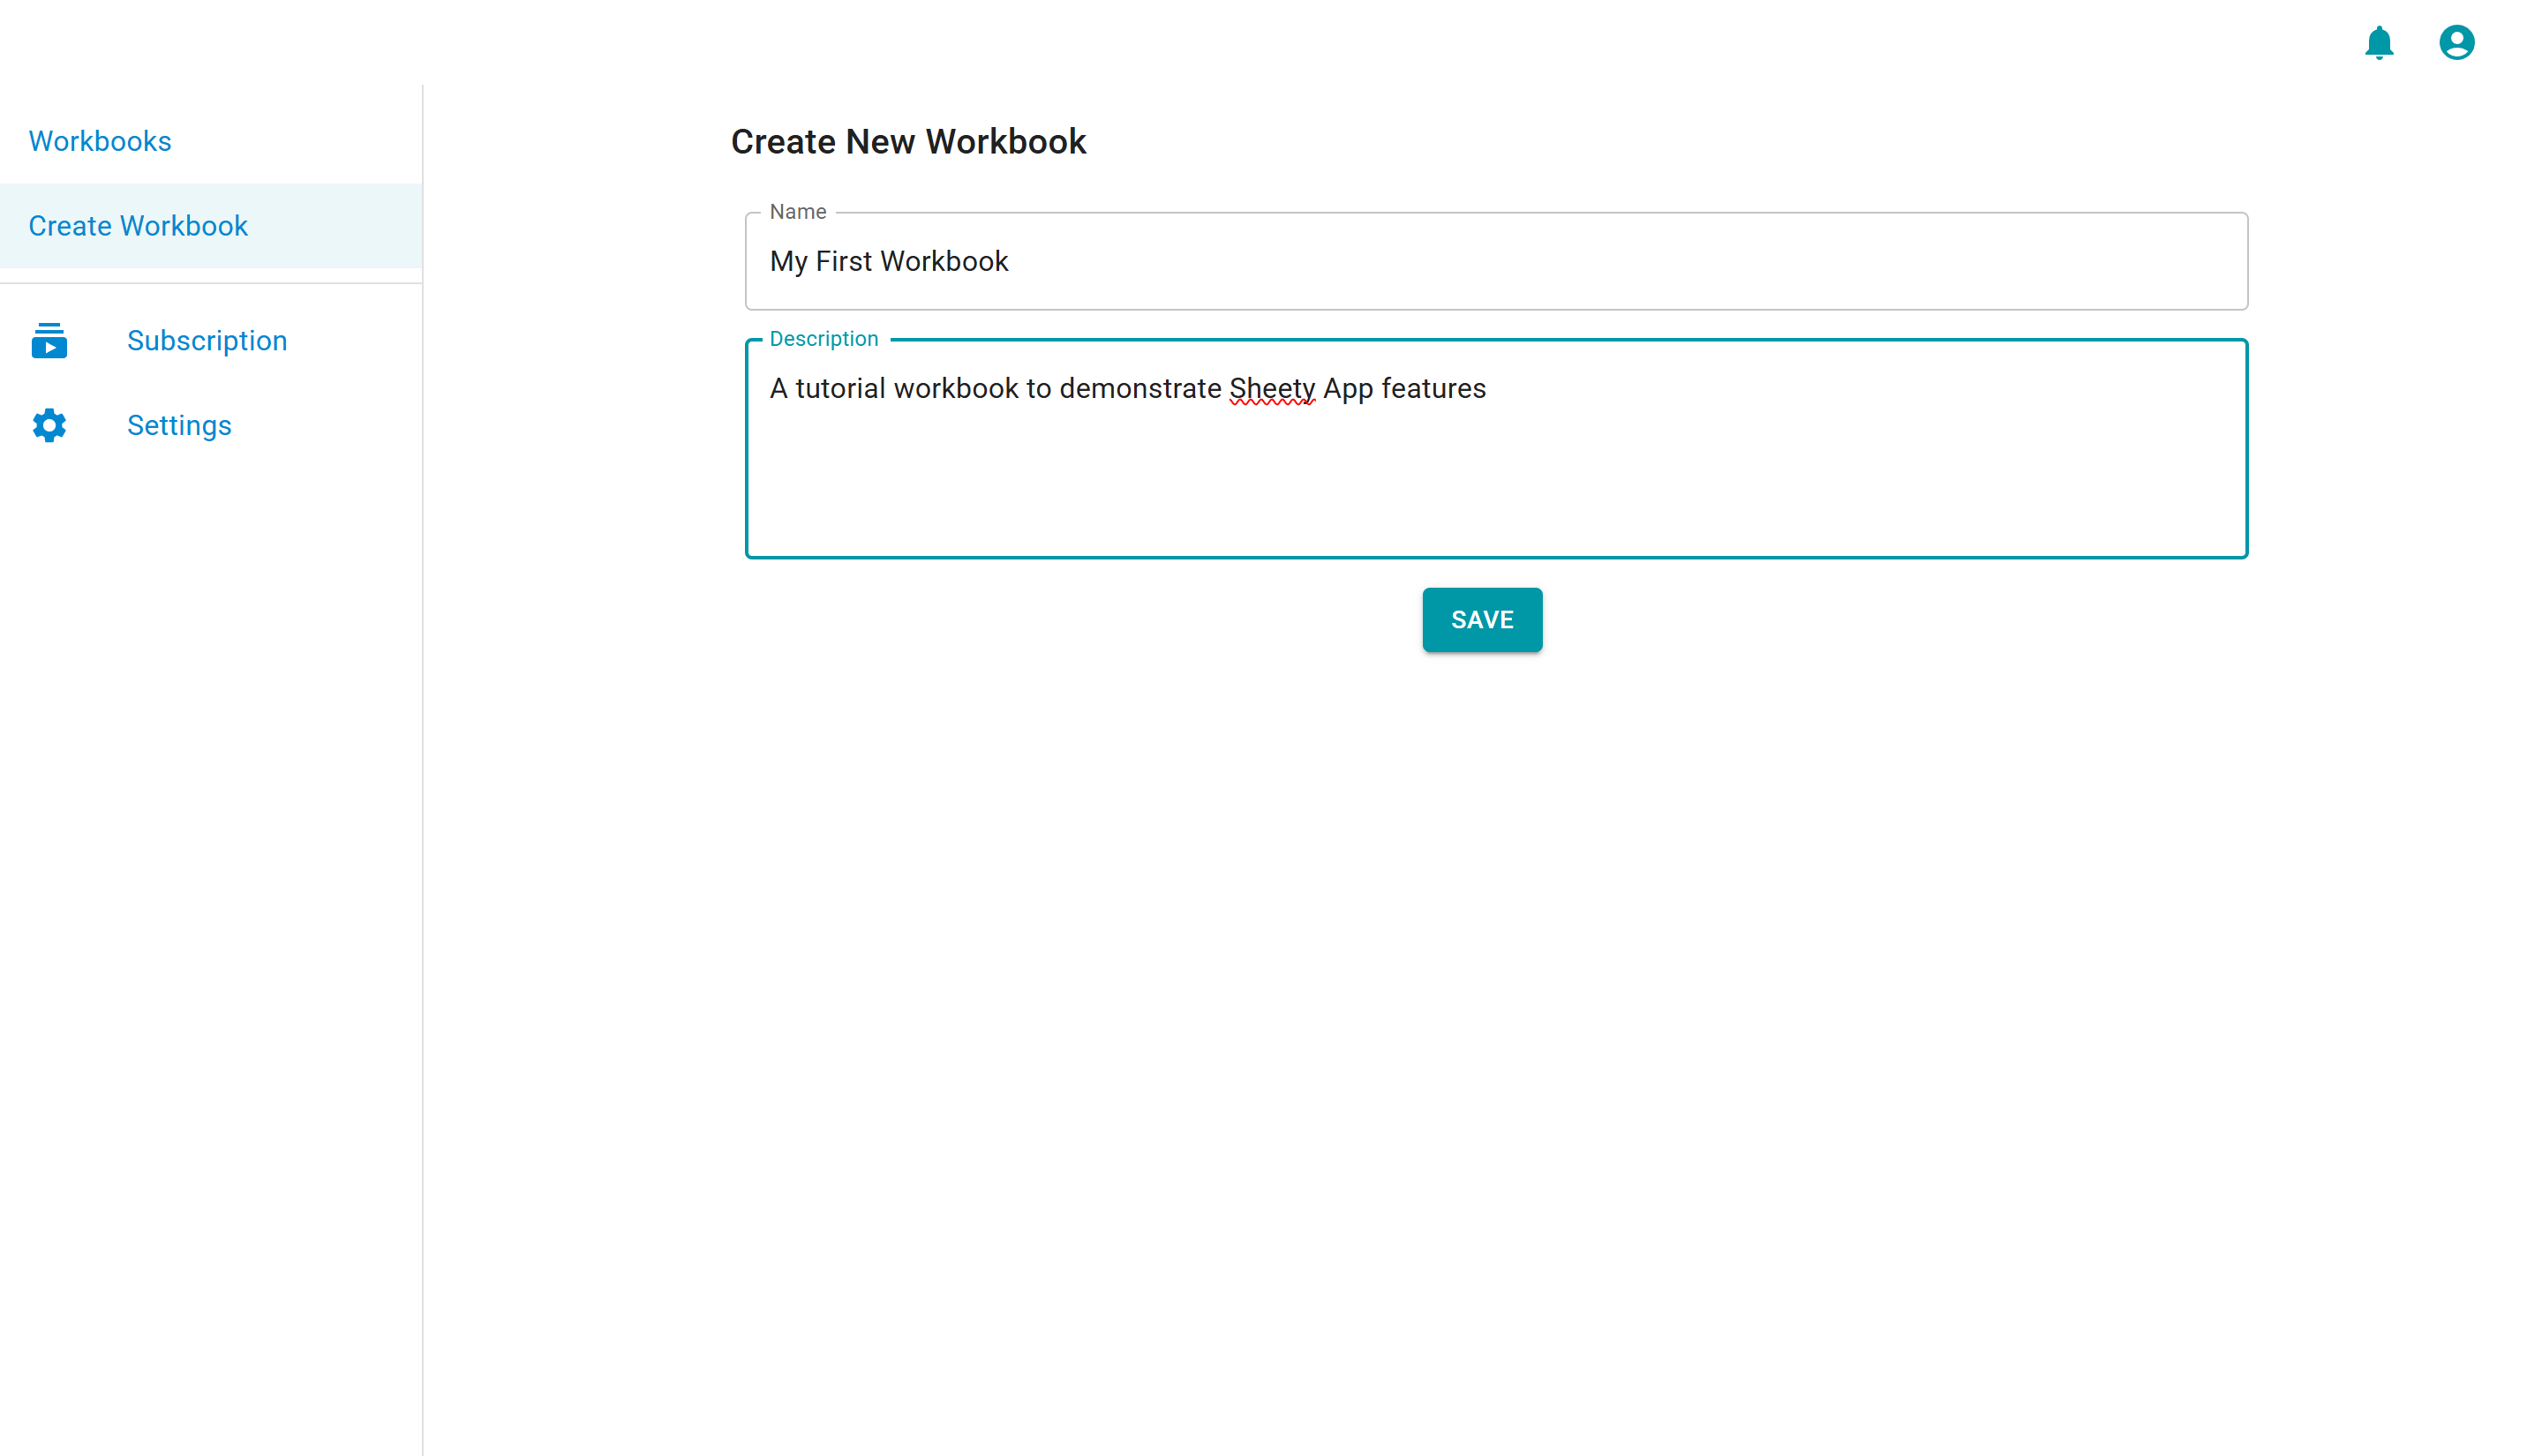
- Click the “SAVE” button to create your workbook.
Step 3: Welcome to Your Workbook
Section titled “Step 3: Welcome to Your Workbook”After creating your workbook, you’ll be taken to the workbook home page. This page displays:
- A welcome message
- A “CREATE A SHEET” button to get started
- A sidebar with workbook navigation including:
- Sheets
- Apps
- Workbook Settings
- Latest news and updates section
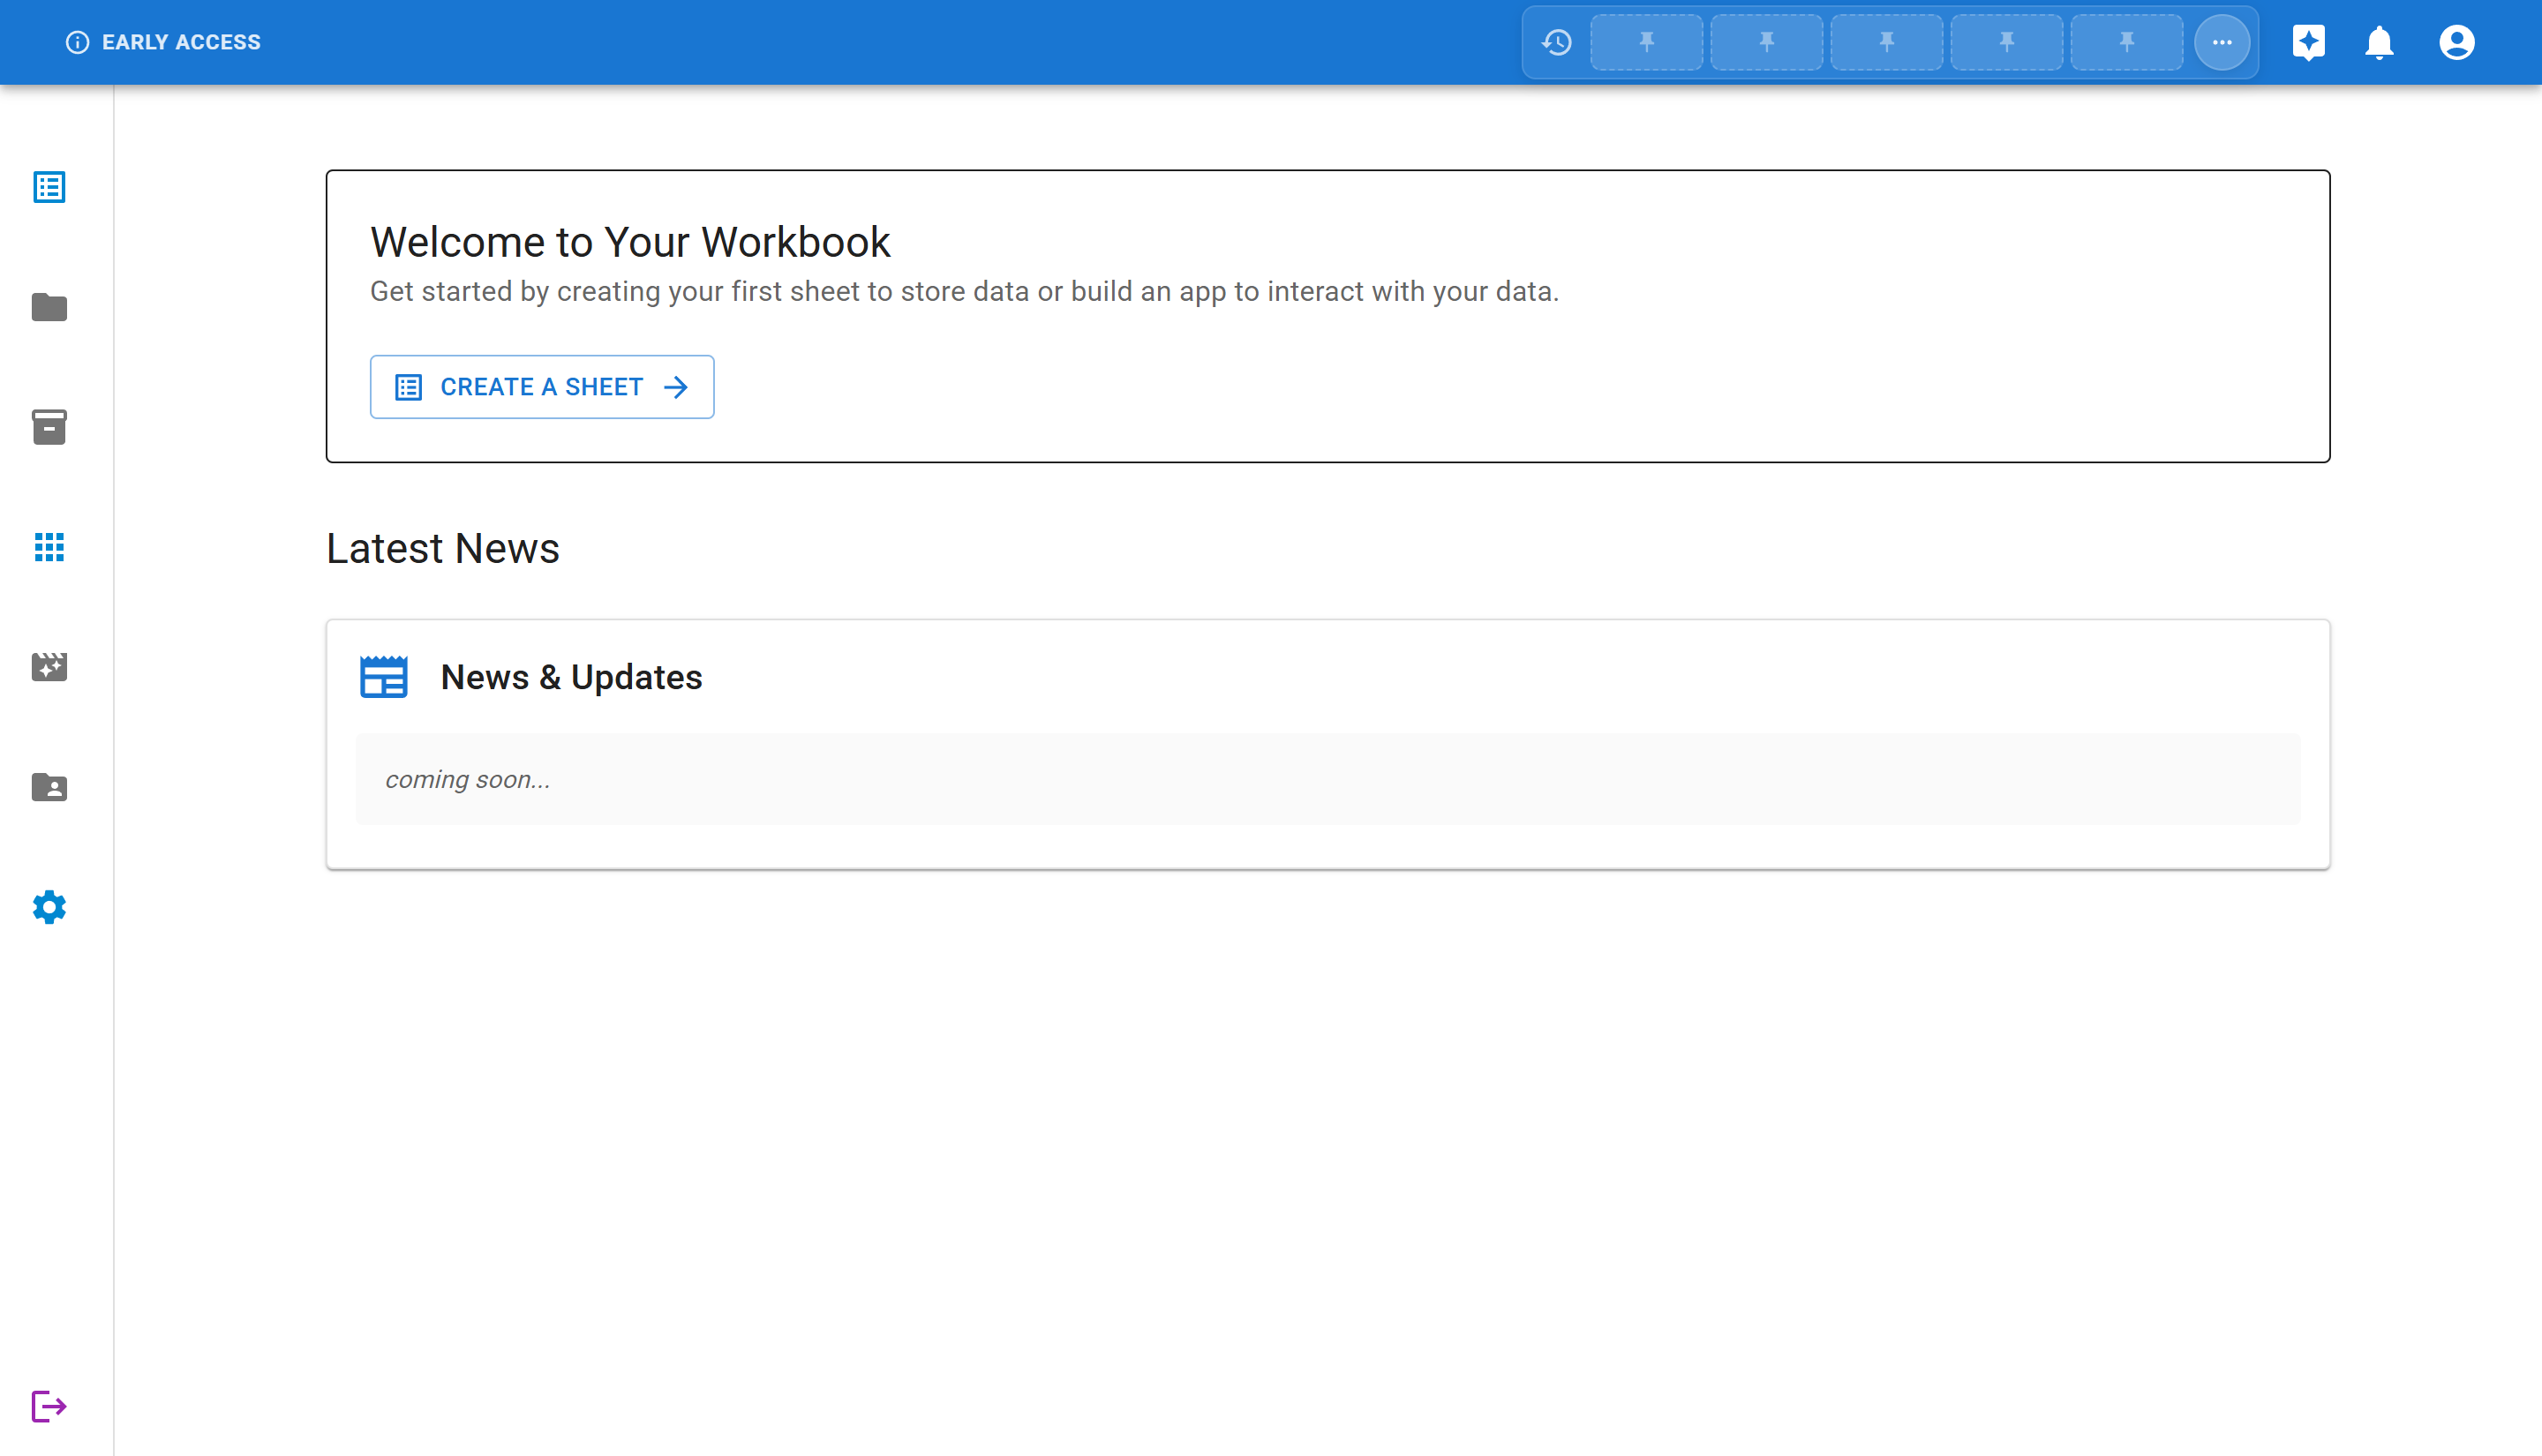
The workbook is now created, but it’s empty. The next step is to add a sheet where you’ll store your data.
Step 4: Create Your First Sheet
Section titled “Step 4: Create Your First Sheet”Sheets in Sheety App are similar to tables in a database or sheets in a spreadsheet. Each sheet stores a specific type of data.
To create a sheet:
-
Click the “CREATE A SHEET” button from the workbook home page.
-
You’ll see the “Add Sheet” form with:
- Name: The name of your sheet
- Description: What data this sheet will contain

- For this tutorial, let’s create an employee sheet:
- Name:
Employees - Description:
A sheet to manage employee information
- Name:
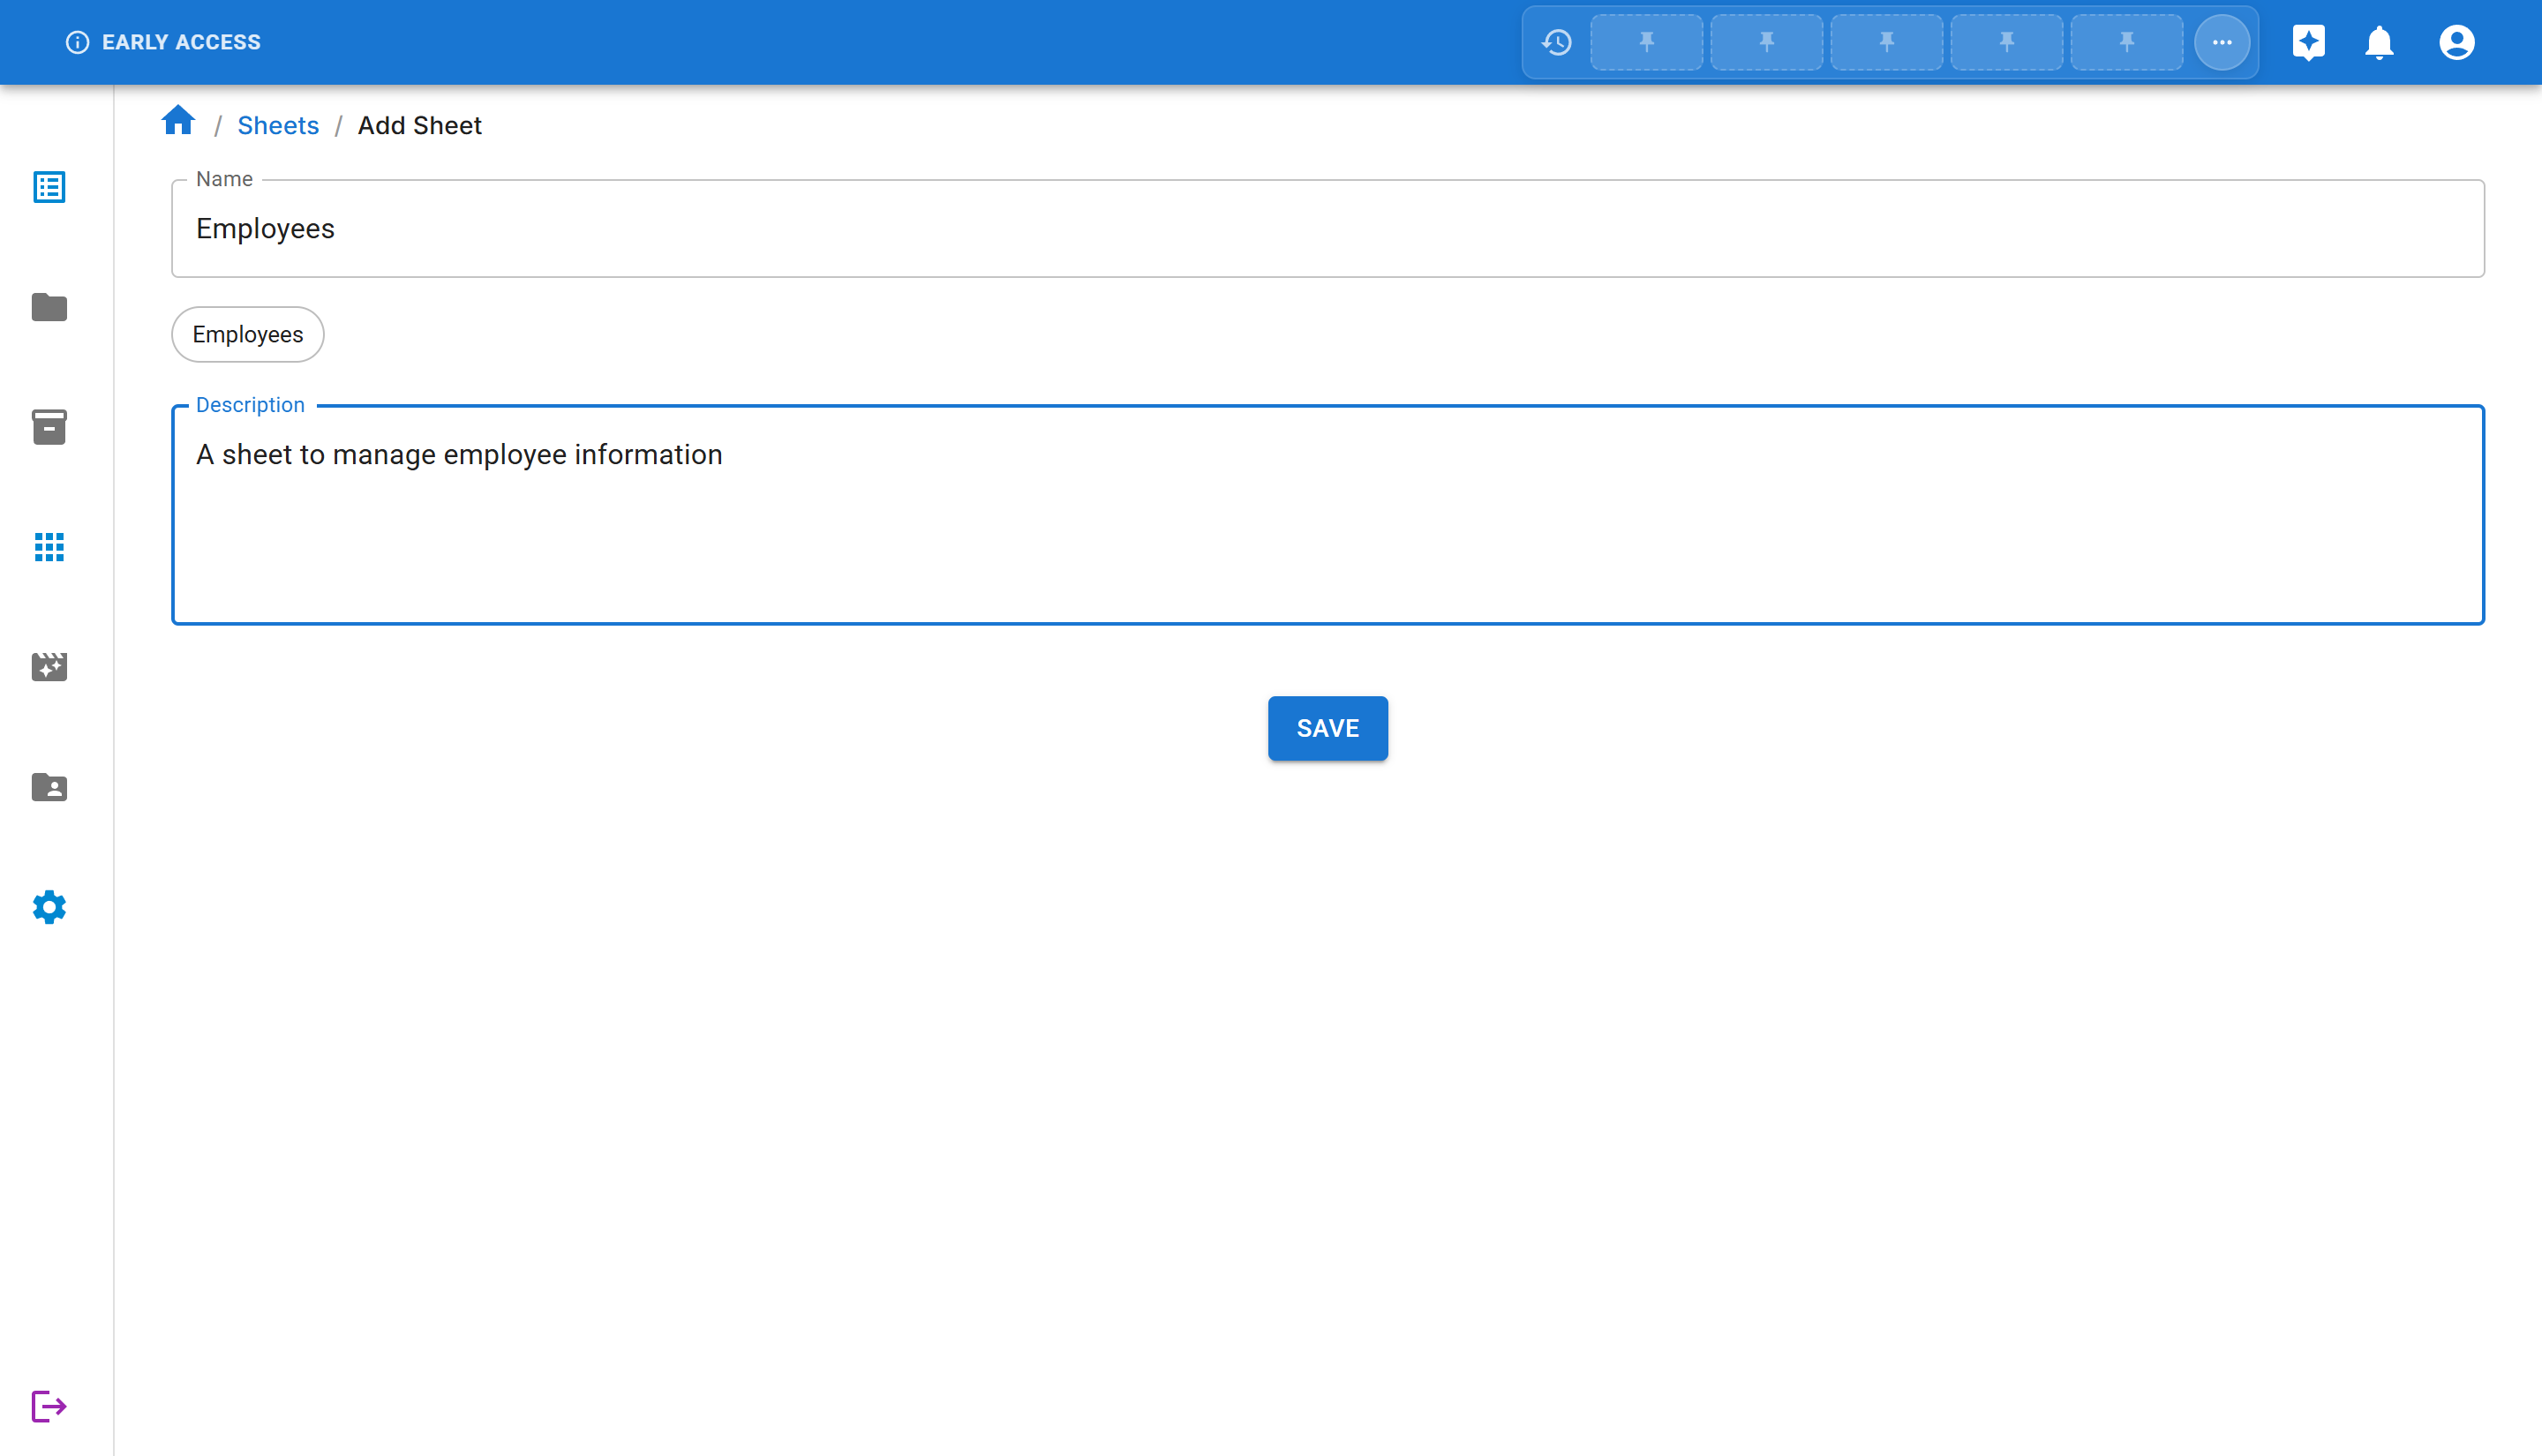
- Click “SAVE” to create the sheet.
Step 5: Understanding Your Empty Sheet
Section titled “Step 5: Understanding Your Empty Sheet”After creating the sheet, you’ll see an empty sheet view with a helpful message:

No Columns Defined
This sheet doesn’t have any columns yet. Right-click anywhere to add your first column and start building your data structure.
💡 Tip: Right-click and select “Add Column” to get started
This is perfectly normal! A new sheet starts empty without any columns. In the next steps, you would:
- Right-click to add columns (like Name, Email, Department, etc.)
- Define the data type for each column
- Start adding data rows
What’s Next?
Section titled “What’s Next?”Congratulations! You’ve successfully created your first workbook and sheet in Sheety App. Here are some suggested next steps:
- Add Columns to Your Sheet - Learn how to define your data structure
Summary
Section titled “Summary”In this tutorial, you learned how to:
- ✅ Navigate the Sheety App interface
- ✅ Create a new workbook
- ✅ Add a sheet to your workbook
- ✅ Understand the empty sheet structure
You’re now ready to start building your data structure and adding information to your sheets!