Adding Data to Your Sheet
Now that you’ve created your workbook, sheet, and defined your columns, it’s time to start adding data! In this tutorial, you’ll learn how to populate your sheet with information using the intuitive data entry interface.
What You’ll Learn
Section titled “What You’ll Learn”- How to add new rows to your sheet
- Understanding the Add Row dialog
- Entering data for different column types
- Editing existing rows
- Managing and deleting data
Prerequisites
Section titled “Prerequisites”- A sheet with columns defined (complete Adding Columns to Your Sheet if you haven’t already)
Understanding Data in Sheets
Section titled “Understanding Data in Sheets”Before we start, let’s understand how data works in Sheety App:
- Each row represents a single record (like one employee, one task, or one product)
- Each column contains a specific type of information for that record
- Data is saved automatically when you submit a row
- You can edit or delete rows at any time
Step 1: Your Empty Sheet
Section titled “Step 1: Your Empty Sheet”When you first open a sheet with columns but no data, you’ll see the column headers and an empty grid ready for data entry.
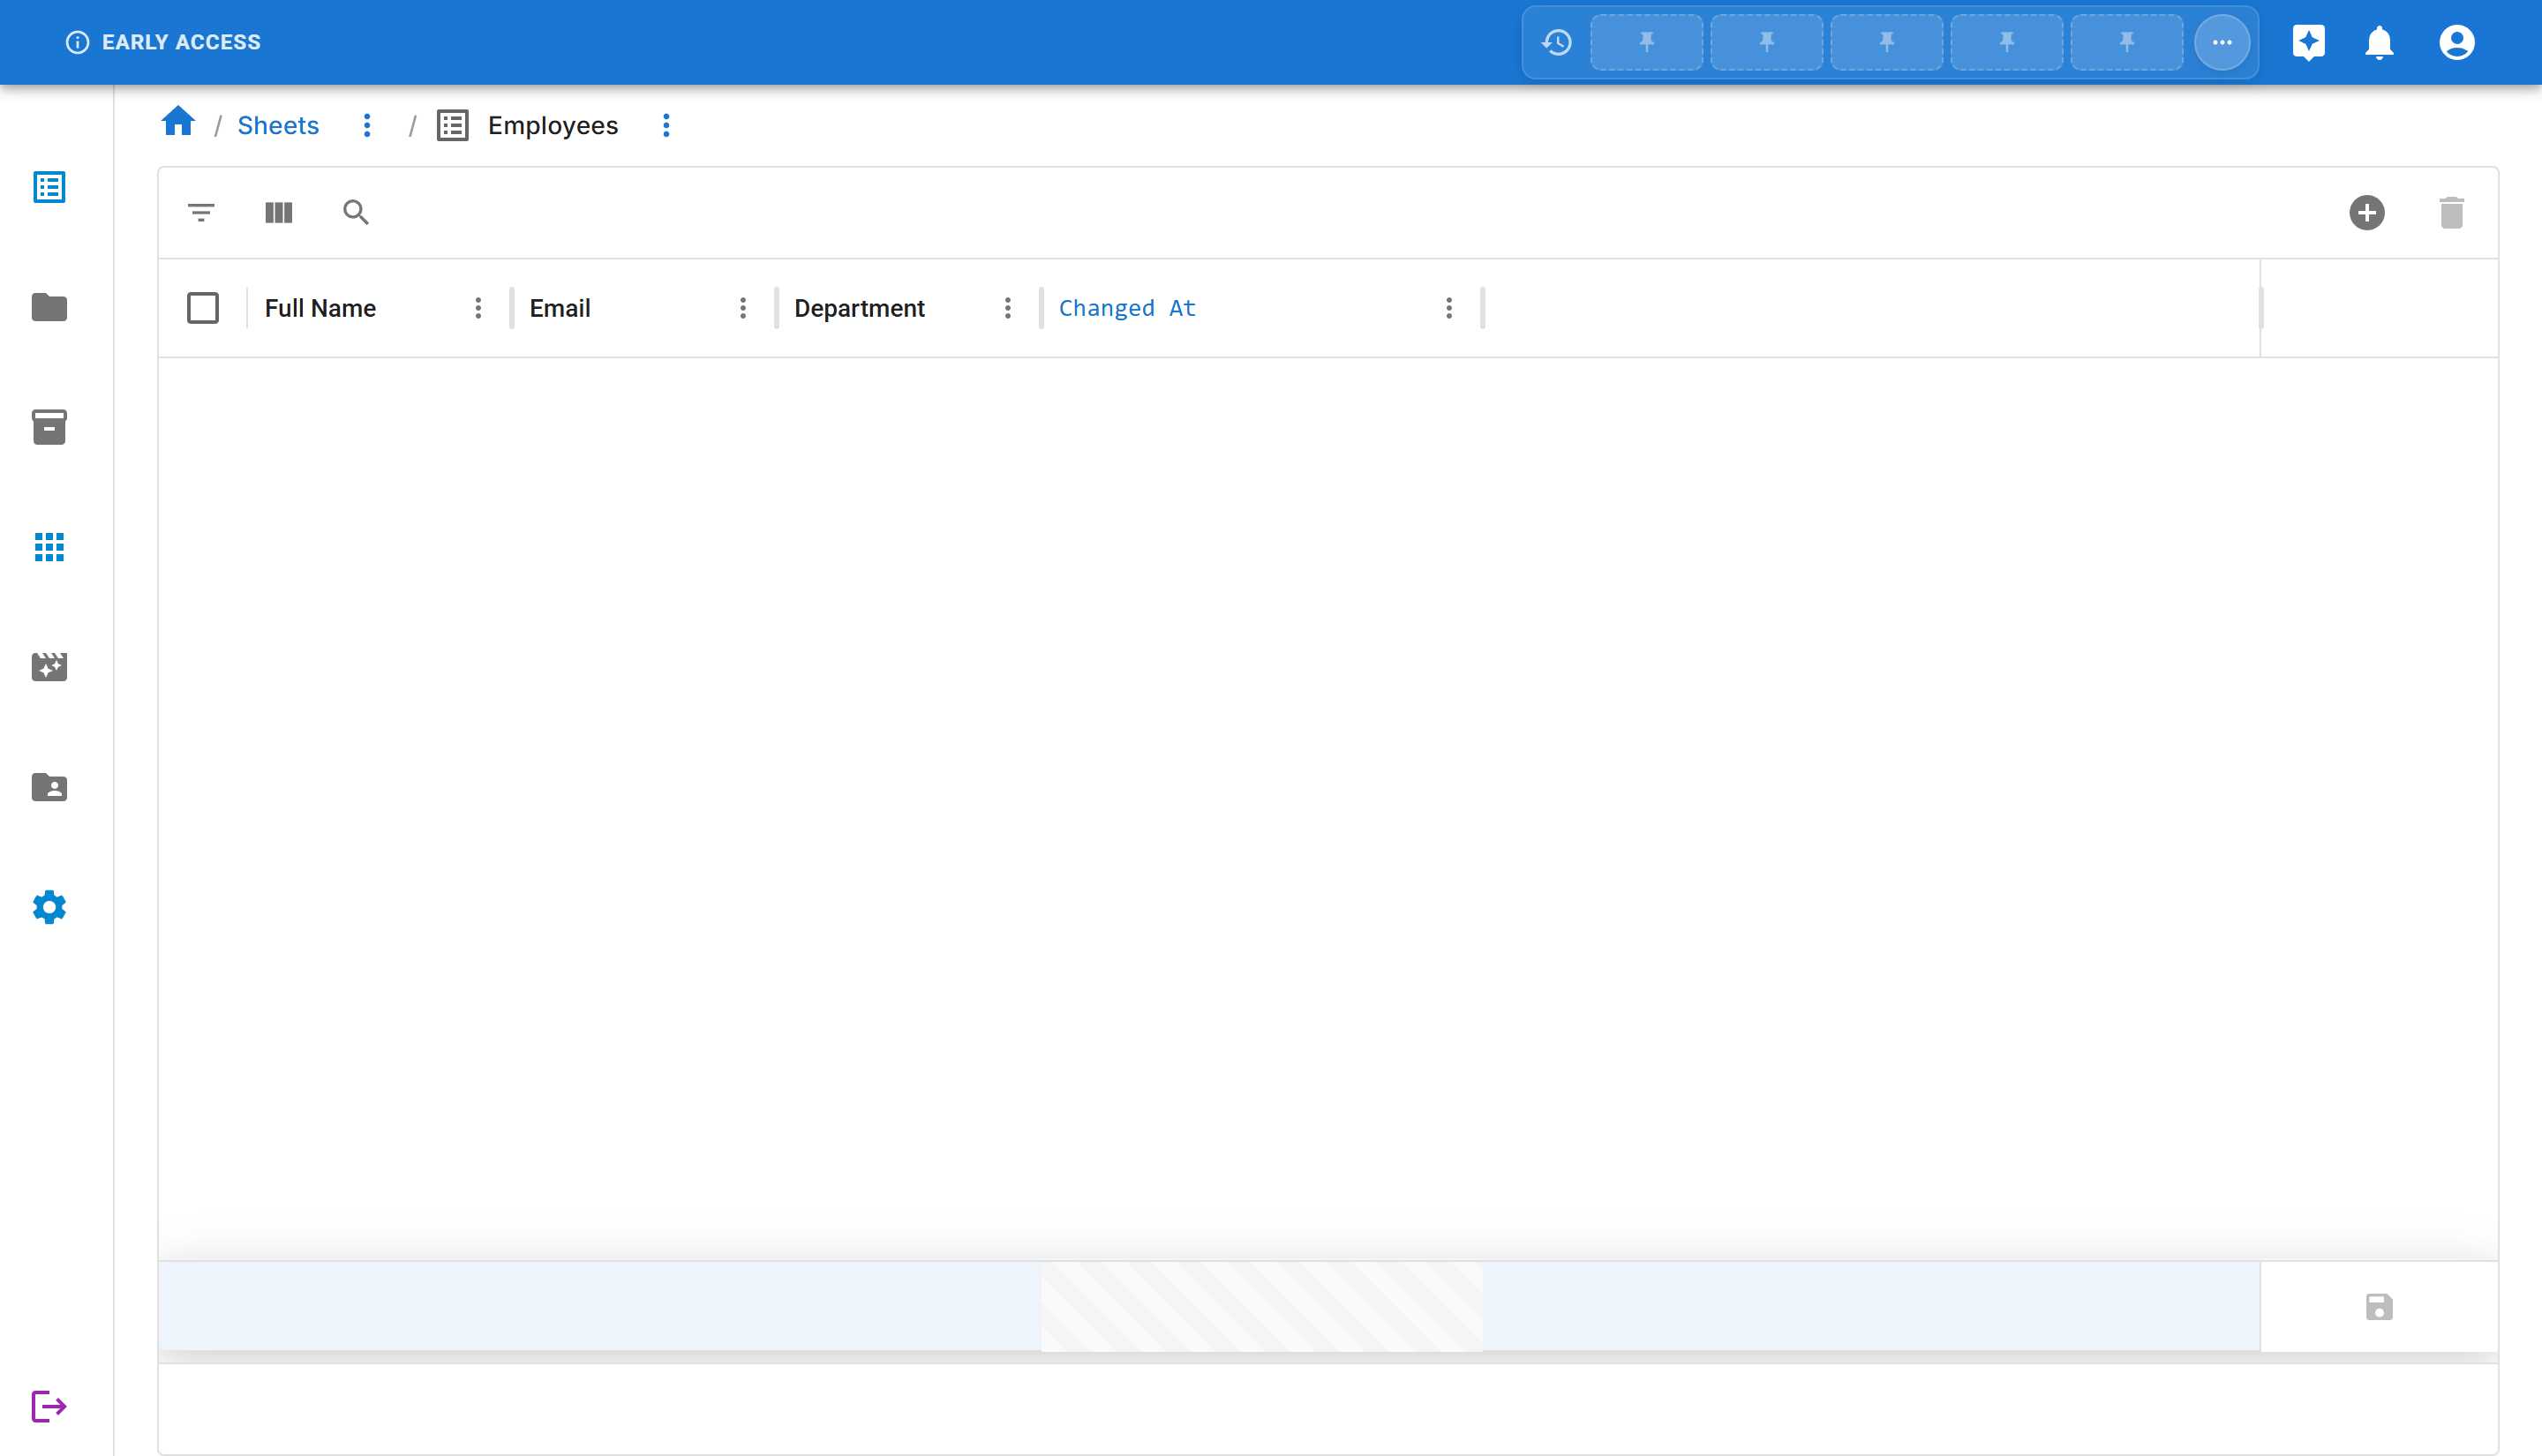
Notice the toolbar at the top with several options:
- Filters - Filter your data
- Columns - Show/hide columns
- Search - Search through your data
- Add Row - Add new data (this is what we’ll use!)
Step 2: Adding Your First Row
Section titled “Step 2: Adding Your First Row”Let’s add your first employee record to the sheet.
-
Click the “ADD ROW” button in the top-right corner of the toolbar
-
The “Add Row” dialog will open, showing input fields for all your columns:

The dialog displays:
- Input fields for each column in your sheet
- Save button to save your data
- Info Panel on the right (shows computed columns and triggers when applicable)
Step 3: Filling in the Data
Section titled “Step 3: Filling in the Data”Now let’s enter information for our first employee.
-
Full Name field:
- Type:
John Smith
- Type:
-
Email field:
- Type:
john.smith@company.com
- Type:
-
Department field (dropdown):
- Click on the dropdown
- Select:
Engineering
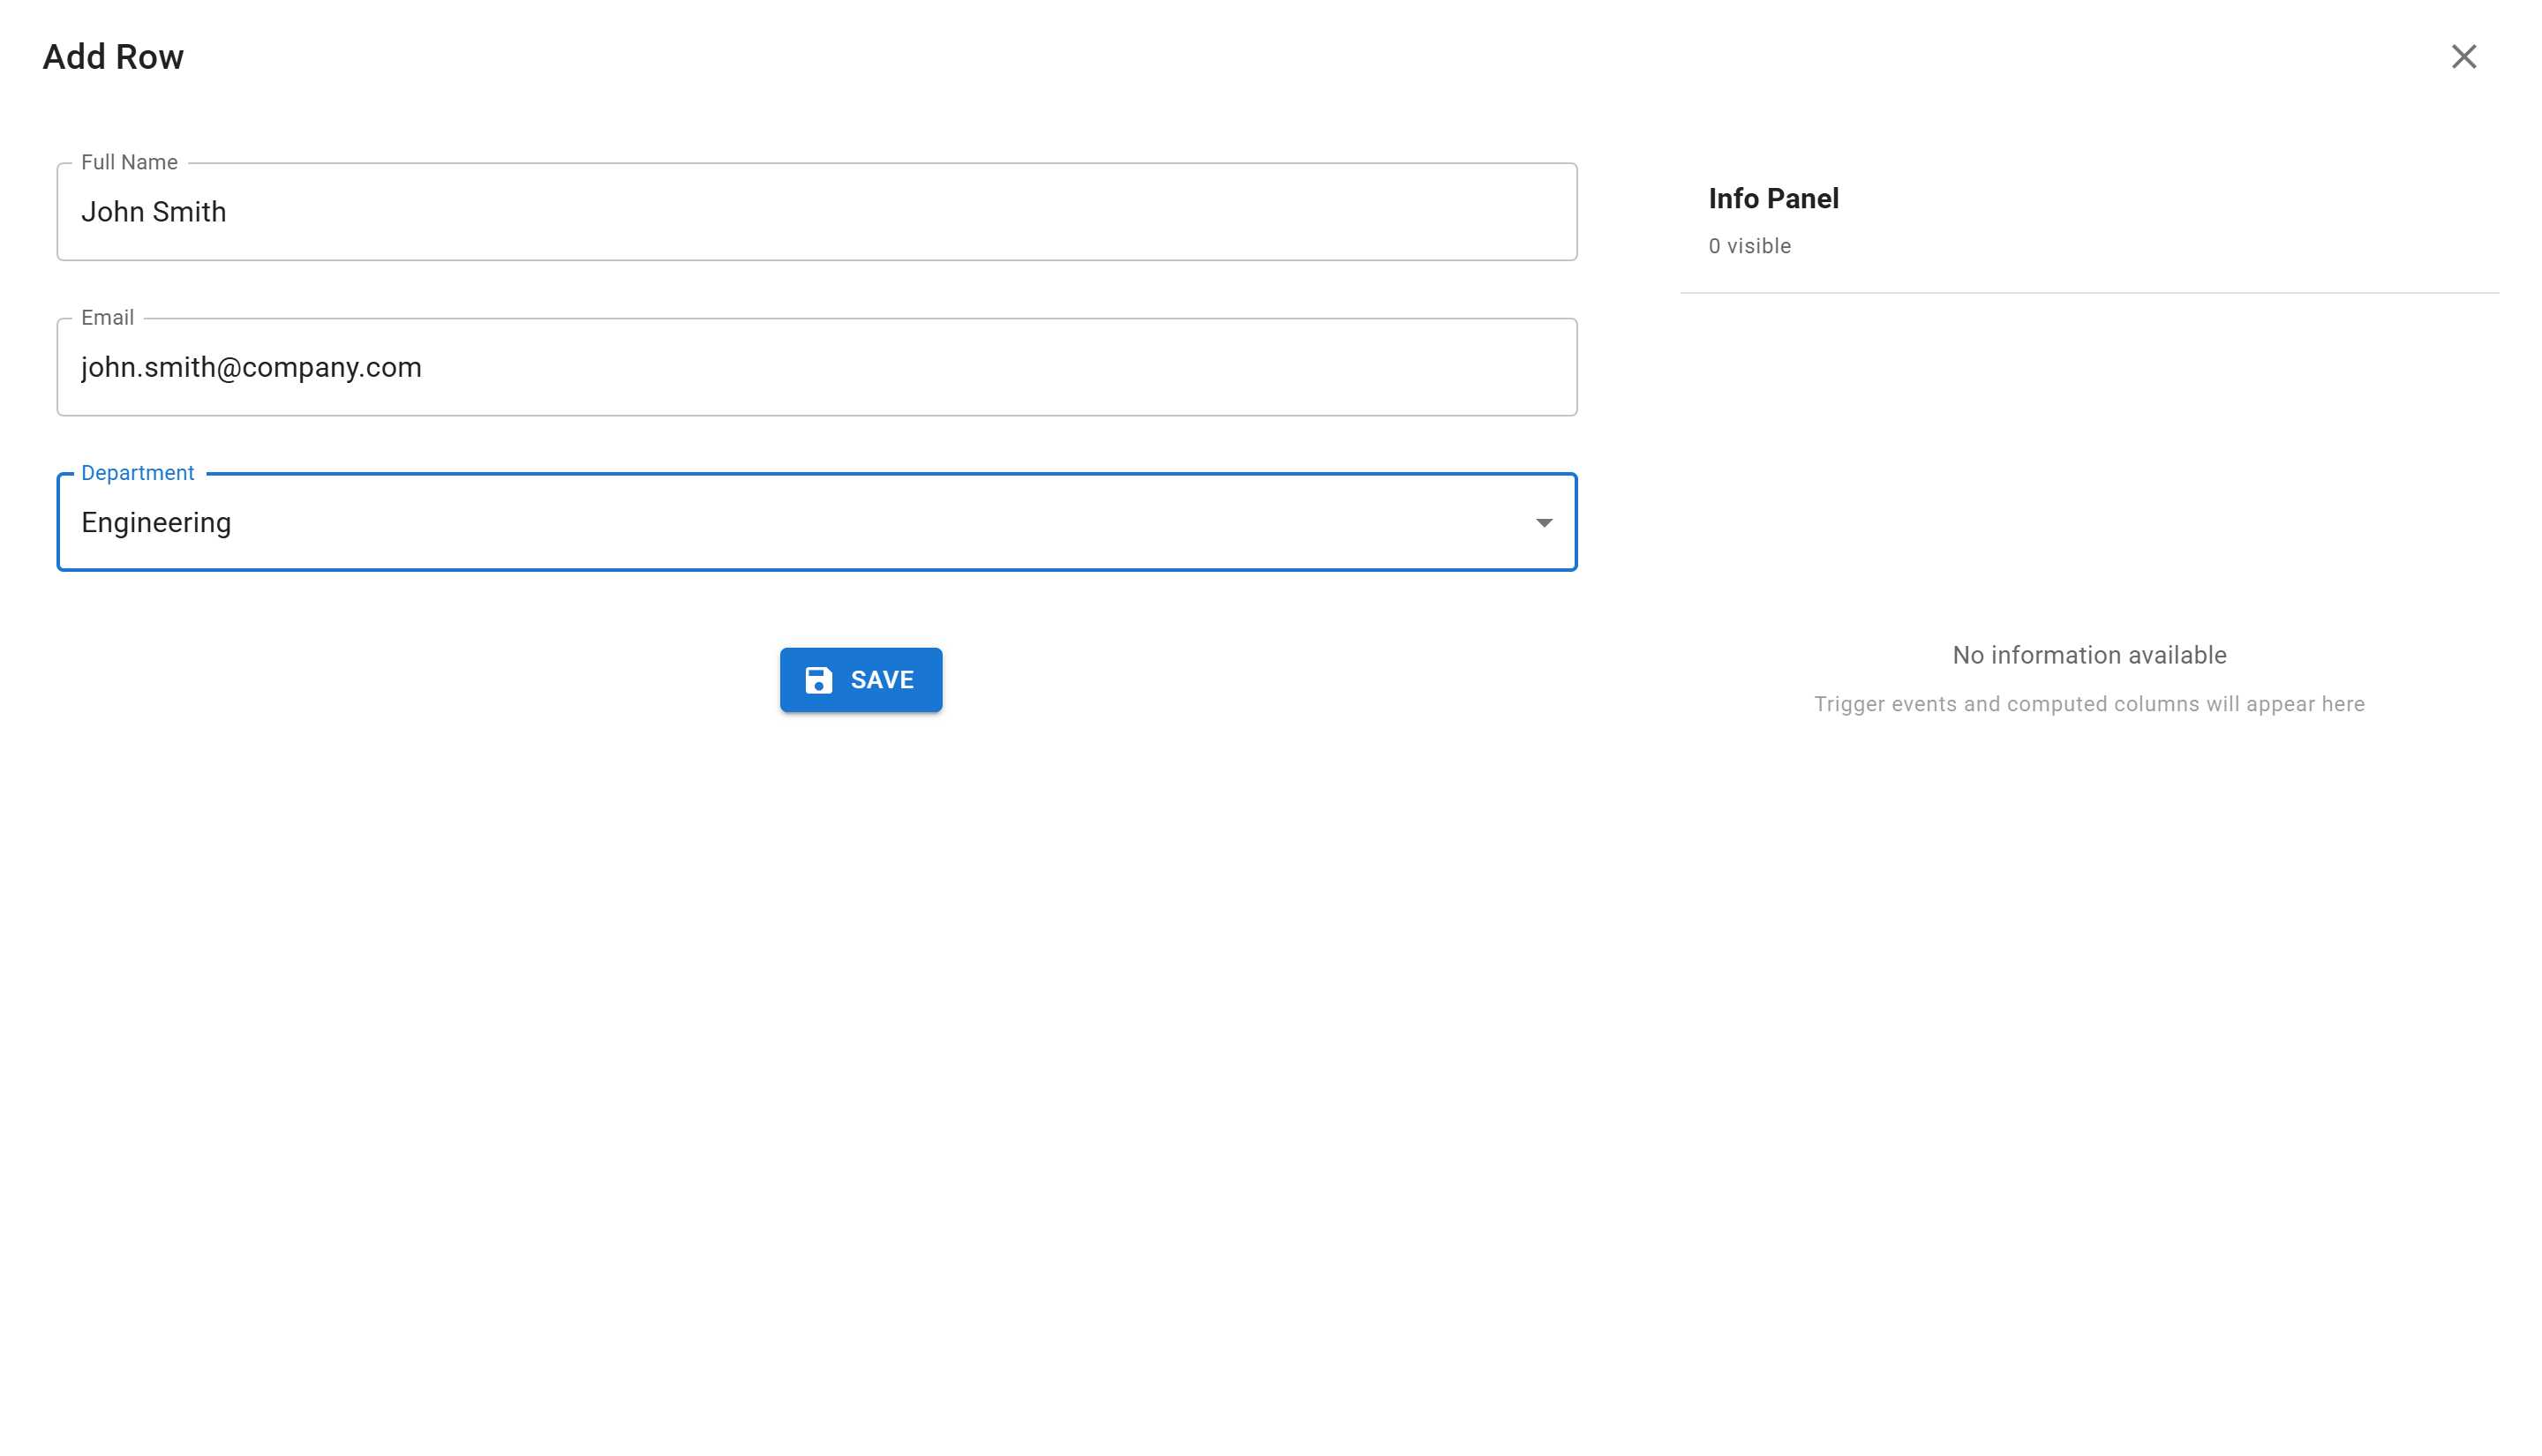
- Click the “SAVE” button to save your first row
Step 4: Viewing Your Data
Section titled “Step 4: Viewing Your Data”After saving, you’ll see your new row appear in the sheet grid!
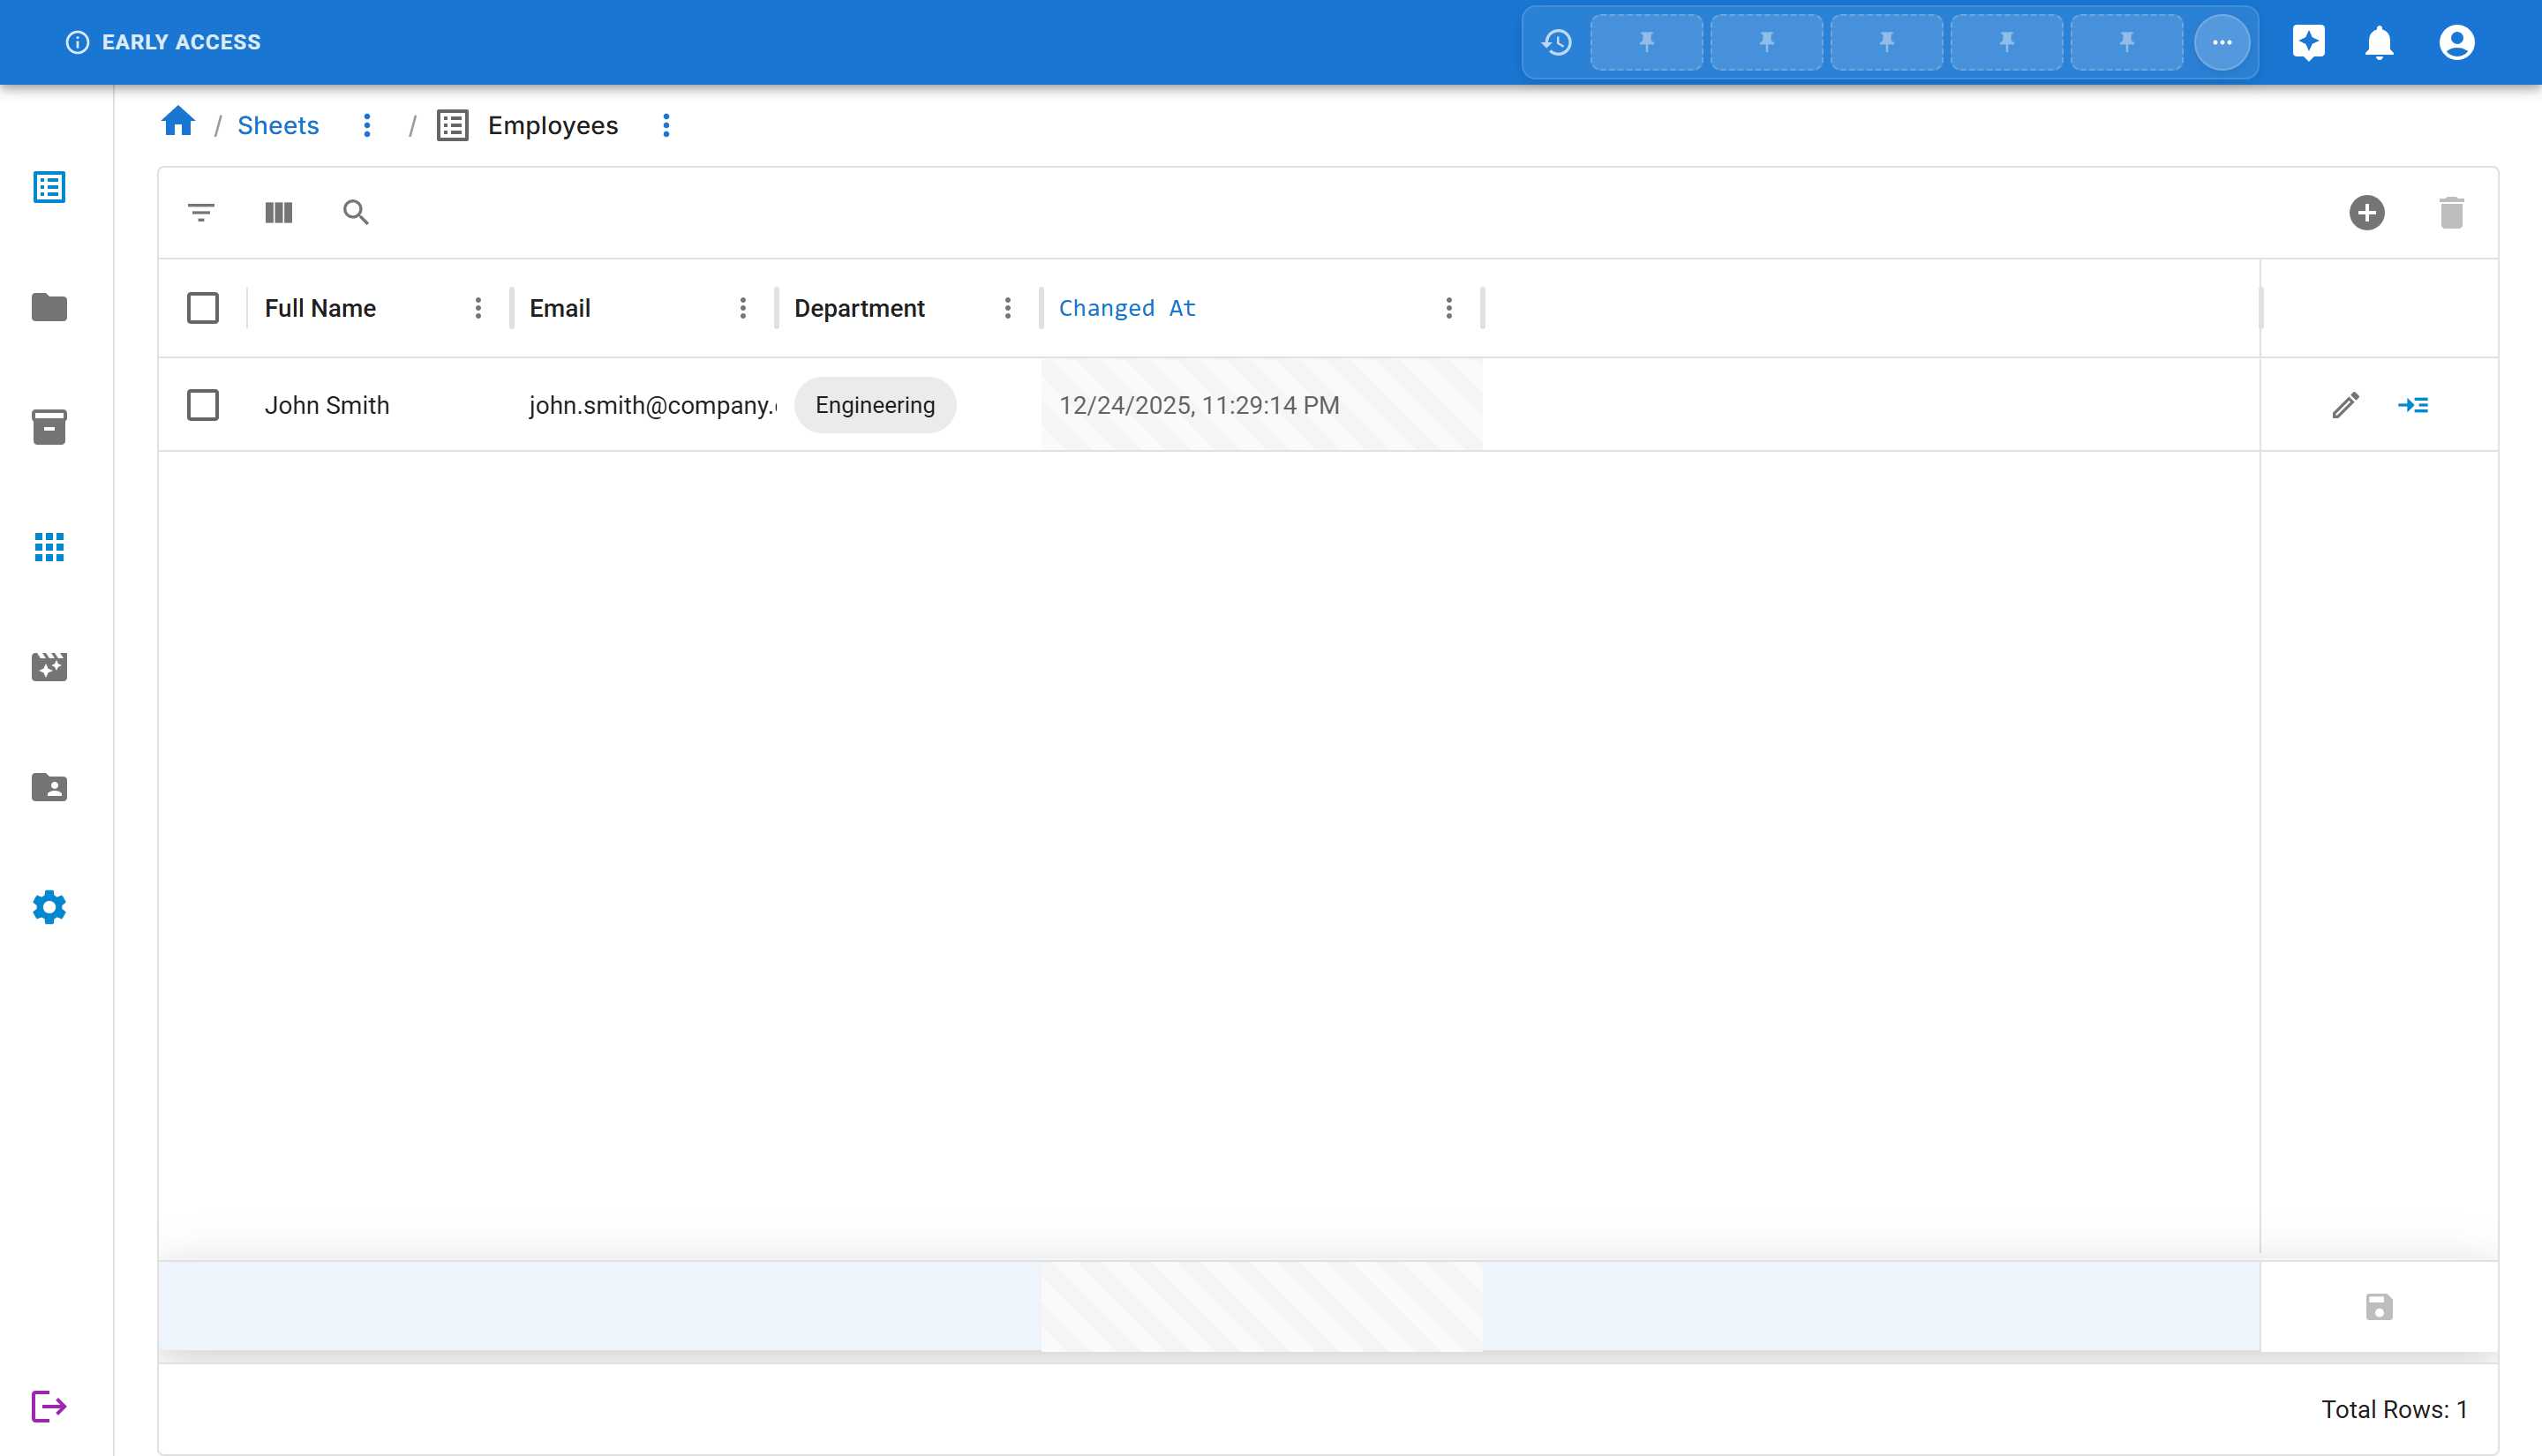
Notice that your row now includes:
- ✅ Checkbox for row selection
- ✅ All the data you entered
- ✅ Changed At column automatically populated with the timestamp
- ✅ Action buttons (Edit and Detail) for managing the row
The bottom of the sheet shows “Total Rows: 1” - your first record is saved!
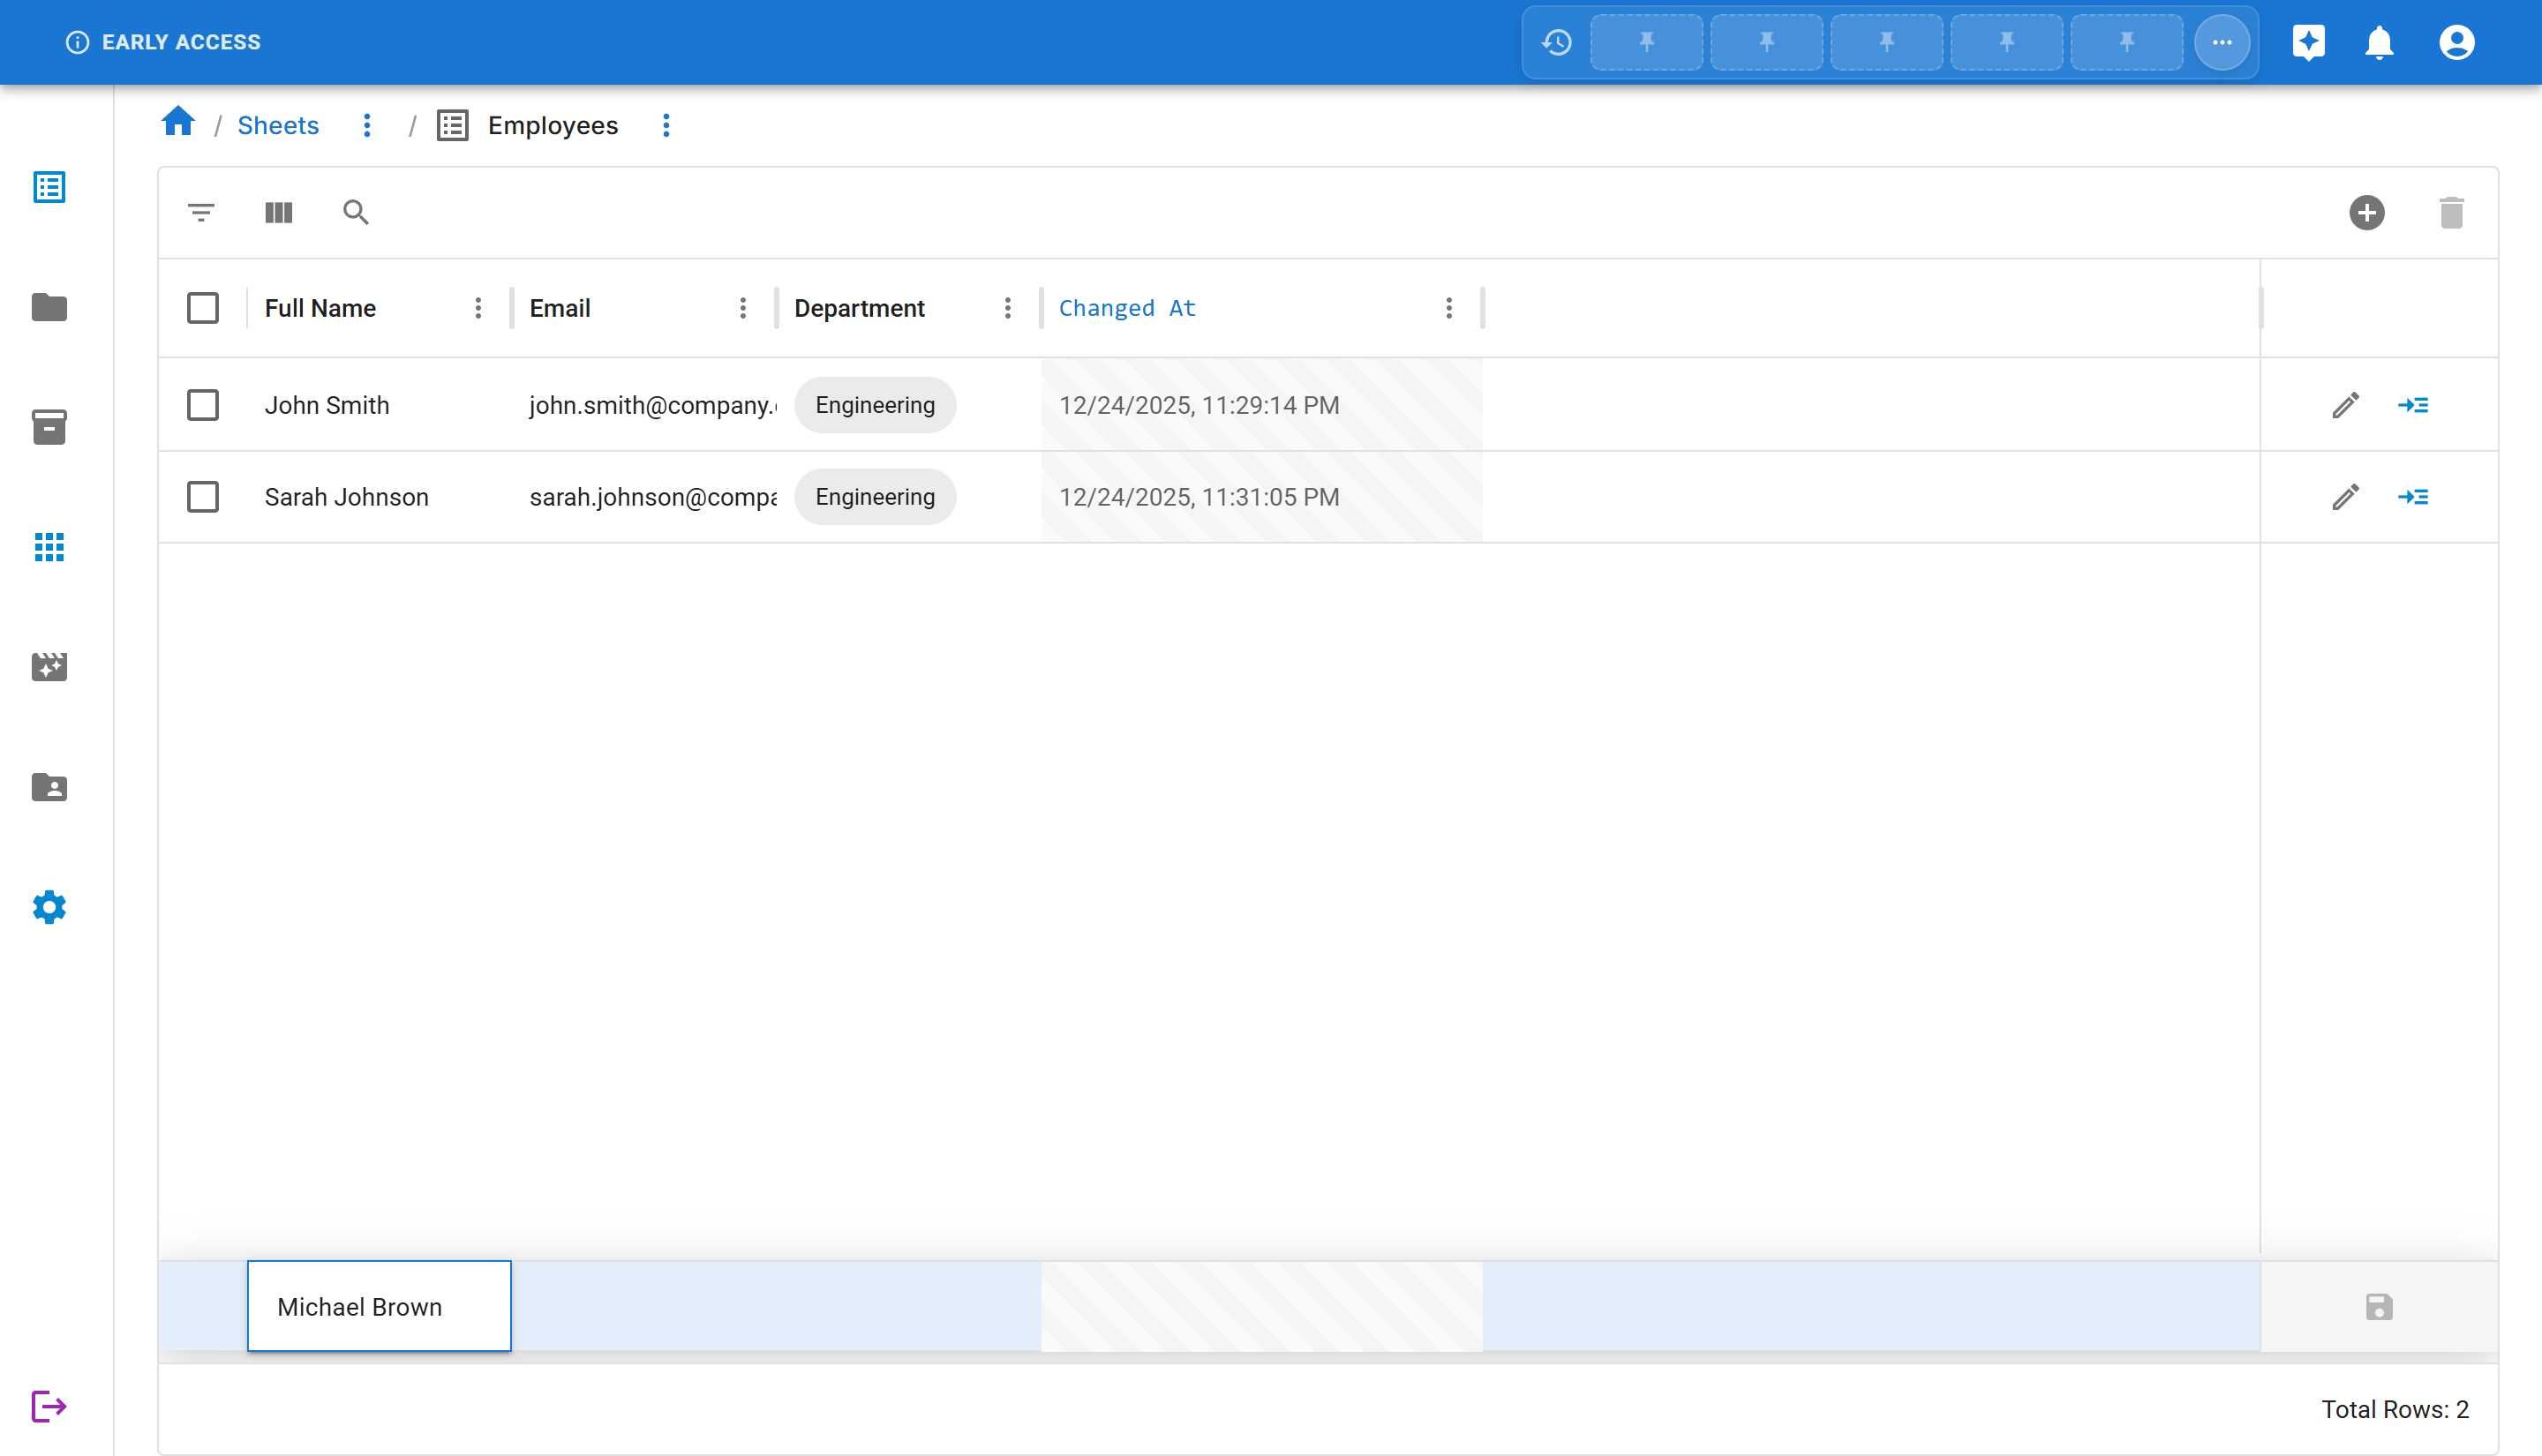
Step 5: Adding More Rows
Section titled “Step 5: Adding More Rows”Let’s add another employee to see how multiple records look.
- Click “ADD ROW” again
- Enter the following information:
- Full Name:
Sarah Johnson - Email:
sarah.johnson@company.com - Department:
Engineering
- Full Name:
- Click “SAVE”
Now you have multiple rows in your sheet!

Alternative Method: Quick Inline Entry
Section titled “Alternative Method: Quick Inline Entry”For even faster data entry, you can add rows directly in the grid using the placeholder row at the bottom of your sheet. This method is perfect when you need to quickly enter data without opening dialogs.
Step 1: Locate the Placeholder Row
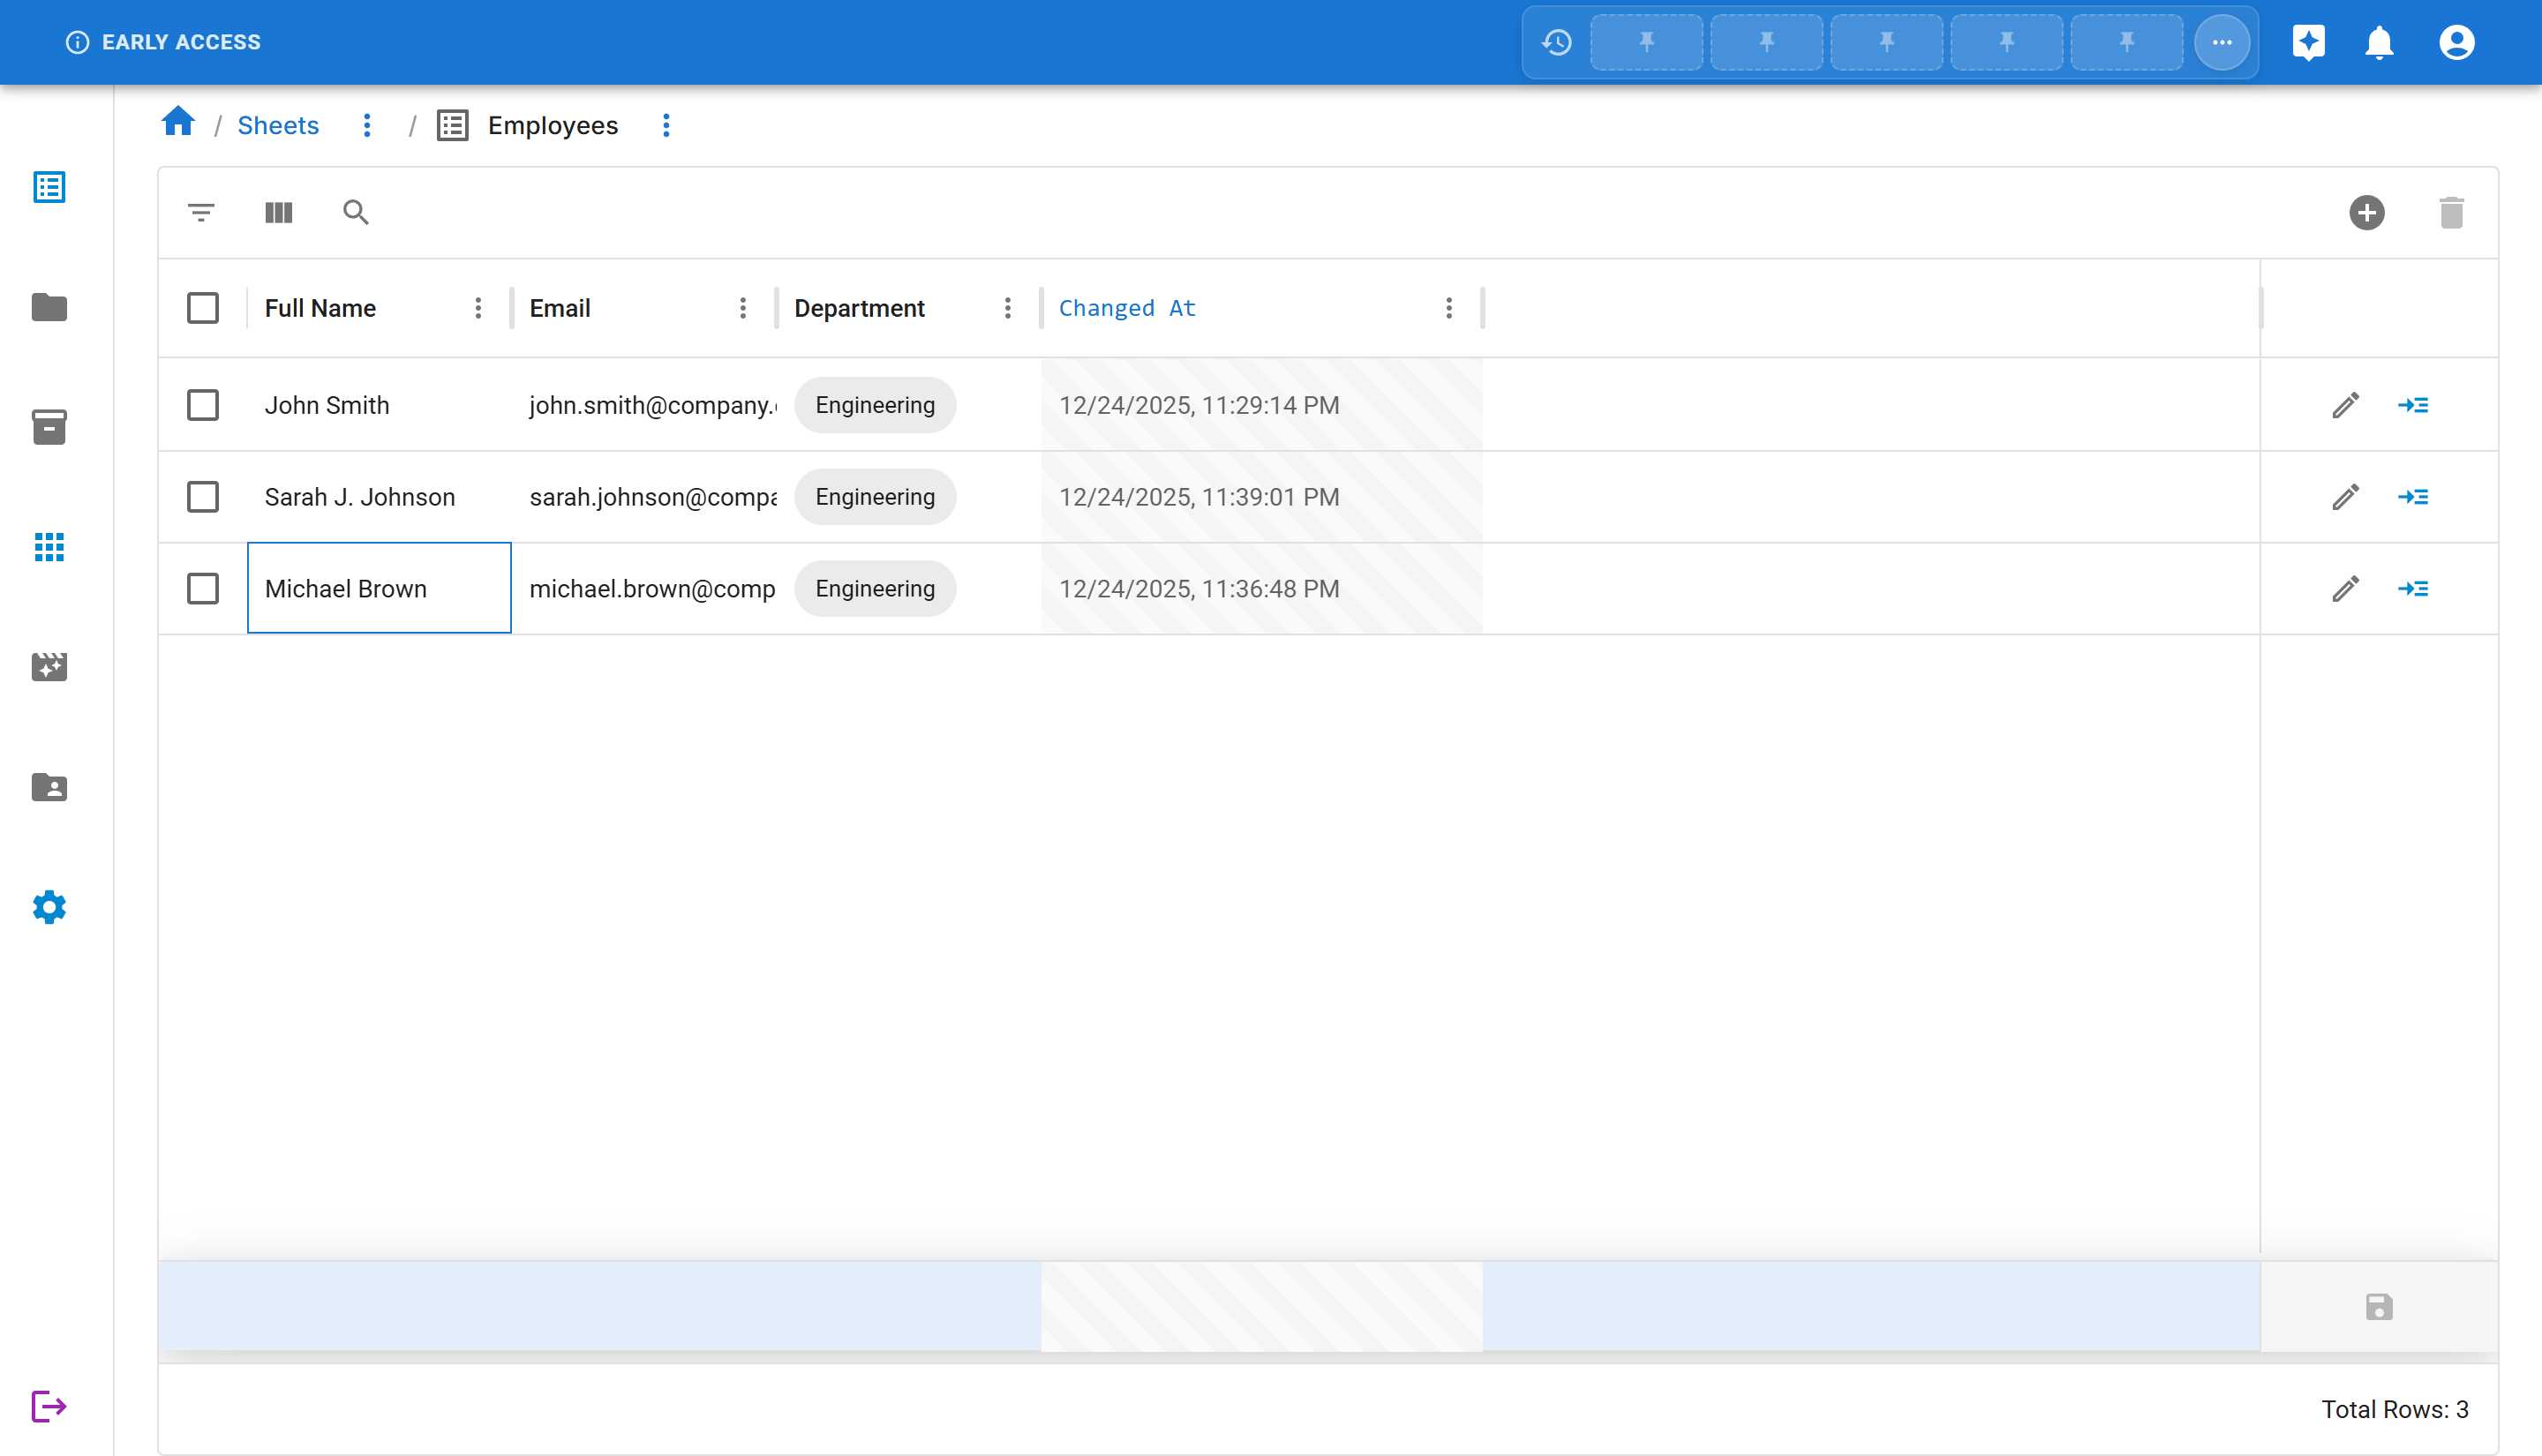
Section titled “Step 1: Locate the Placeholder Row”Scroll to the bottom of your sheet data. You’ll see an empty placeholder row with a light blue background:
Step 2: Start Typing
Section titled “Step 2: Start Typing”Simply click on any cell in the placeholder row and start typing. The cell will become editable:
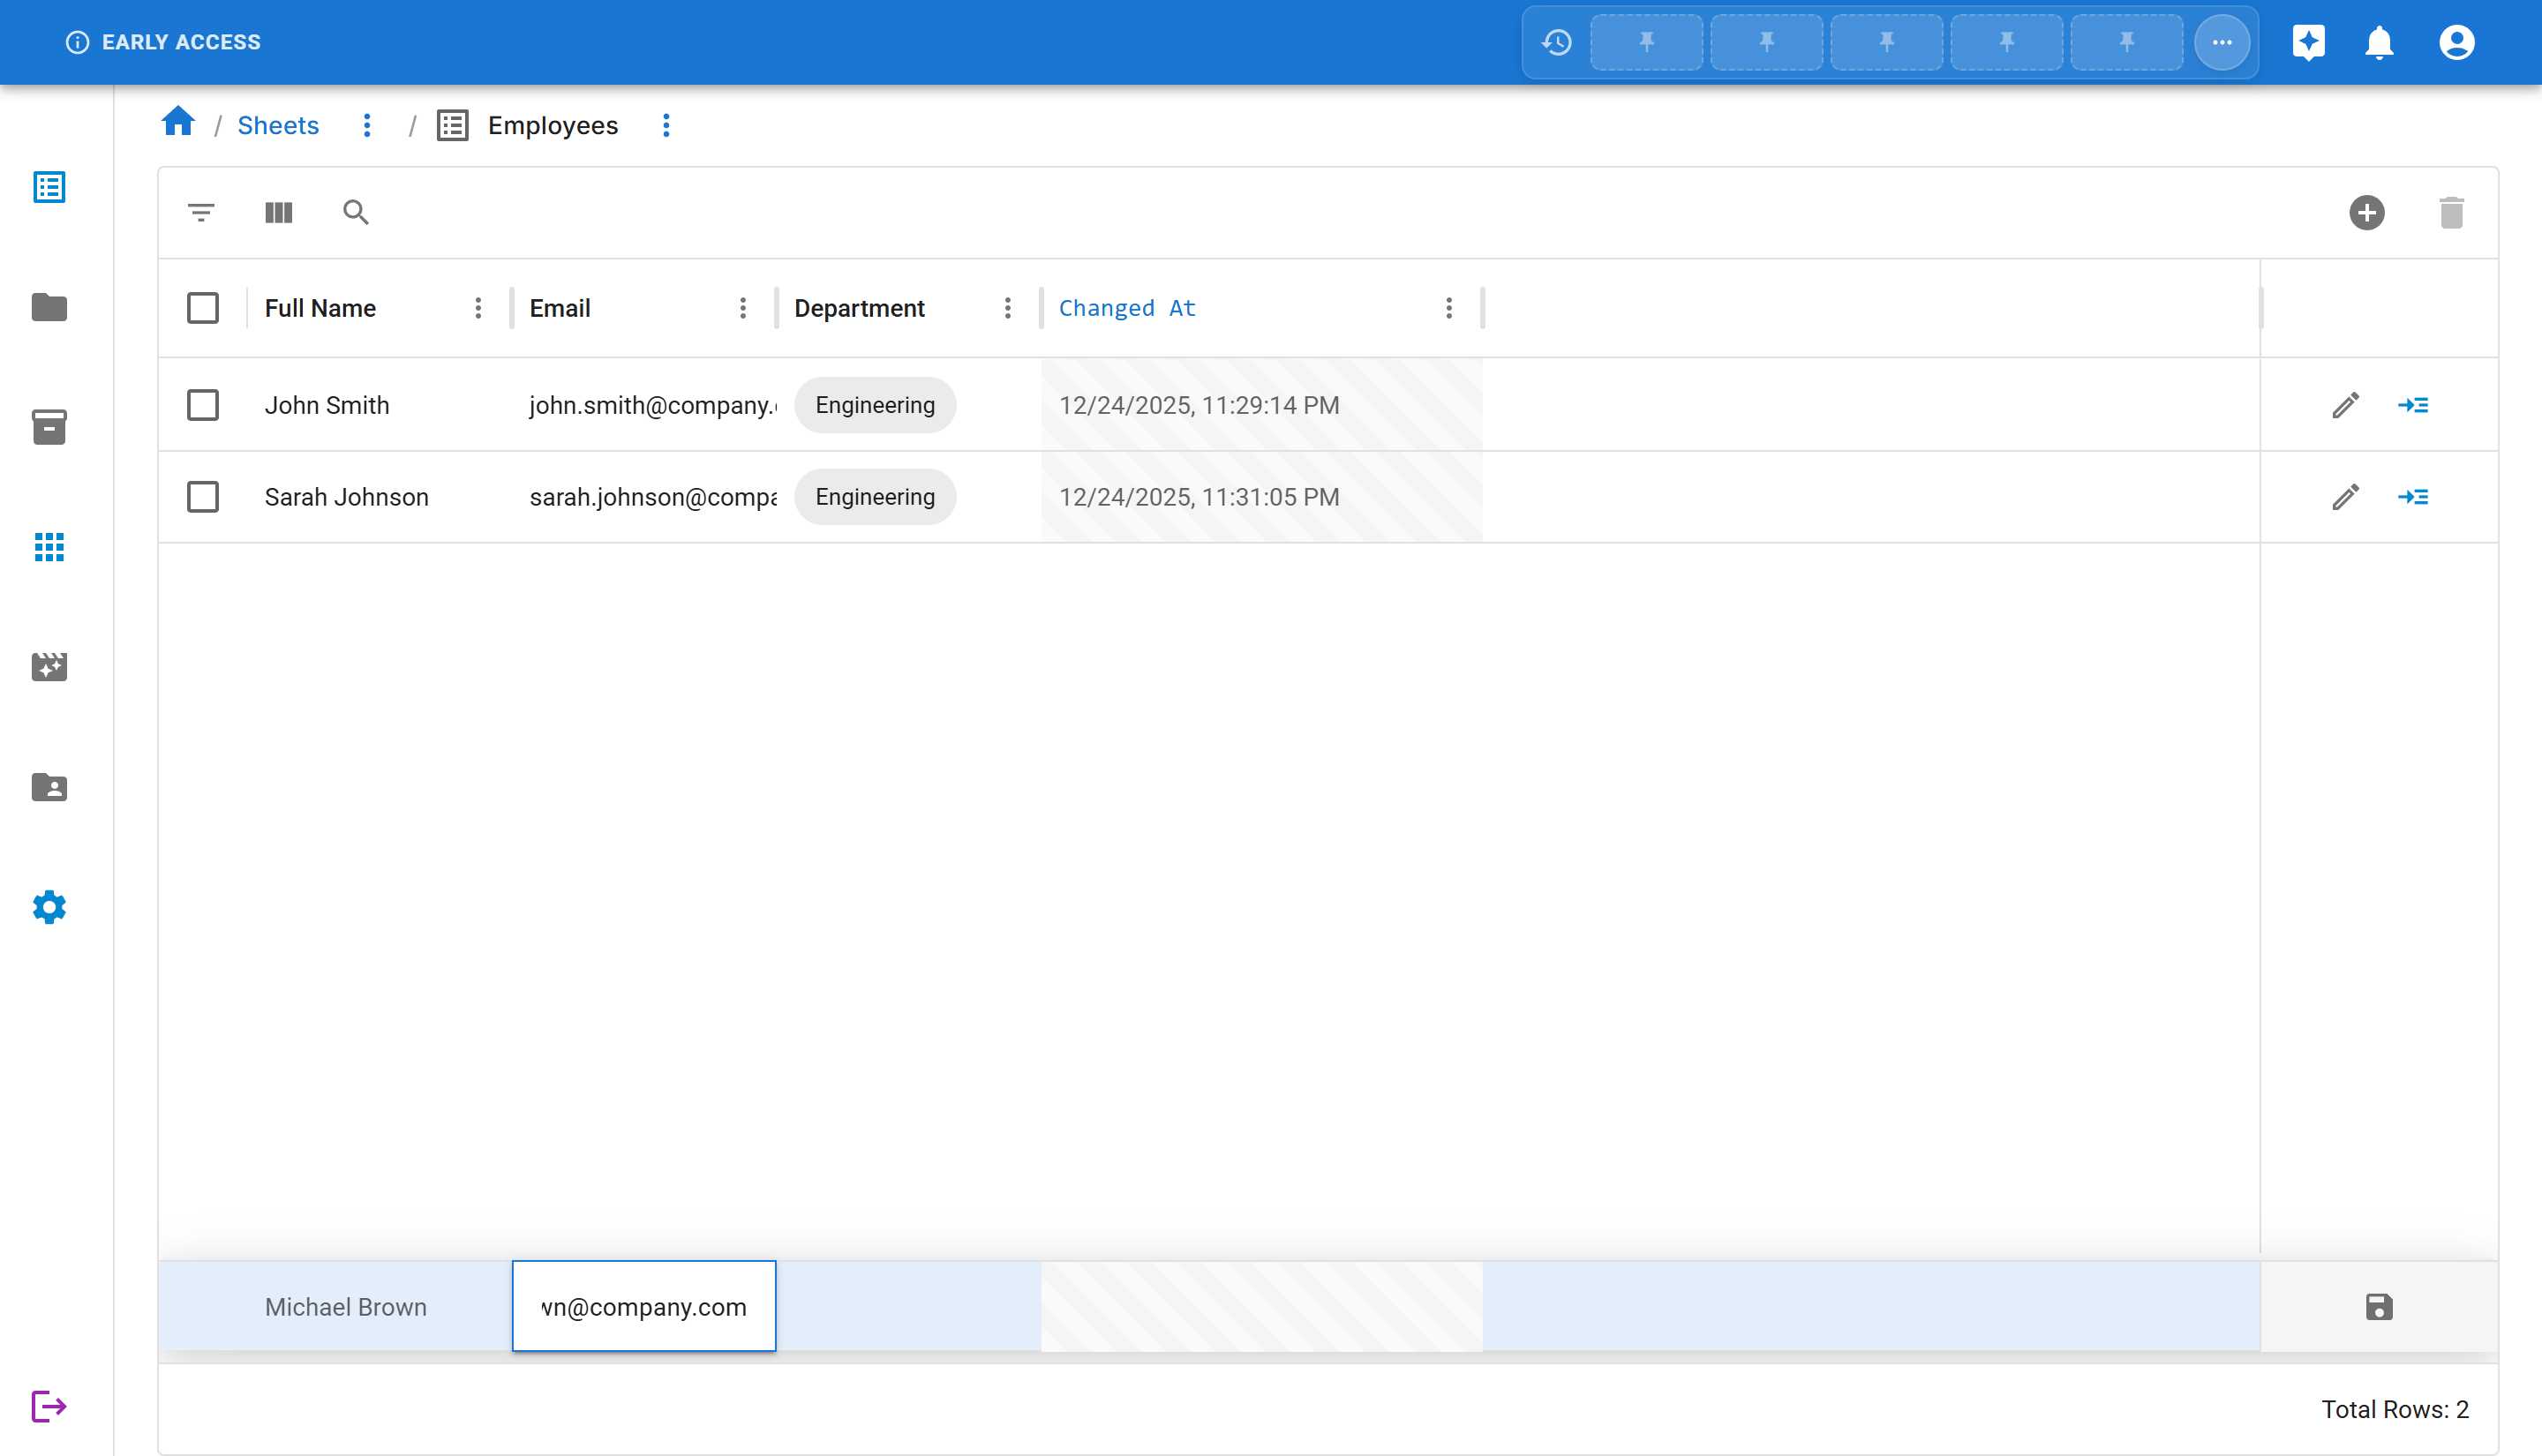
- Click on the Full Name cell in the placeholder row
- Type:
Michael Brown
The cell activates as an editable field as you type!
Step 3: Move to Next Field
Section titled “Step 3: Move to Next Field”Press Tab or click the next cell to move to the Email field:
- Type:
michael.brown@company.com
Step 4: Fill Remaining Fields
Section titled “Step 4: Fill Remaining Fields”Continue filling in the remaining fields:
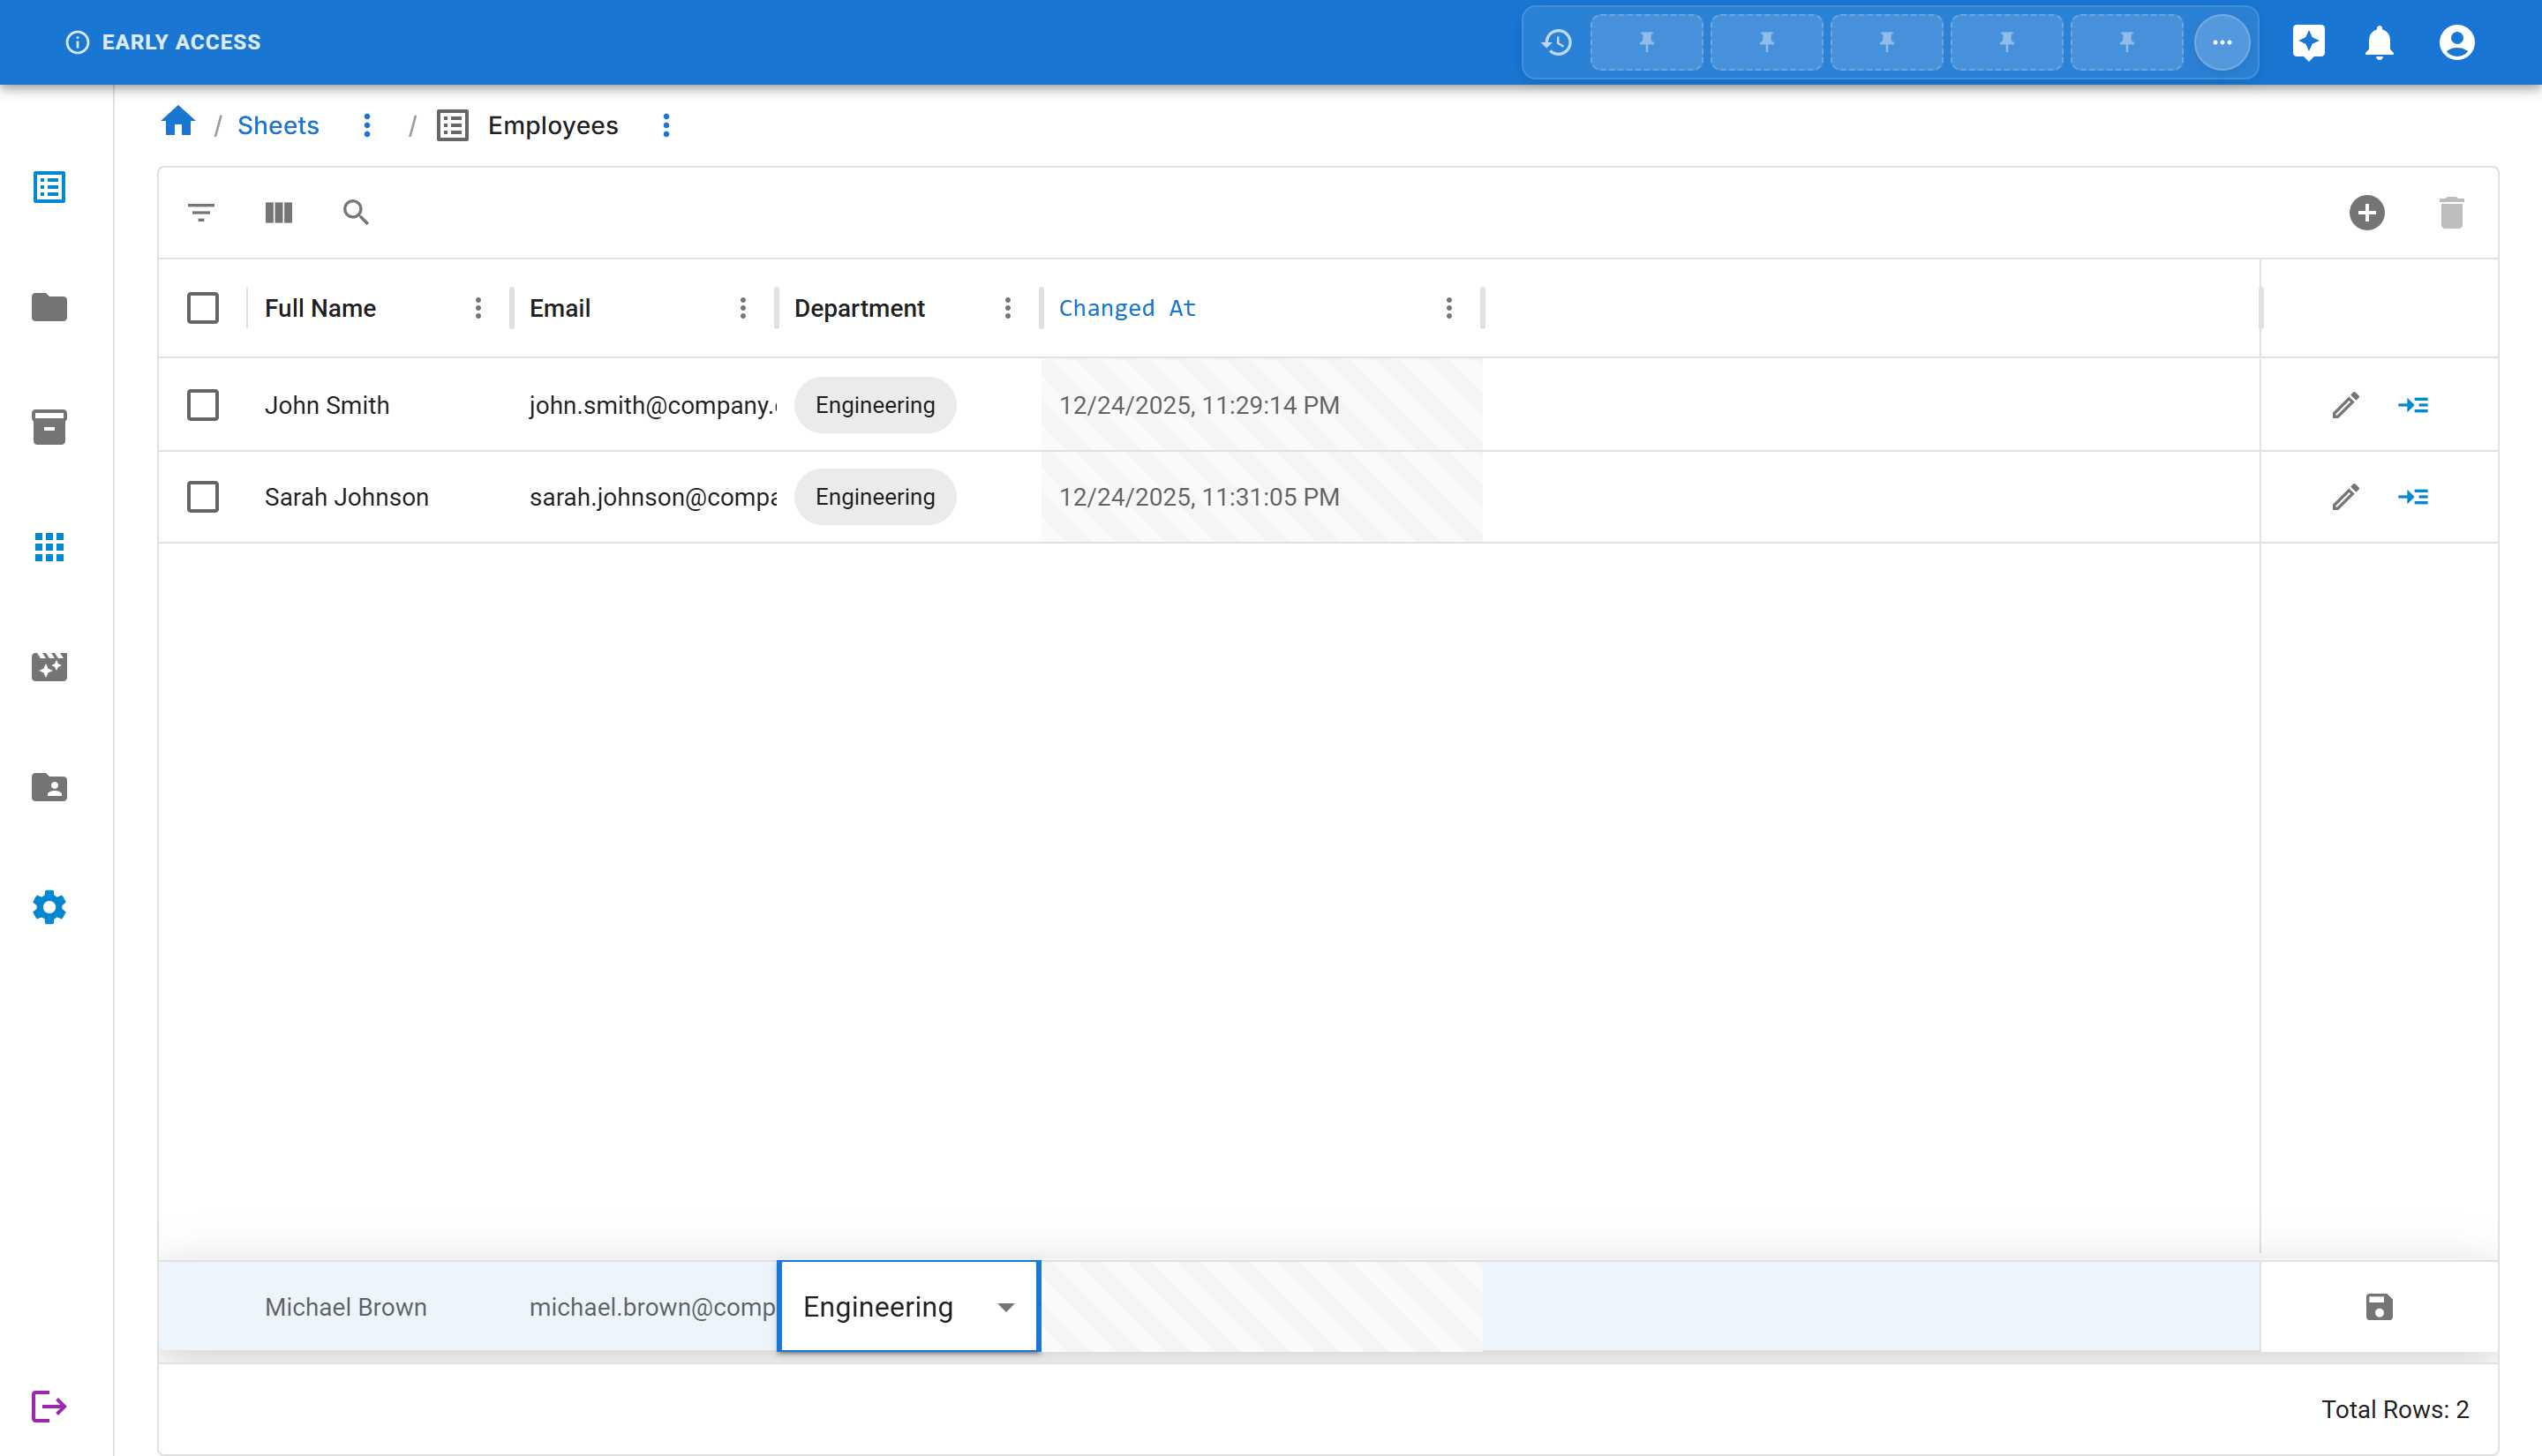
- Press Tab or click the Department cell
- Start typing
Engineering- a dropdown will appear - Click on “Engineering” from the dropdown
Step 5: Save the Row
Section titled “Step 5: Save the Row”Once all fields are filled, click the Save button that appears on the right side of the row.
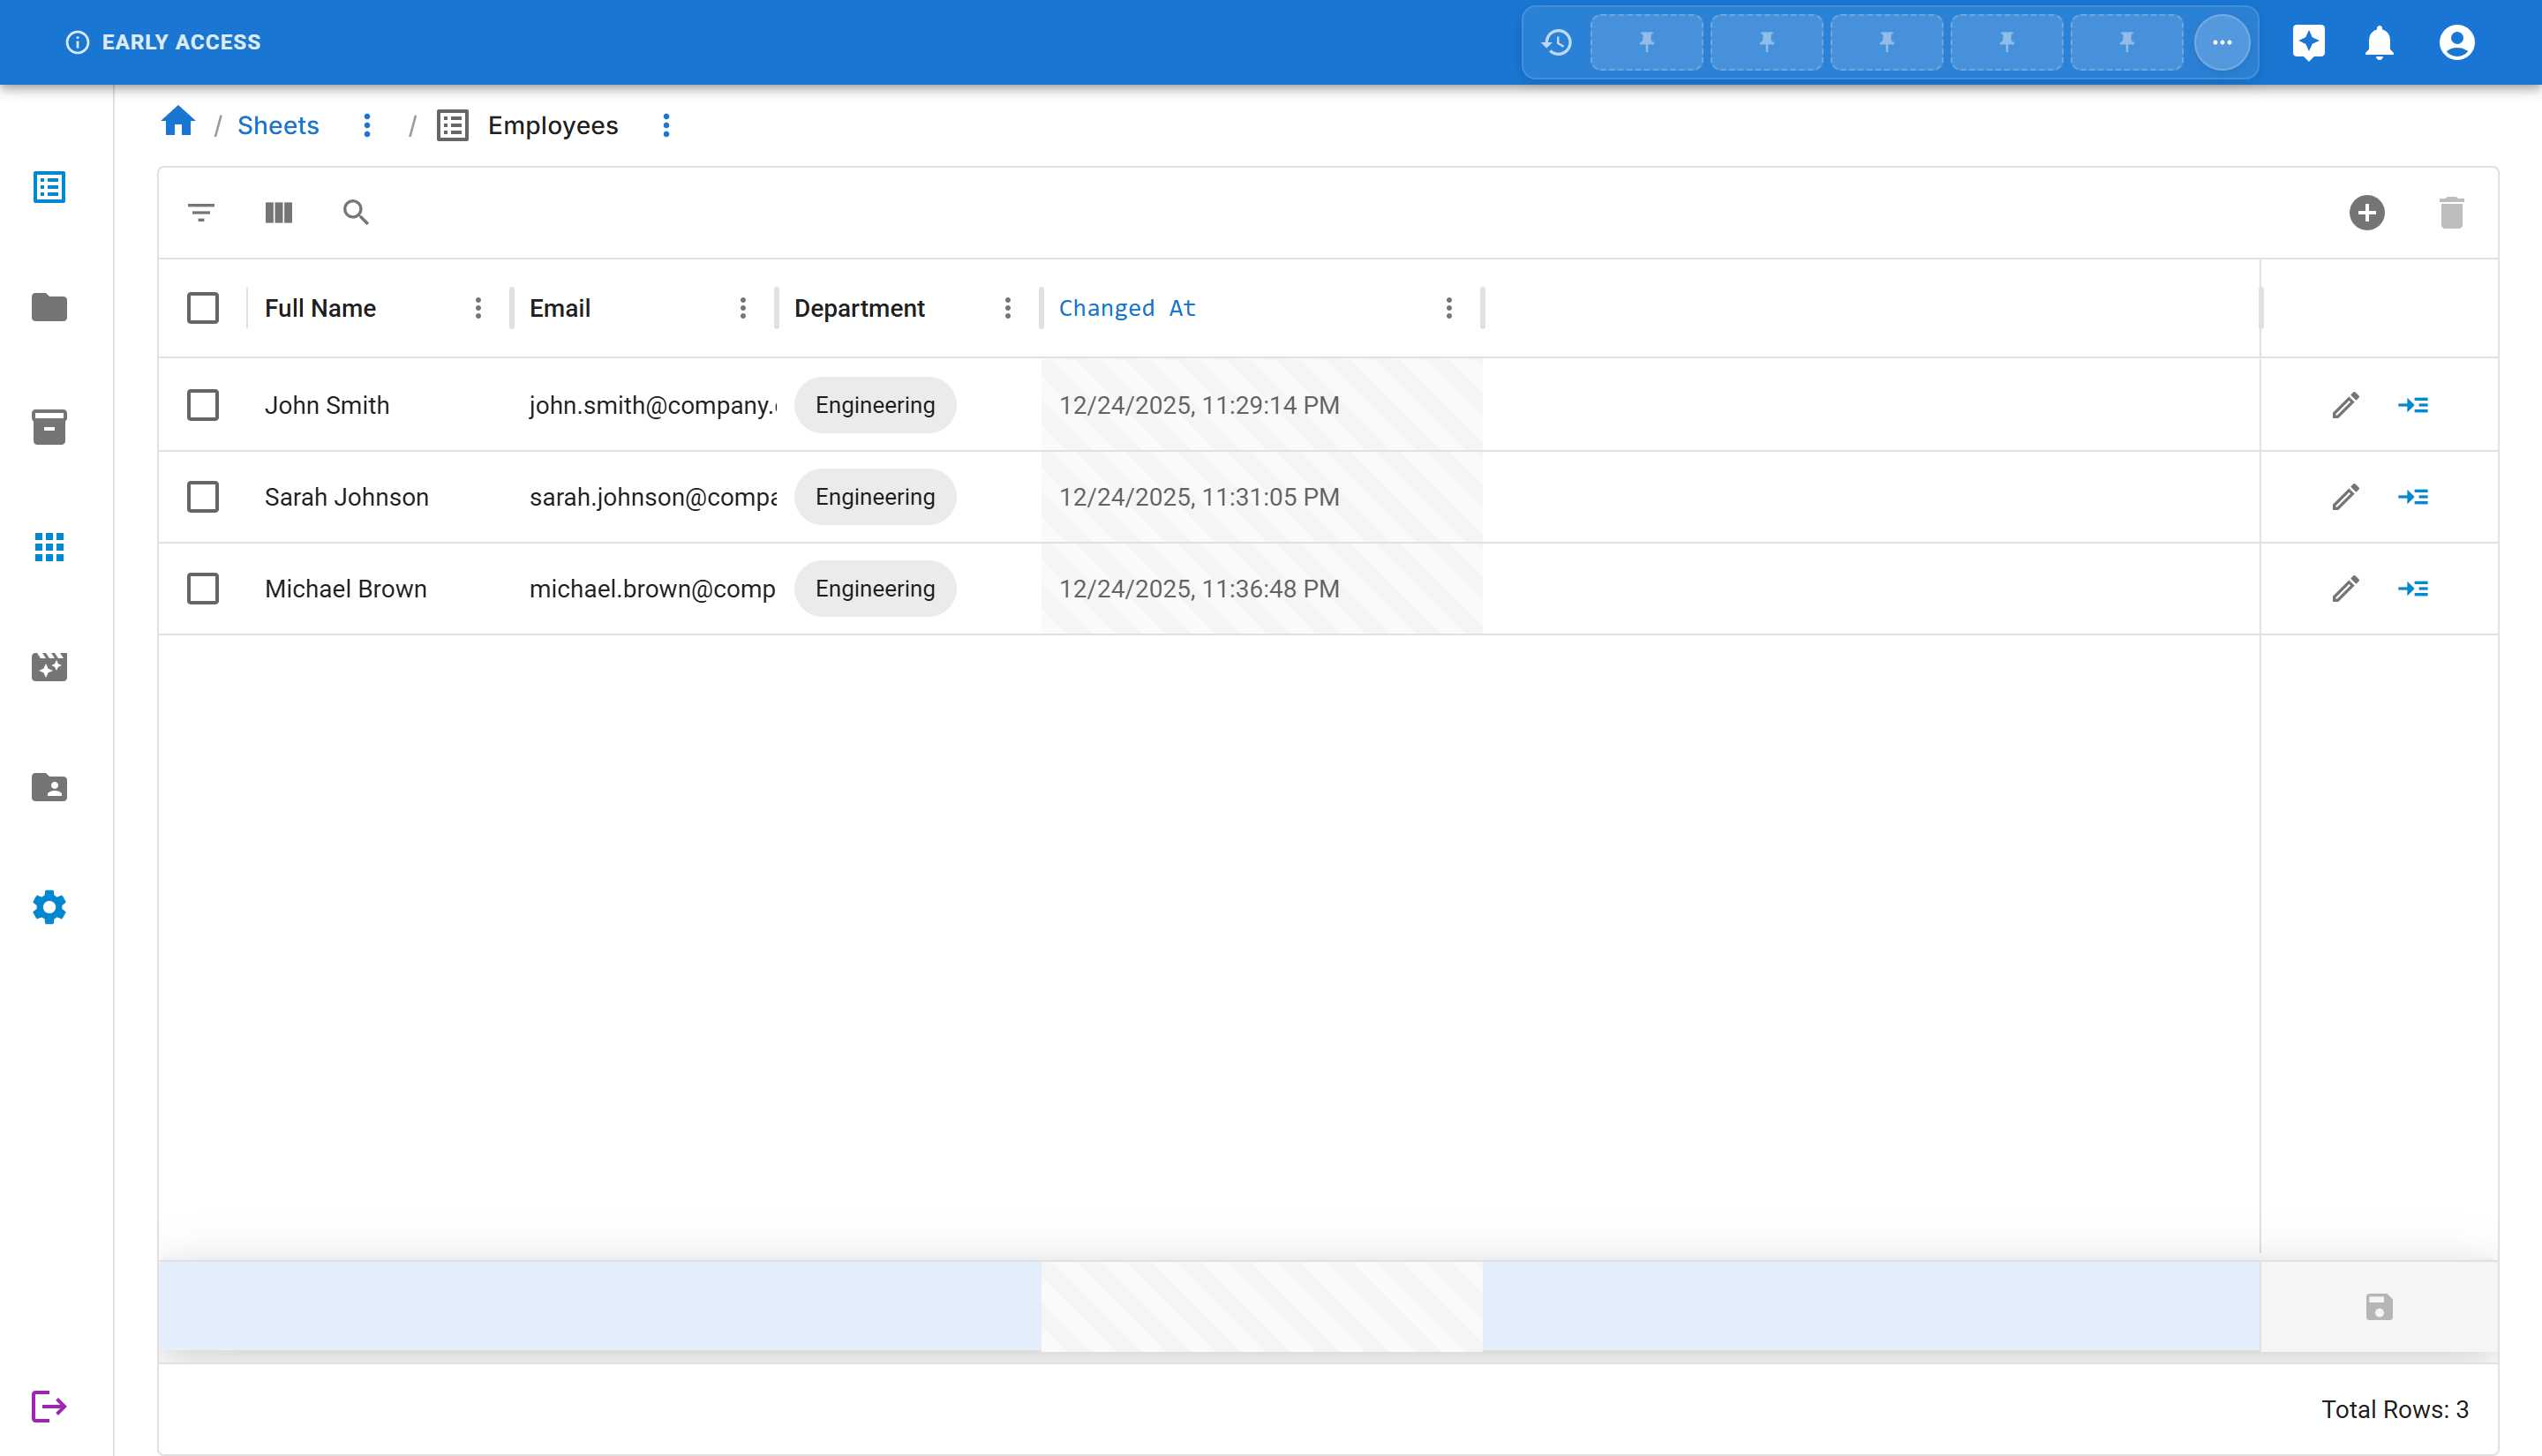
The row is saved and moves up to join your other data rows. A new empty placeholder row appears at the bottom, ready for the next entry!
Editing Existing Data
Section titled “Editing Existing Data”Need to update information? Sheety App makes it easy to edit existing rows.
Method 1: Using the Edit Button
Section titled “Method 1: Using the Edit Button”- Locate the row you want to edit
- Click the Edit button (pencil icon) on the right side of the row
- The “Edit Row” dialog opens with all current data pre-filled

- Make your changes
- Click “SAVE” to update the row
Method 2: Inline Editing (Quick Edit)
Section titled “Method 2: Inline Editing (Quick Edit)”For faster edits, you can click directly on any cell and start typing to edit it inline.
- Click on any cell you want to edit (or start typing directly)
- The cell becomes editable with a text input field
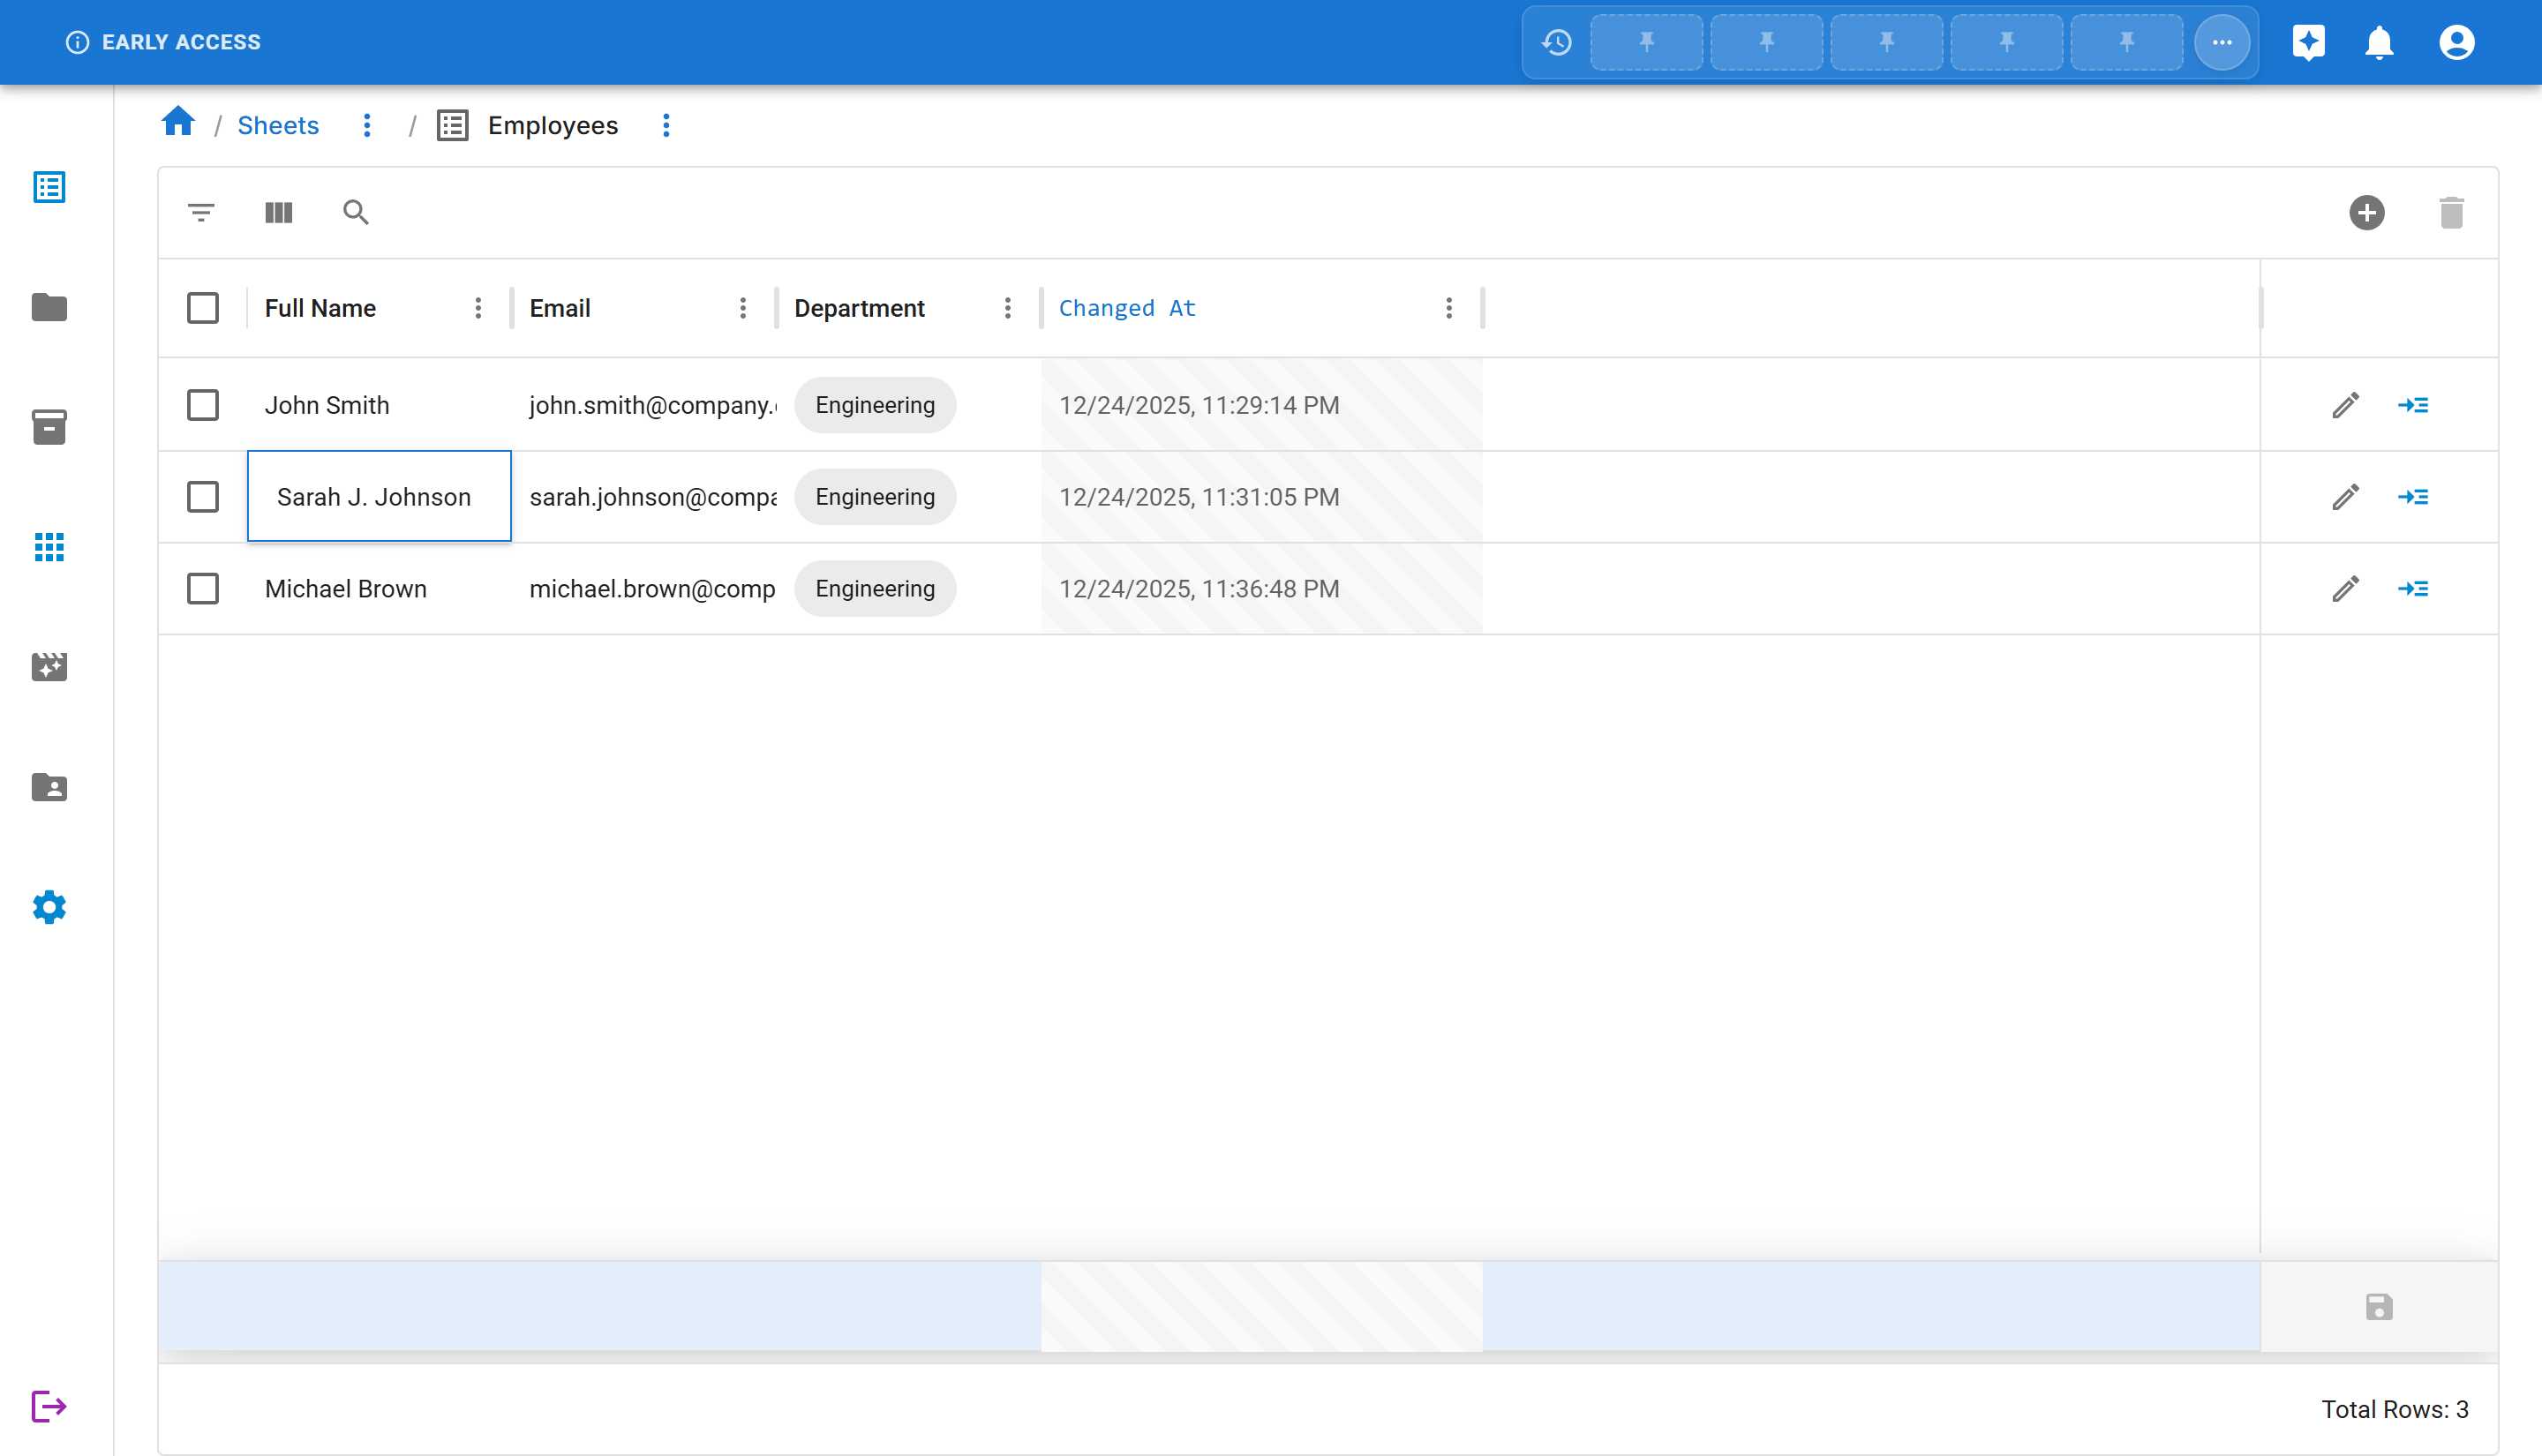
- Make your changes
- Press Enter to save the change
The row is automatically updated and the timestamp changes to reflect the edit!
Managing Your Data
Section titled “Managing Your Data”Selecting Rows
Section titled “Selecting Rows”You can select rows for bulk operations:
- Select one row - Click the checkbox at the left of any row
- Select all rows - Click the checkbox in the header row
- Select multiple rows - Hold Ctrl (Windows) or Cmd (Mac) while clicking checkboxes
Deleting Rows
Section titled “Deleting Rows”To delete one or more rows:
- Select the row(s) you want to delete using the checkboxes
- Click the “DELETE ROW” button in the toolbar (becomes enabled when rows are selected)
- Confirm the deletion in the dialog that appears
Understanding Column Types in Data Entry
Section titled “Understanding Column Types in Data Entry”Different column types provide different input methods:
| Column Type | Data Entry Method | Example |
|---|---|---|
| Text | Text input field | Name, description, notes |
| Number | Numeric input field | Age, quantity, price |
| Check box | Toggle switch | Active/Inactive, Yes/No |
| Date | Date picker | Birth date, deadline |
| Option | Dropdown selection | Department, Status, Priority |
| Row Reference | Searchable dropdown | Manager, Related item |
| Member | Member selector | Assigned to, Created by |
What’s Next?
Section titled “What’s Next?”Now that you know how to add data, you can:
- Column Validation - Learn how to validate and ensure data quality in your sheets
Summary
Section titled “Summary”In this tutorial, you learned how to:
- ✅ Add new rows using the Add Row dialog
- ✅ Fill in data for different column types
- ✅ View your data in the sheet grid
- ✅ Edit existing rows
- ✅ Select and delete rows
Your sheet is now populated with data and ready to use!