Creating Compute Columns
Compute columns are powerful features in Sheety App that allow you to create calculated fields based on other column values. Instead of manually entering values, compute columns use Q-Expression formulas to automatically calculate results.
What You’ll Learn
Section titled “What You’ll Learn”- What compute columns are and when to use them
- How to add compute columns using the context menu
- Writing Q-Expression formulas
- Understanding conditional calculations with the If function
- Using column references in formulas
Prerequisites
Section titled “Prerequisites”- A workbook with a sheet containing data columns (complete Adding Columns to Your Sheet if you haven’t already)
- Basic understanding of your data structure
Understanding Compute Columns
Section titled “Understanding Compute Columns”Compute columns are special columns that:
- Calculate values automatically based on formulas you define
- Update dynamically whenever the referenced column values change
- Use Q-Expression syntax for writing formulas
- Can reference other columns using the
@ColumnNamesyntax - Support conditional logic, mathematical operations, and more
When to Use Compute Columns
Section titled “When to Use Compute Columns”Use compute columns when you need to:
- Calculate totals, averages, or other mathematical operations
- Apply conditional logic based on other column values
- Derive values from multiple columns
- Apply business rules consistently across all rows
Example Scenario: Calculating Employee Salary
Section titled “Example Scenario: Calculating Employee Salary”In this tutorial, we’ll create a “Salary” compute column for an Employees sheet that calculates the final salary based on:
- The employee’s Base Salary
- The employee’s Department
- A multiplier that varies by department (1.1x for Engineering, 1.2x for others)
Step 1: Navigate to Your Sheet
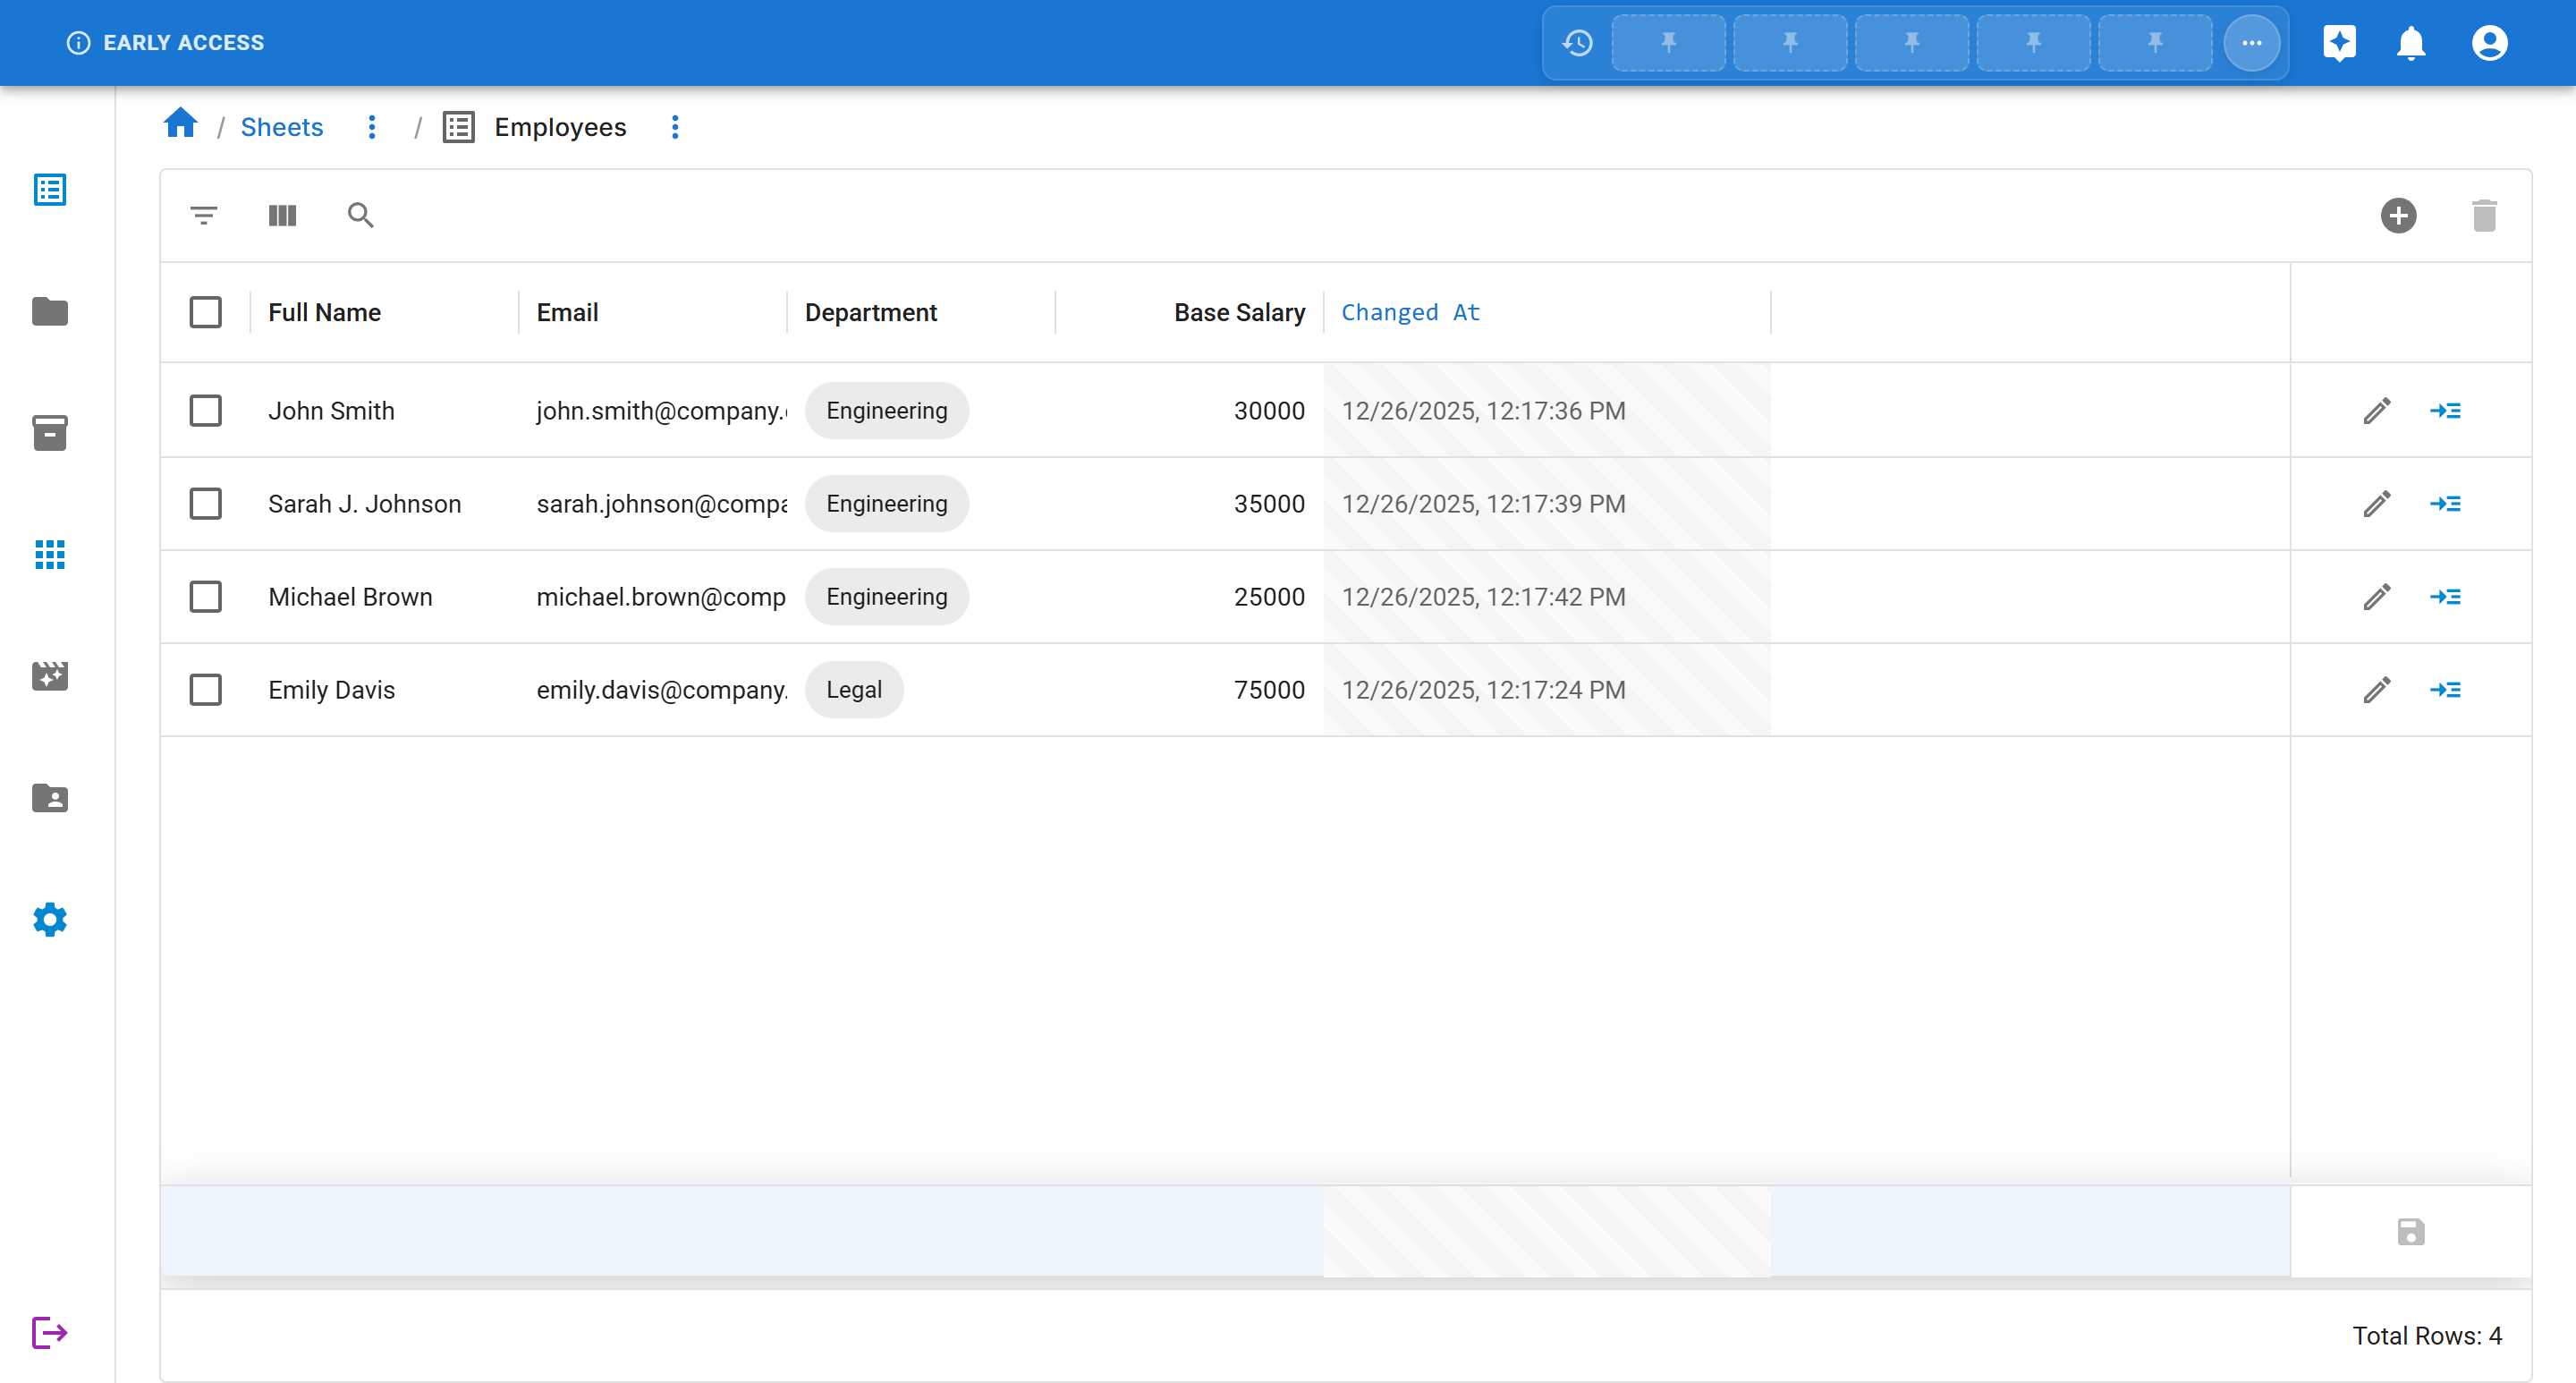
Section titled “Step 1: Navigate to Your Sheet”First, open the sheet where you want to add the compute column. For this example, we’re using an Employees sheet with the following columns:
- Full Name
- Department (a reference to another sheet)
- Base Salary
- Changed At
Step 2: Access the Add Compute Column Option
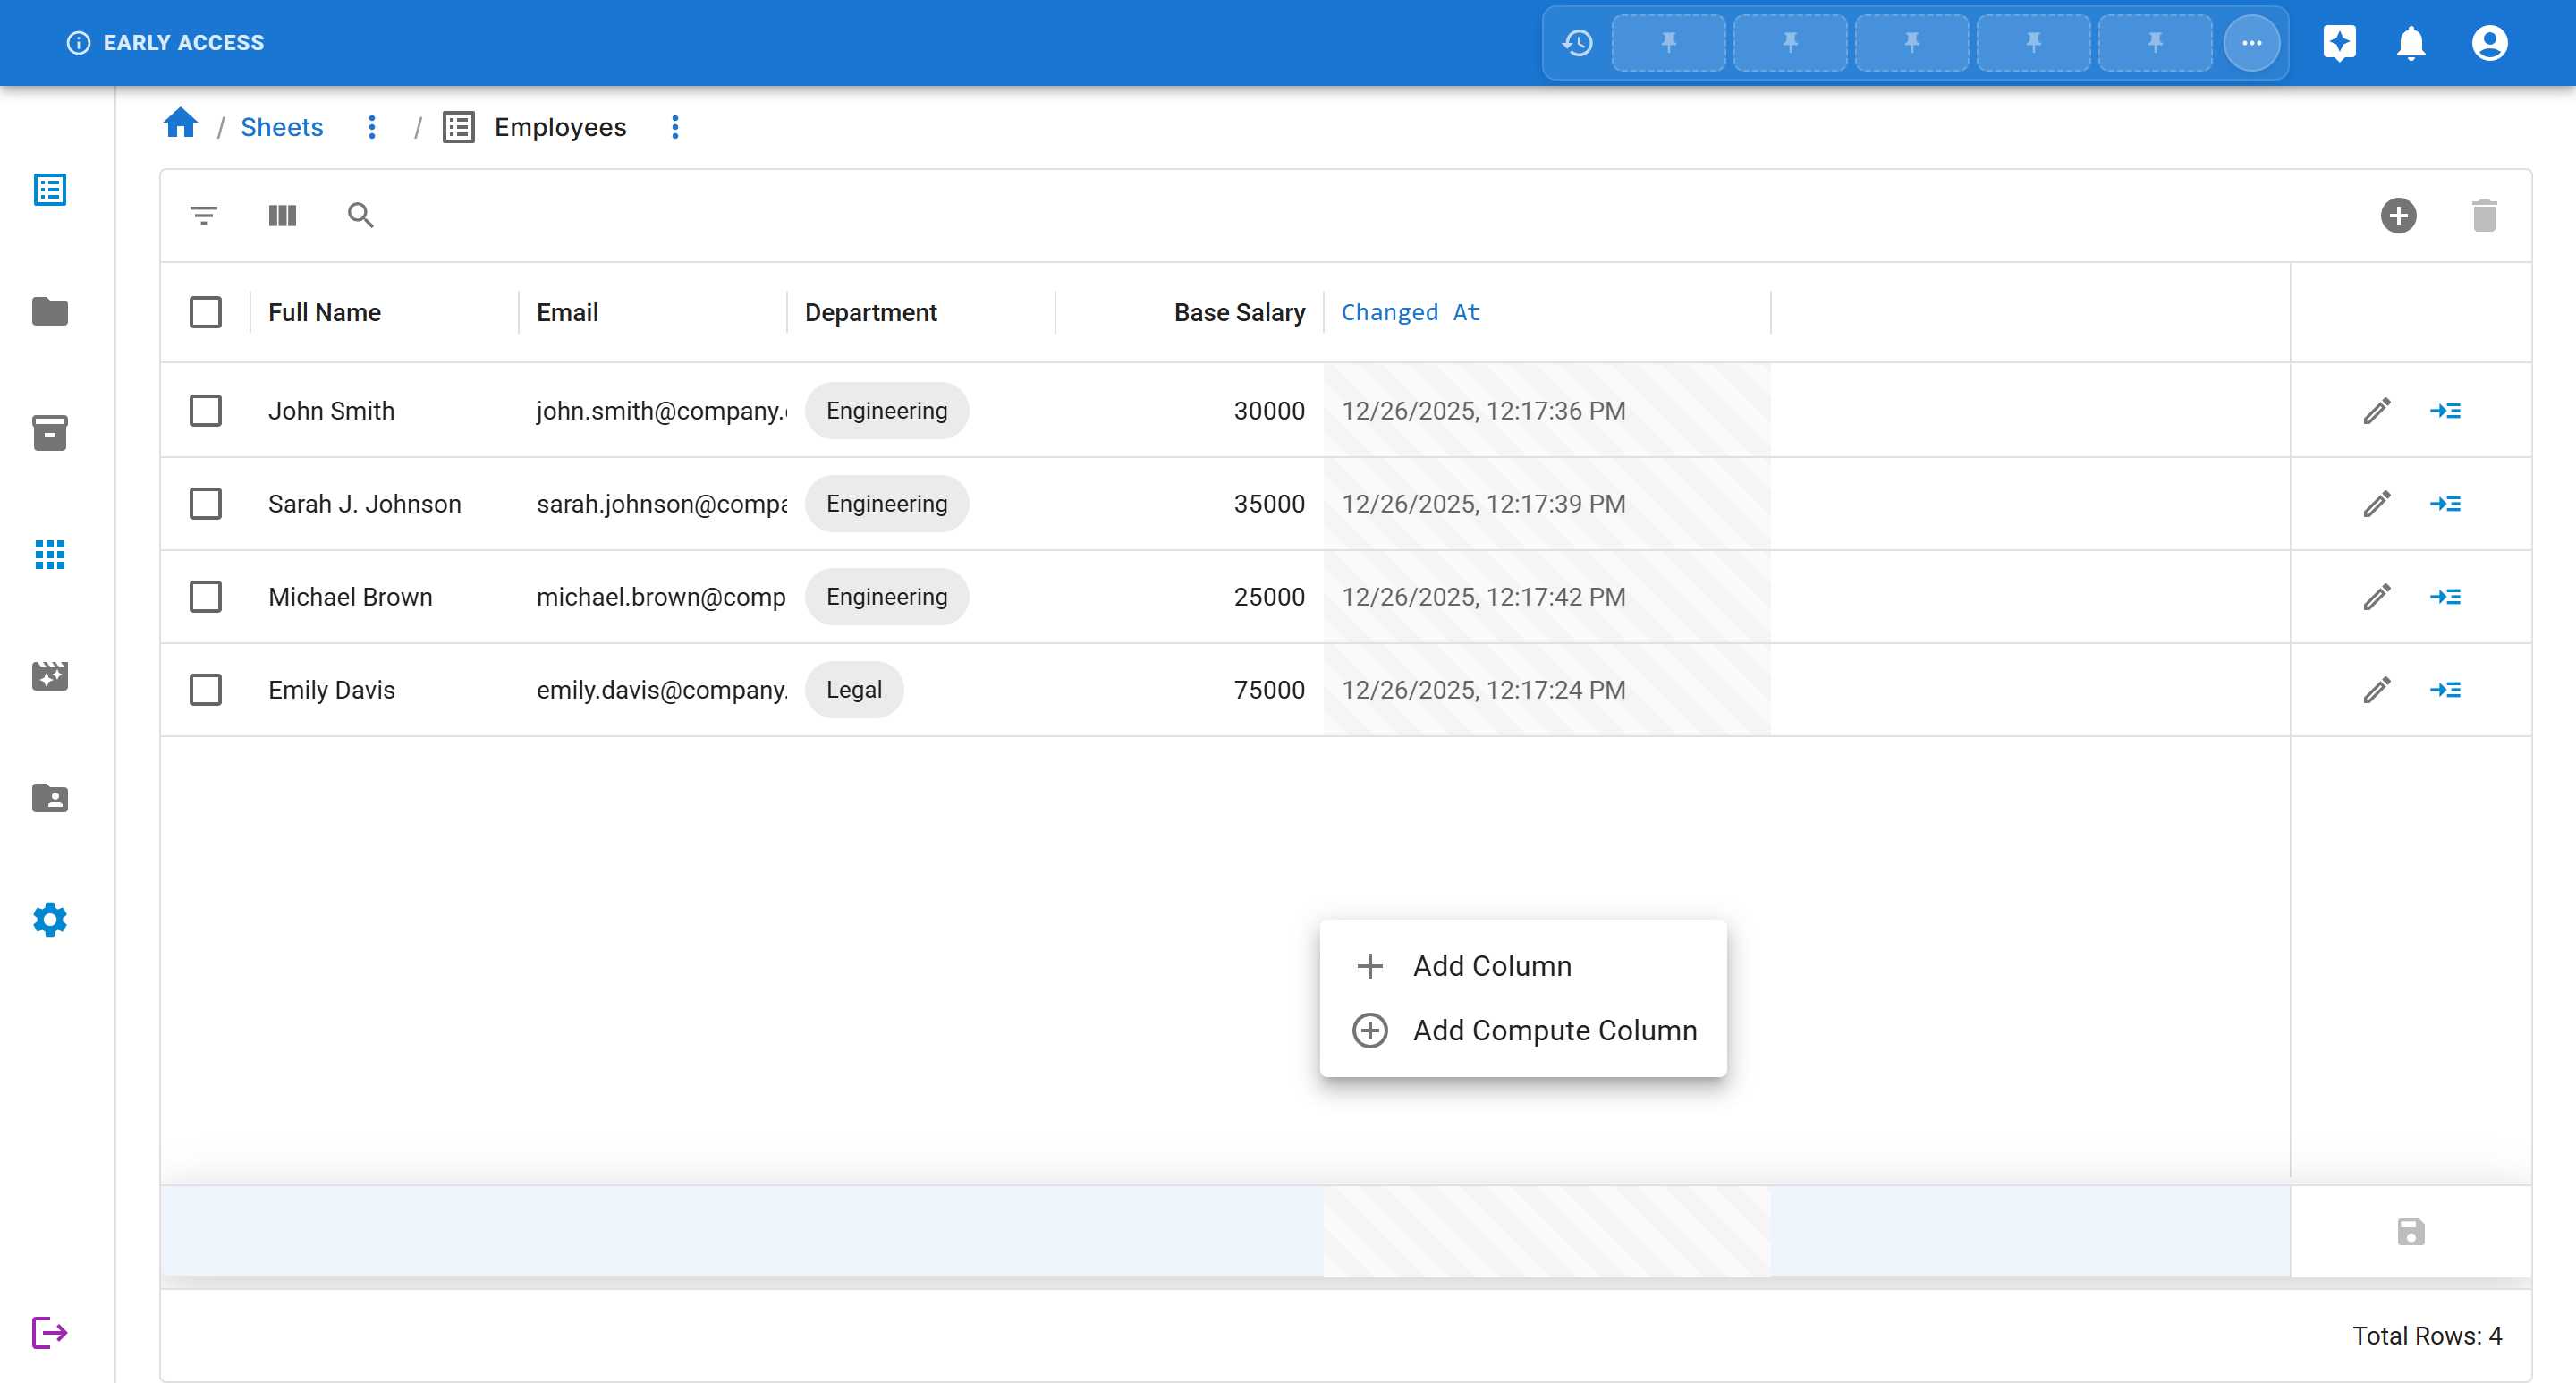
Section titled “Step 2: Access the Add Compute Column Option”To add a compute column:
-
Right-click on the column header area or the breadcrumb menu next to the sheet name
-
From the context menu, select “Add Compute Column”
Step 3: Fill in the Compute Column Details
Section titled “Step 3: Fill in the Compute Column Details”The “Add Compute Column” dialog will open with three main fields:
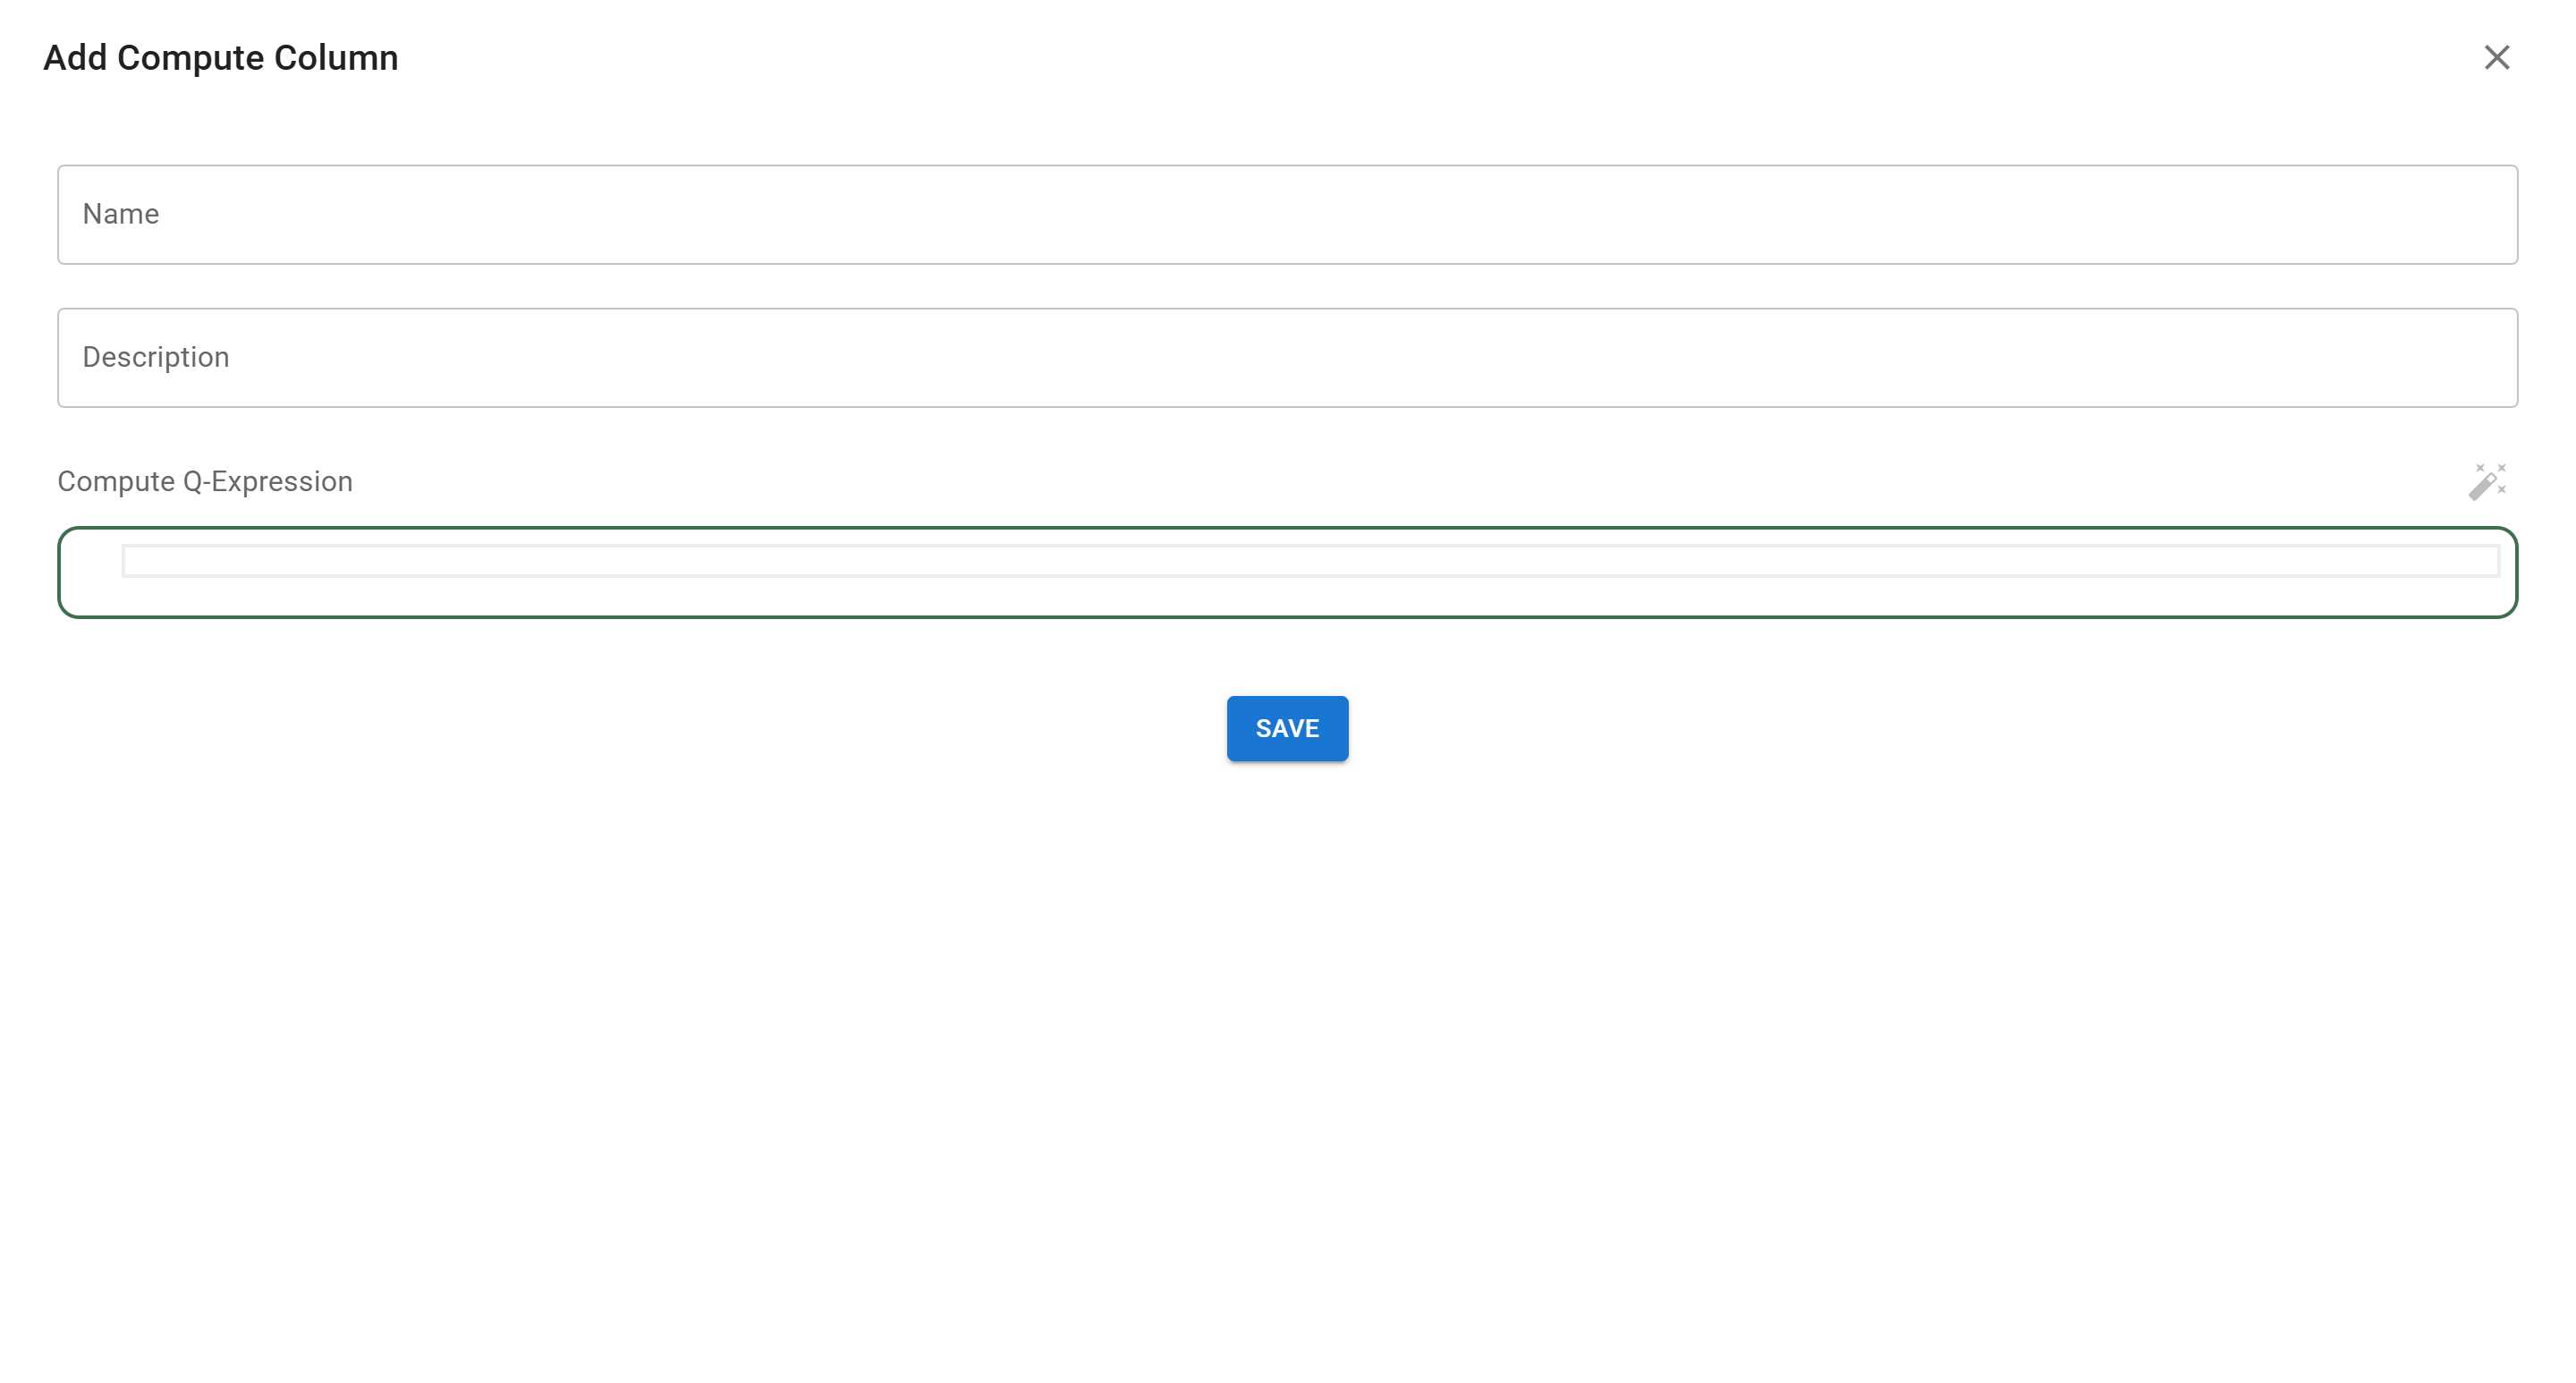
Field 1: Name
Section titled “Field 1: Name”Enter a descriptive name for your computed column.
Example: Salary
This name will appear as the column header in your sheet.
Field 2: Description
Section titled “Field 2: Description”Provide a clear description of what this column calculates. This helps other users understand the purpose of the computed column.
Example: Calculated salary based on department and base salary
Field 3: Compute Q-Expression
Section titled “Field 3: Compute Q-Expression”This is where you write the formula. The Q-Expression editor provides:
- Syntax highlighting for better readability
- Autocomplete suggestions for column references
- IntelliSense to help you discover available columns
Step 4: Write Your Q-Expression Formula
Section titled “Step 4: Write Your Q-Expression Formula”For our salary calculation example, we’ll use the following formula:
If(@Department = t::css.Employees.Department:'1af443e7-d3ea-4f0c-b695-e0a198ab1b5d', 1.1, 1.2) * @BaseSalary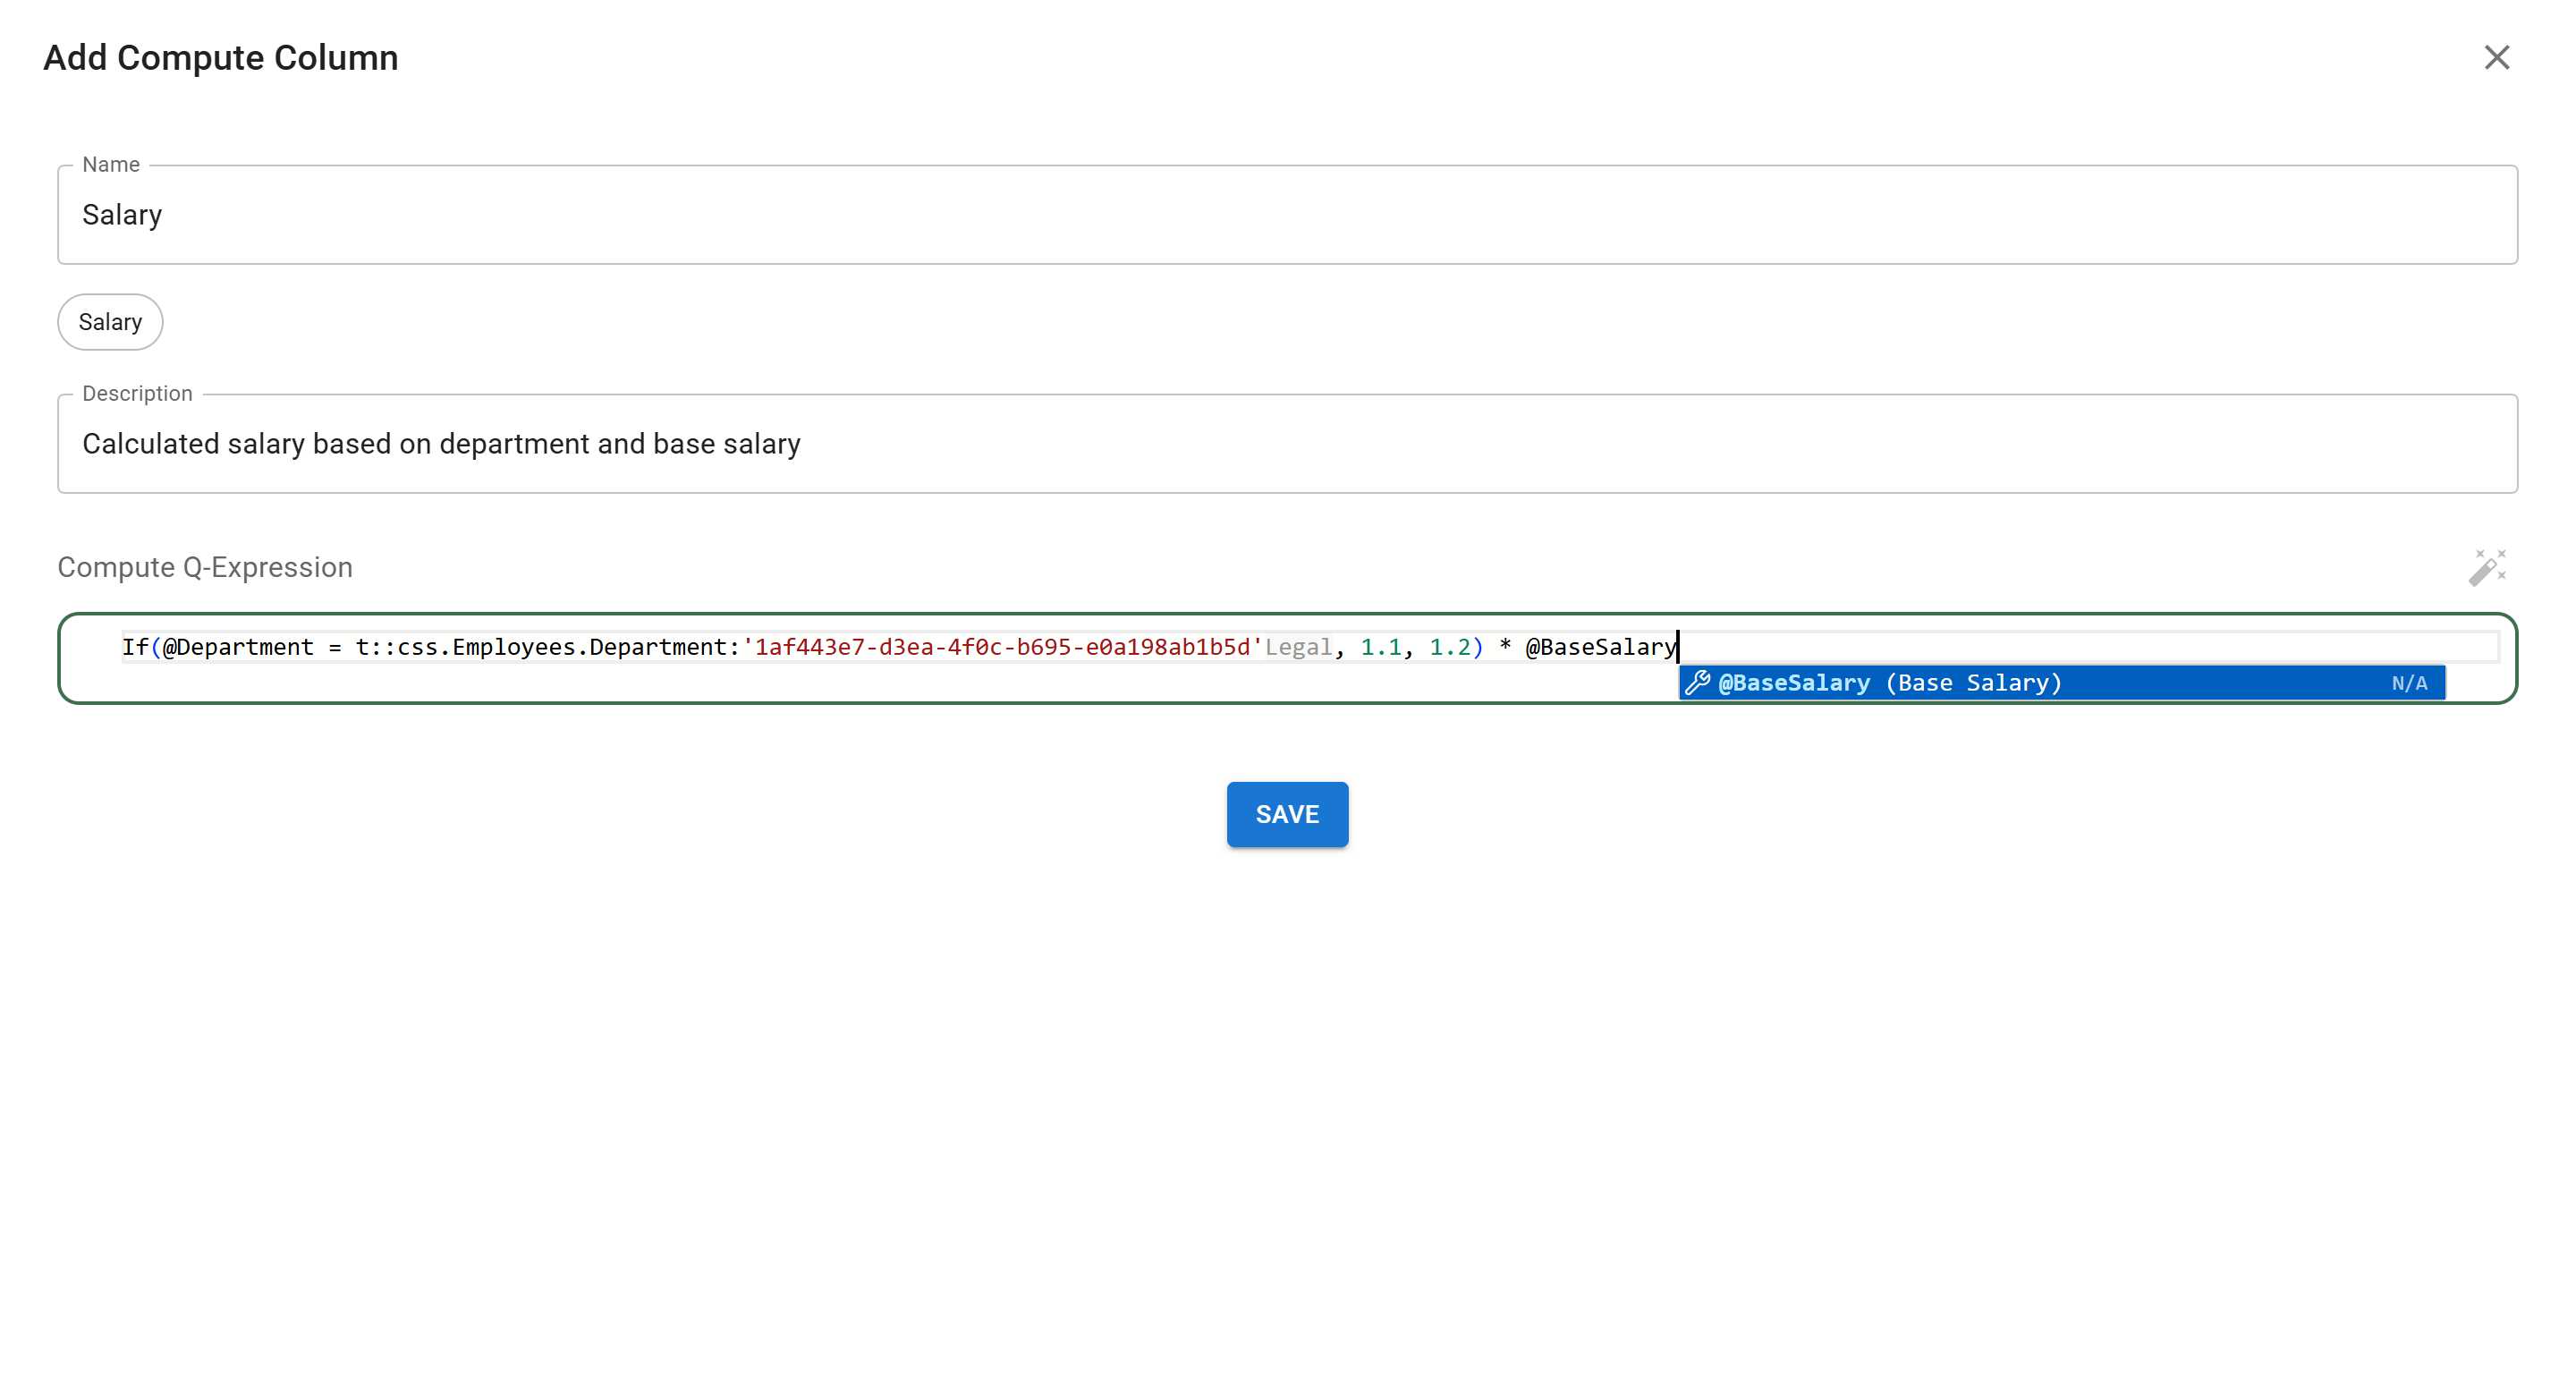
Understanding the Formula
Section titled “Understanding the Formula”Let’s break down this formula:
1. The If Function
Section titled “1. The If Function”If(condition, value_if_true, value_if_false)The If function evaluates a condition and returns different values based on whether the condition is true or false.
2. The Condition
Section titled “2. The Condition”@Department = t::css.Employees.Department:'1af443e7-d3ea-4f0c-b695-e0a198ab1b5d'@Department- References the Department column in the current row=- Equality comparison operatort::css.Employees.Department:'1af443e7-d3ea-4f0c-b695-e0a198ab1b5d'- References a specific department record by IDt::css- Refers to a type lookup in the current sheet systemEmployees.Department- The Department column path'1af443e7-d3ea-4f0c-b695-e0a198ab1b5d'- The unique ID of the Engineering department
3. The Multipliers
Section titled “3. The Multipliers”1.1, 1.21.1- If the condition is true (employee is in Engineering), multiply by 1.1 (10% bonus)1.2- If the condition is false (employee is in other departments), multiply by 1.2 (20% bonus)
4. The Final Calculation
Section titled “4. The Final Calculation”* @BaseSalaryThe result of the If function is multiplied by the value in the @BaseSalary column.
Column References
Section titled “Column References”When referencing columns in your formulas:
- Use the
@symbol followed by the column name:@ColumnName - Column names in formulas use PascalCase (remove spaces and capitalize each word)
- “Base Salary” becomes
@BaseSalary - “Full Name” becomes
@FullName
- “Base Salary” becomes
- The autocomplete feature will suggest available columns as you type
Step 5: Save the Compute Column
Section titled “Step 5: Save the Compute Column”Once you’ve entered all the details:
- Review your formula for accuracy
- Click the “Save” button at the bottom of the dialog
The system will:
- Validate your formula
- Create the compute column
- Calculate values for all existing rows
- Display a success message: “Column saved successfully”
Step 6: Verify the Results
Section titled “Step 6: Verify the Results”After saving, the new “Salary” column will appear in your sheet with calculated values:
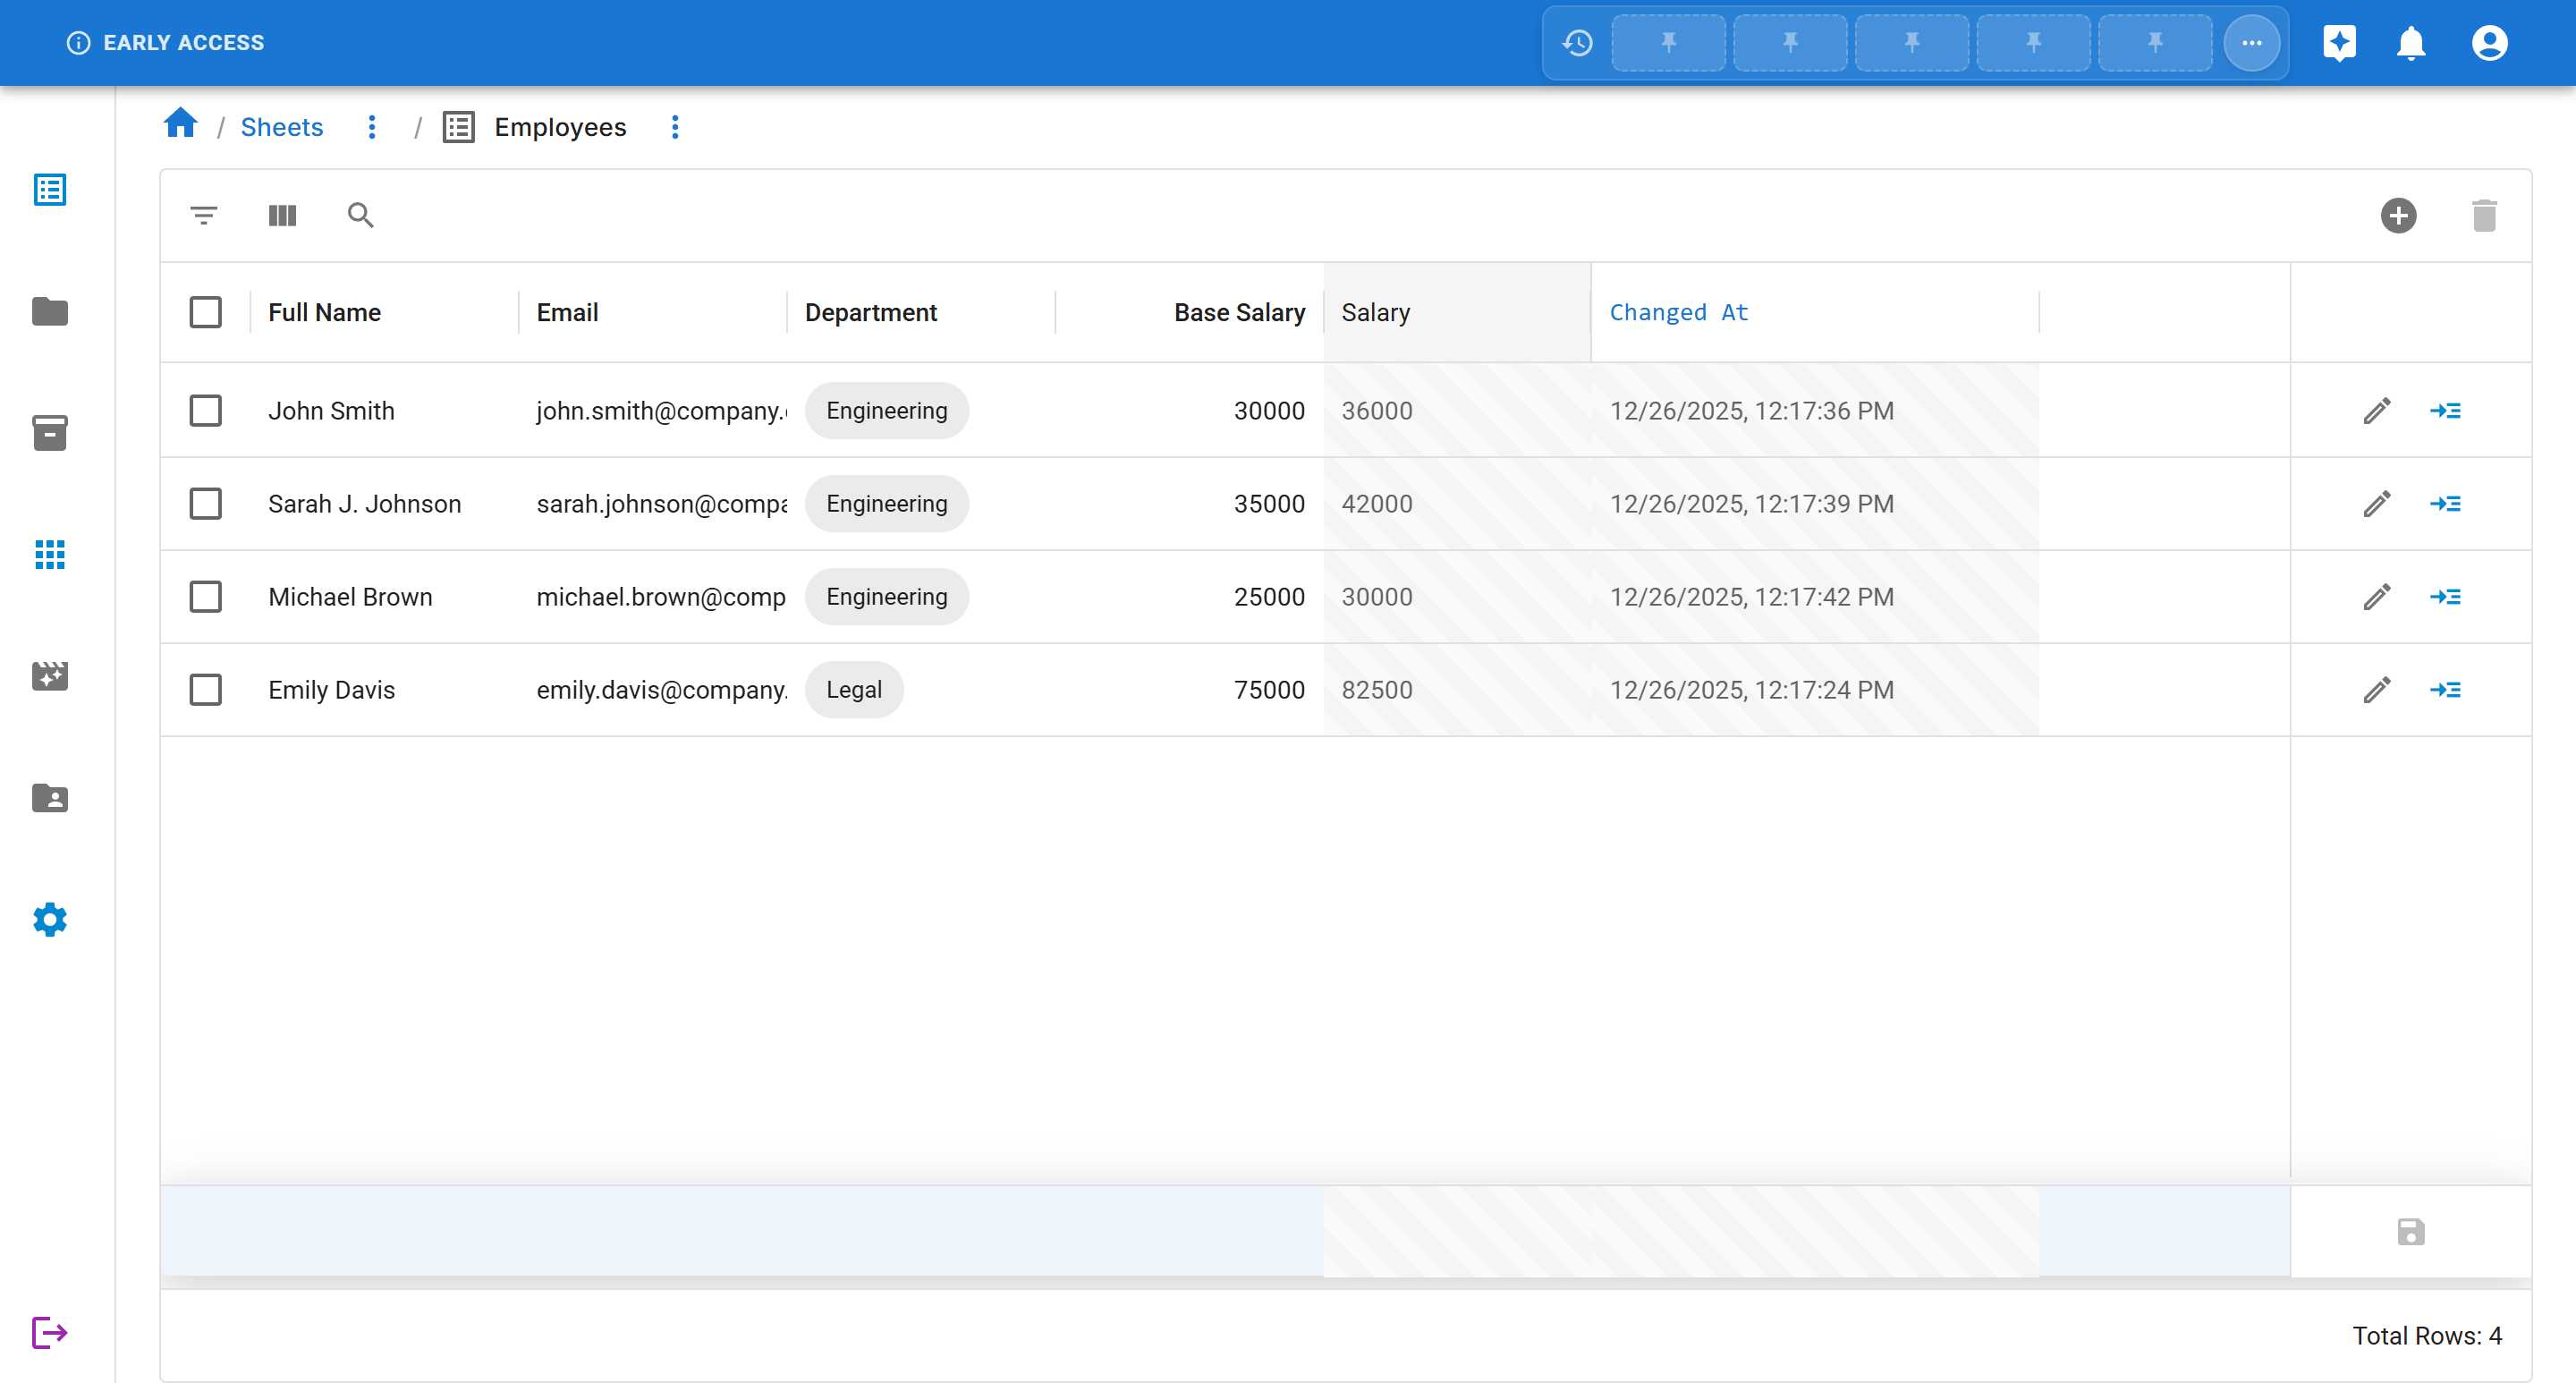
In our example:
- John Smith (Engineering, Base: 30000) → Salary: 36000 (30000 × 1.2)
- Sarah Johnson (Engineering, Base: 35000) → Salary: 42000 (35000 × 1.2)
- Michael Brown (Engineering, Base: 25000) → Salary: 30000 (25000 × 1.2)
- Emily Davis (Legal, Base: 75000) → Salary: 82500 (75000 × 1.1)
Learn More About Q-Expression
Section titled “Learn More About Q-Expression”This tutorial covered the basics of writing Q-Expression formulas for compute columns. For comprehensive information about Q-Expression syntax, functions, operators, and advanced patterns, refer to the Q-Expression Guide.
The guide includes:
- Complete syntax reference and data types
- Built-in functions (mathematical, logical, type conversions)
- Lookup expressions for cross-sheet relationships
- System variables and meta properties
- Real-world examples and troubleshooting tips